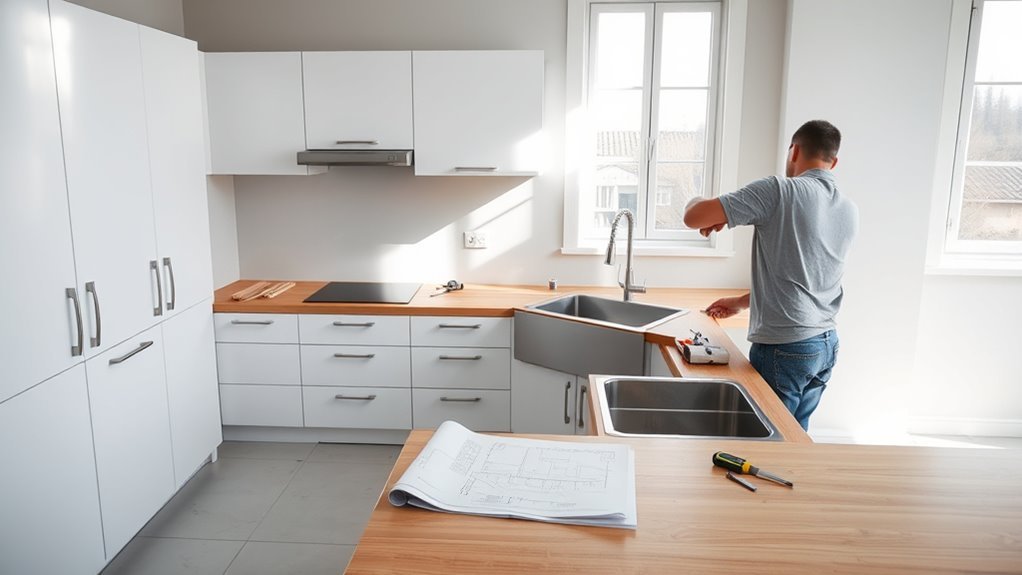
How to Fit a Kitchen: A Step-by-Step Guide
Many people dream of having the perfect kitchen, but the process of fitting one can seem overwhelming. From measuring your space to choosing the right appliances, it’s easy to feel lost or unsure where to start. You’re not alone—fitting a kitchen takes planning and patience, but with the right steps, it can be a smooth and rewarding experience.
To fit your kitchen, start by measuring your space accurately, noting every detail like doorways and windows. Choose a layout that suits your needs and plan plumbing and electrical work early for smooth installation.
Select cabinets and appliances that maximize space, install them precisely, and add finishing touches like lighting and backsplash. Finally, test everything to verify functionality. Following these steps carefully guarantees a hassle-free process, and you’ll uncover tips to make your kitchen fit perfectly with ease.
Key Takeaways
- Measure your kitchen dimensions carefully, including obstacles, doorways, and fixture heights. This helps with precise planning and avoids surprises later.
- Pick a kitchen layout that works best for your space and how you move around. Popular options are L-shape, U-shape, or galley layouts.
- Get your plumbing and electrical work planned early. This ensures everything is installed safely and you have enough power points where you need them.
- When installing base cabinets, make sure they’re level and fit tightly together. Align them with the upper cabinets for a smooth, finished look.
- Test all cabinets, appliances, and plumbing to make sure everything works properly. Fix any issues right away to keep your kitchen running smoothly.
Measure Your Kitchen Space Accurately
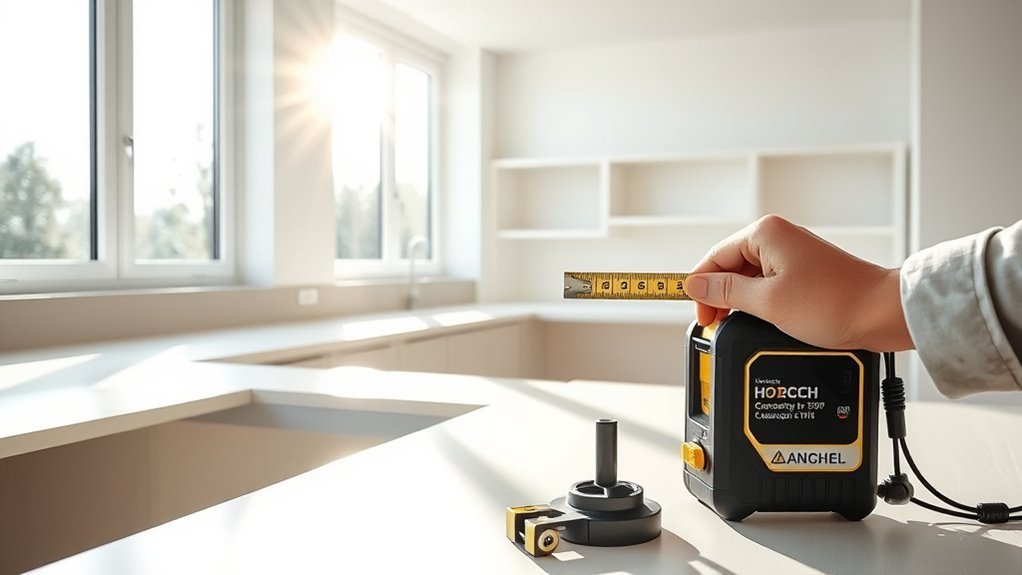
Accurate measurements are the foundation of any successful kitchen fit. Before you start planning, take the time to measure your kitchen dimensions carefully. Use reliable tools like a tape measure, laser measure, or ruler to get precise results.
Measure the length, width, and height of your kitchen space, including doorways, windows, and obstacles like radiators or pipes. Don’t forget to note the distance from the floor to any fixtures or fittings.
Measure all dimensions, including doorways, windows, and obstacles, plus the height from floor to fixtures for accuracy.
Double-check all your measurements to avoid costly mistakes later. Record each measurement clearly on a drawing or digital plan of your kitchen.
This detailed, accurate data will help you choose cabinets, appliances, and countertops that fit perfectly. Investing time in measuring your space carefully ensures everything aligns smoothly.
This makes installation easier and your kitchen more functional from day one.
Choose the Best Kitchen Layout for Your Needs
With your kitchen measurements in hand, you can now focus on choosing a layout that fits your daily routine and space.
Start by thinking about your preferences—whether you like an L-shape, U-shape, galley, or open-plan design. Consider how your cooking habits affect workspace efficiency.
You want easy access between the stove, sink, and refrigerator. Don’t forget about traffic flow—make sure pathways are clear to avoid congestion, especially if your family uses the kitchen at the same time.
Match your kitchen style with your home’s design and look for storage solutions that keep clutter minimal. Think about family needs like extra seating or prep areas and customize the layout accordingly.
Plan Plumbing and Electrical Work Early
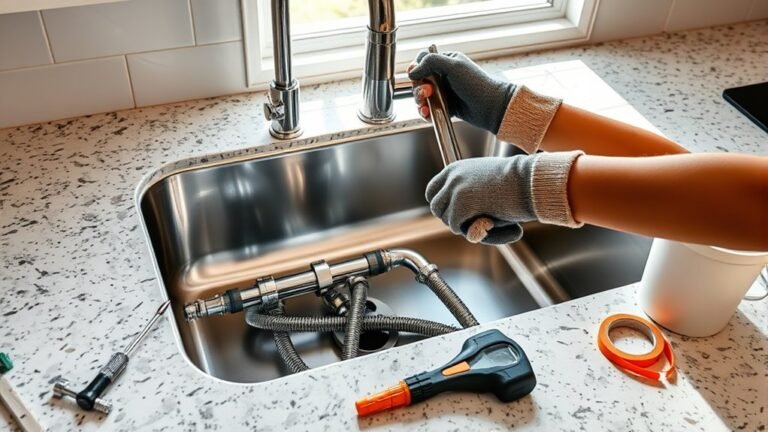
Since plumbing and electrical systems form the backbone of your kitchen, you should plan their placement early in the design process. This guarantees your sinks, dishwasher, and appliances align perfectly with water and power sources.
Choose high-quality plumbing materials that resist corrosion and leaks to avoid costly repairs later. Think about pipe layouts and access points to make maintenance easier.
Select durable plumbing materials and design accessible pipe layouts to ensure long-lasting, low-maintenance kitchen systems.
For electrical work, prioritize safety by hiring a licensed electrician to install circuits and outlets suited for your appliances. Make sure you include enough power points for your gadgets without overloading circuits.
Plan your lighting carefully to brighten workspaces and create the right ambiance. Early planning helps prevent last-minute changes that can delay your project and increase costs.
Choose Kitchen Cabinets and Storage for Maximum Space
Although choosing kitchen cabinets might seem simple, picking the right ones can greatly boost your storage and make your kitchen more functional. Focus on cabinet styles that fit your space and lifestyle while offering smart storage options. Incorporate drawers and shelving systems that are easy to access and keep organized.
Here are four ways to make the most of your space and keep your kitchen clutter-free:
- Go for tall pantry cabinets with adjustable shelves to store bulk items neatly.
- Use pull-out drawers and dividers to make organization effortless.
- Pick corner cabinets with lazy Susans so you can fully utilize tricky spaces.
- Install open shelves for frequently used items, blending style with convenience.
Select Kitchen Appliances for Size and Style
When you select kitchen appliances, you’ll want to balance size and style to fit both your space and your design vision. Start by measuring your available space carefully to guarantee appliances fit without crowding.
Choose models with energy efficiency ratings to save on utility bills and support eco-friendly living. Look for ENERGY STAR® certified products—they combine performance and savings.
Opt for ENERGY STAR® certified appliances to maximize efficiency, reduce costs, and promote sustainable living.
Next, focus on appliance color coordination to create a seamless look. Whether you prefer sleek stainless steel, bold black, or a classic white finish, matching your appliances to your cabinetry and countertops strengthens the overall design.
Don’t forget to consider the appliance style, whether modern, retro, or farmhouse, so everything feels cohesive. Finally, prioritize functionality without compromising aesthetics.
Selecting the right size and style appliances guarantees your kitchen works efficiently and looks great, setting a solid foundation for the rest of your kitchen fit-out.
Prepare Your Kitchen Walls and Floors for Installation
Before you jump into installing, take a moment to inspect your kitchen walls. Look out for any damage or uneven spots that might cause issues later on. Fixing these beforehand will make the whole process much easier and ensure everything fits just right.
Also, don’t forget to check your floors. Make sure they’re level because uneven floors can cause problems down the line. If you find any dips or bumps, use the proper techniques to smooth them out. Doing these simple steps now will help make your installation smooth, secure, and looking great!
Wall Surface Inspection
Start by carefully inspecting your kitchen walls and floors for any damage or uneven areas that could affect installation. Do a thorough wall condition check to spot cracks, holes, or moisture issues. Proper surface prep ensures your cabinets and tiles stick well and last longer.
Focus on these key steps:
- Find any cracks or holes that need filling to prevent future problems.
- Look for dampness or mold that could weaken materials.
- Make sure walls are smooth and clean for better adhesion.
- Remove old wallpaper, paint flakes, or grease spots that might interfere.
Spending time on a detailed wall surface inspection creates a solid foundation and helps you avoid costly repairs later.
Floor Leveling Techniques
Although a perfectly level floor might seem like a minor detail, it’s really important for ensuring your kitchen installation goes smoothly and stays stable over time. Start by preparing the subfloor thoroughly, including adding moisture barriers to prevent damage.
Use leveling tools to spot uneven surfaces and choose solutions like floor slope correction or adjusting the floor joists. Applying self-leveling compounds can quickly fix small dips. For bigger issues, it’s best to consider professional leveling services.
Here’s a quick overview:
| Technique | Purpose | When to Use |
|---|---|---|
| Self-leveling compounds | Smooth out minor unevenness | Slight surface dips |
| Floor joist adjustments | Fix structural imbalances | Significant slope or sagging |
| Moisture barriers | Prevent water damage | High-humidity or spill-prone areas |
Getting the floor properly leveled guarantees a stable foundation for your kitchen, helping you avoid future problems.
Install Cabinets Step-by-Step
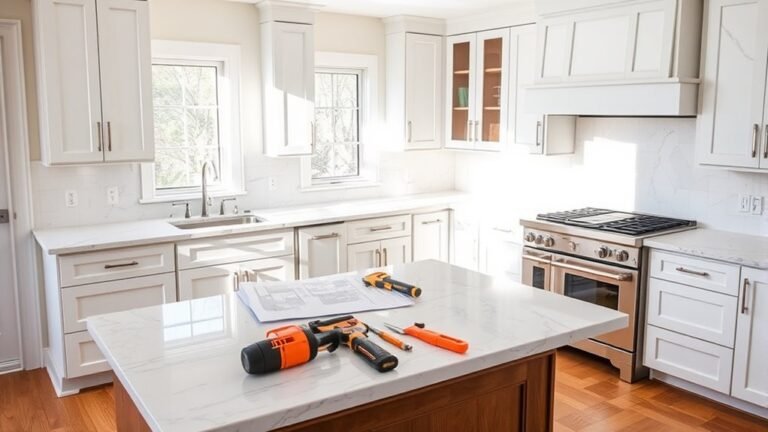
Measure and mark the wall carefully to confirm your cabinets align perfectly. Choosing quality cabinet materials is crucial because they affect durability and the overall look of your kitchen. Gather your installation tools before you start—your drill, level, stud finder, screws, and clamps will make the process much easier.
Follow these steps to install your cabinets confidently. First, locate and mark the wall studs to ensure they are securely attached. Then, start with the upper cabinets, securing them to the studs using your drill and screws. Be sure to check that they are level often.
Next, install the base cabinets, making sure they align perfectly with the upper ones. Use shims if needed to keep everything level. Finally, join adjacent cabinets tightly and fasten them together for a seamless finish.
Install Kitchen Appliances and Connect Utilities Safely
Once your cabinets are securely in place, you can move on to installing your kitchen appliances and connecting the utilities. Always follow safety precautions to protect yourself and your home.
Before starting, turn off the main water, gas, and electricity supplies to prevent accidents. Check each appliance’s manual for specific installation instructions and recommended utility connections.
Here’s a quick reference for common appliances and their utility needs:
| Appliance | Utility Connection | Safety Precautions |
|---|---|---|
| Oven | Gas or electric | Ensure proper ventilation and secure gas lines |
| Refrigerator | Electrical | Avoid overloading circuits |
| Dishwasher | Water and electrical | Use waterproof connectors |
| Washing Machine | Water and electrical | Check hoses for leaks |
Double-check all connections for leaks or loose fittings before restoring utility services. If you’re unsure, it’s best to consult a professional to make sure everything is installed safely and correctly.
Add Finishing Touches With Lighting, Backsplash, and Hardware
Now that your appliances are in place, it’s time to add those finishing touches that really make your kitchen pop—think lighting, backsplash, and hardware. Pick lighting that not only brightens up your space but also complements your style. Whether you prefer modern pendant lights or cozy under-cabinet lighting, the right choice can totally change the vibe.
Next up, choose a backsplash that adds personality and ties everything together. It’s a great way to introduce color or pattern without overwhelming the room. And don’t forget about cabinet hardware! Picking the right knobs and pulls can give your cabinets a fresh look and make your whole kitchen feel more polished.
Choosing the Right Lighting
Although selecting cabinetry and appliances sets the foundation for your kitchen, choosing the right lighting really brings the space to life. It also improves both function and style.
Balancing ambient lighting with task and accent lighting creates a welcoming and practical environment. Consider these tips:
- Use dimmer switches to adjust brightness, which can enhance the mood and save energy.
- Focus task lighting on work areas with bright, cool color temperature bulbs for clarity.
- Incorporate accent lighting to highlight architectural details or decor, adding depth.
- Plan fixture placement carefully and look at different lighting styles to match your kitchen’s design.
Selecting a Stylish Backsplash
Lighting sets the mood and highlights key features, but your kitchen’s backsplash adds personality and style right where you need it most. When choosing a backsplash, think about modern materials like glass, stainless steel, or textured tiles that match current color trends.
These options not only brighten up the space but also complement your overall kitchen look. Check out the table below to compare popular backsplash materials and their benefits:
| Material | Benefits |
|---|---|
| Glass | Reflective, easy to clean |
| Ceramic Tile | Versatile, wide color range |
| Stainless Steel | Sleek, durable, modern |
| Natural Stone | Unique texture, timeless |
| Subway Tile | Classic, fits most styles |
Pick a backsplash that balances durability with your style to make your kitchen truly shine.
Updating Cabinet Hardware
Boost your kitchen’s style instantly by updating the cabinet hardware. Choosing the right hardware styles can transform your space, giving it a fresh, modern look or a classic touch depending on your taste.
When selecting new handles or knobs, think about the overall vibe you want to create. Don’t forget these installation tips to make the process smooth:
- Measure carefully to guarantee uniform placement on all cabinets.
- Use a template or jig for consistent hole drilling.
- Choose hardware finishes that complement your backsplash and lighting.
- Tighten screws firmly but avoid overtightening to prevent damage.
Test Everything to Ensure Your Kitchen Works Perfectly
Before you declare your kitchen complete, you’ll want to test every feature to make sure it works smoothly. Checking your kitchen’s functionality ensures everything operates as it should and helps your workflow run efficiently.
Open and close all cabinets and drawers, test taps and appliances, and verify that lighting and ventilation are working properly. Pay attention to how easily you can move around and access key areas.
Use the table below to prioritize testing areas that impact your daily use:
| Feature | Test Focus |
|---|---|
| Cabinets & Drawers | Smooth operation, easy access |
| Appliances | Proper function, safety |
| Plumbing & Lighting | No leaks, good brightness |
If you find any issues, fix them right away to avoid problems later. Testing thoroughly now saves you time and hassle, making sure your kitchen works perfectly from day one.
Frequently Asked Questions
How Long Does a Typical Kitchen Fitting Take From Start to Finish?
A typical kitchen fitting usually takes about one to three weeks from start to finish, depending on your kitchen layout and the complexity of the installation.
If you’ve got a straightforward design, the installation timeline can be shorter. But custom layouts or extra work like plumbing and electrical adjustments might extend it.
Planning ahead and working closely with your installer will help keep everything running smoothly and on schedule.
What Is the Average Cost of Fitting a New Kitchen?
The average cost of fitting a new kitchen usually ranges between $8,000 and $25,000, depending on your choices. If you’re into kitchen design trends like sleek cabinetry or smart appliances, expect to spend more.
You’ll want to focus on budget planning early, balancing style with functionality to avoid overspending. Remember, investing in quality materials can save you money long-term, so plan wisely and stick to your budget.
Can I Fit a Kitchen Myself or Should I Hire a Professional?
You can fit a kitchen yourself if you’re confident with tools and have the time. It’s a great way to save money and enjoy the satisfaction of doing it yourself.
But hiring a professional brings expertise, which helps ensure everything is installed accurately. This can help you avoid costly mistakes down the line.
If your kitchen layout is complicated or you don’t have much experience, it’s probably worth hiring a pro. Their skills can make the process smoother and more reliable.
Ultimately, think about your skills and budget before deciding. Whether you DIY or hire a professional, it’s about getting the best results for your space.
What Permits or Approvals Are Needed for Kitchen Renovations?
You might think kitchen renovations are simple, but ignoring building codes and local regulations can cause costly delays.
Before you start, check if you need permits for plumbing, electrical work, or structural changes. Local rules can vary, so it’s a good idea to contact your city’s building department for details.
Getting the necessary approvals ensures your renovation is safe, legal, and up to code. It can save you headaches and potential fines later on.
How Do I Maintain My New Kitchen to Keep It Looking Fresh?
To keep your new kitchen looking fresh, focus on regular cleaning and appliance care. Wipe down surfaces daily to prevent buildup, and deep clean appliances once a month to keep them running well.
Use the right cleaners for different materials to avoid damaging your surfaces. Don’t forget to check and replace filters in your appliances regularly to keep everything working smoothly.
Staying consistent with these habits will help preserve your kitchen’s appearance and functionality for years to come.
Conclusion
Now that you’ve got your kitchen all set up, don’t rush to call it done just yet. There’s one final step that could make or break your cooking space.
Are your cabinets perfectly aligned? Do the appliances hum just right? Take a moment to test everything thoroughly—you’ll thank yourself when your kitchen flows effortlessly.
That last check is where all your hard work truly shines. Ready to see it all come together and enjoy your perfectly fitted kitchen?