How to Replace Kitchen Sink: A Step-by-Step Guide
Many homeowners find replacing a kitchen sink to be a daunting task. You’re not alone—this project can seem overwhelming, especially if you’re not experienced with plumbing.
But don’t worry, with a little patience, you can do it yourself and save some money.
To replace your kitchen sink, start by turning off the water supply and disconnecting the plumbing under the sink.
Remove the old sink by loosening the mounting clips and carefully lifting it out.
Prepare your countertop by smoothing edges and applying sealant.
Position your new sink evenly and secure it with clips.
Reconnect the plumbing tightly, then test for leaks and proper drainage.
Follow these basics, and you’ll soon have a fully functional kitchen sink ready for daily use.
Continue exploring for detailed tips on perfect installation and maintenance.
Key Takeaways
- Turn off the main and individual water supply valves before starting to prevent water flow during sink replacement.
- Disconnect plumbing by loosening the P-trap, drain pipes, and water supply lines. Then carefully remove the old sink.
- Prepare the countertop by measuring the cutout, smoothing rough edges, and applying sealant for a watertight fit.
- Position and secure the new sink using mounting clips. Make sure it’s properly aligned and level.
- Reconnect plumbing with plumber’s tape. Test for leaks and run water to verify proper drainage and function.
What Tools You’ll Need to Replace Your Kitchen Sink
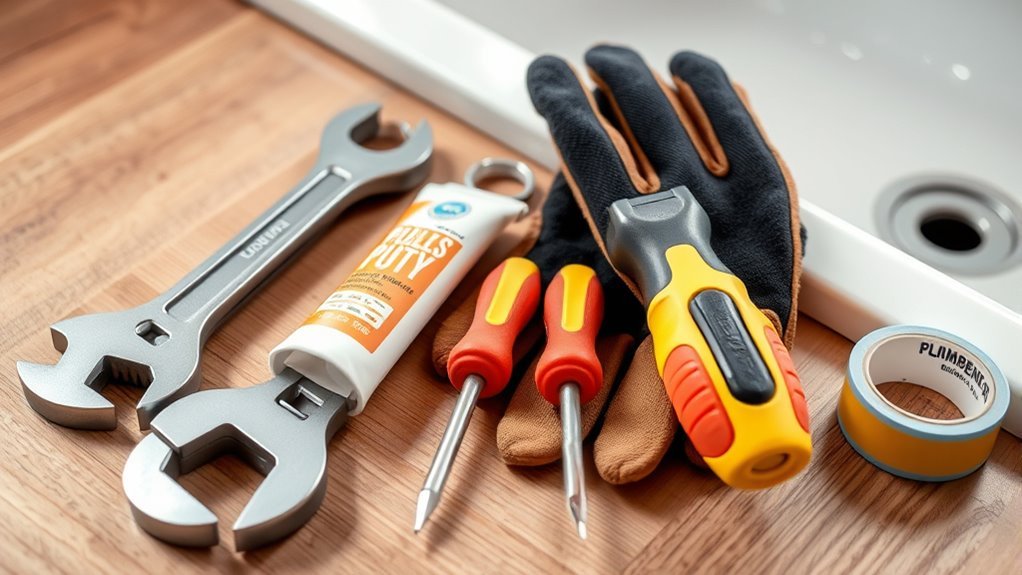
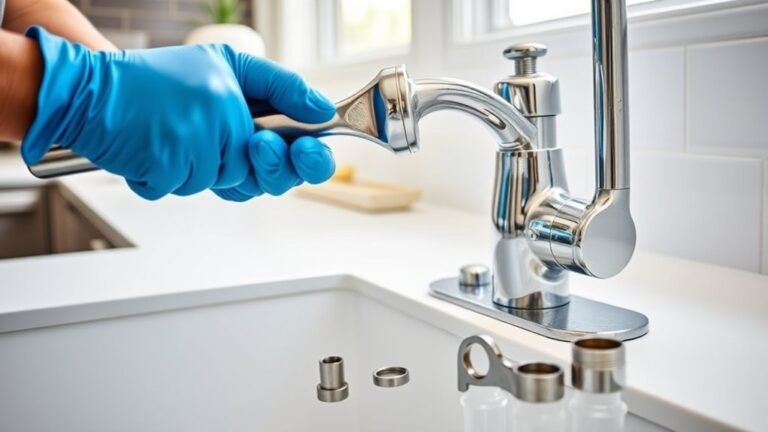
Before you start replacing your kitchen sink, gather the essential tools to make the process smooth and easy. Depending on the sink and faucet options you pick, you’ll need a few basics: an adjustable wrench, a basin wrench for tight spots, a screwdriver set, and plumber’s putty or silicone sealant to ensure watertight connections.
A utility knife is handy for removing old caulking, while a putty knife can help loosen stubborn seals. Don’t forget a bucket to catch any leftover water and some rags for cleanup. If you’re switching to a different sink type like a drop-in or undermount, having a tape measure will help you make sure the new sink fits just right.
For faucet options, you might need extra tools such as a hex key for certain handles or a pipe wrench for tougher fittings. Having all these tools ready before you begin will save you time and help avoid frustration during your sink replacement.
How to Turn Off the Water Supply to Your Kitchen Sink Safely
Before you get started, it’s a good idea to find the main water valve for your house. That way, if you need to shut off all the water quickly, you’ll know where to find it.
Next, locate the shut-off valves right under your kitchen sink. These are usually small valves on the pipes connected to the faucet. Turning these off will stop the water flow directly at the sink, which helps prevent any leaks while you’re working.
Locate Main Water Valve
Although it might seem simple, finding the main water valve is really important for shutting off your kitchen sink’s water safely. Knowing where it is lets you control water pressure and helps prevent flooding when you’re doing repairs.
Main valves are usually gate or ball valves, and each needs a specific turn to shut off. Here’s a quick guide to help you spot the main water valve:
| Location | Description |
|---|---|
| Basement | Near the water meter or entry point |
| Crawl Space | Under the house, close to pipes |
| Outside Wall | Near the foundation, often in a box |
| Utility Room | Close to the hot water heater |
| Garage | Next to main plumbing lines |
Take a moment to check these spots before starting your project.
Shut Off Individual Valves
After locating and shutting off the main water valve, you’ll want to turn off the individual shut-off valves under your kitchen sink. These valves control hot and cold water separately, so it’s important to identify the correct ones to avoid leaks.
Look under the sink for two small valves connected to the water supply lines. Turn each valve clockwise to close it fully; some have round handles, others have levers.
Test by turning on the faucet to make sure no water flows. It’s also a good idea to regularly turn these valves to prevent them from seizing and to check for any leaks.
Shutting off these individual valves ensures a safer, more controlled water supply during your sink replacement.
Steps to Disconnect Plumbing and Remove Your Old Kitchen Sink
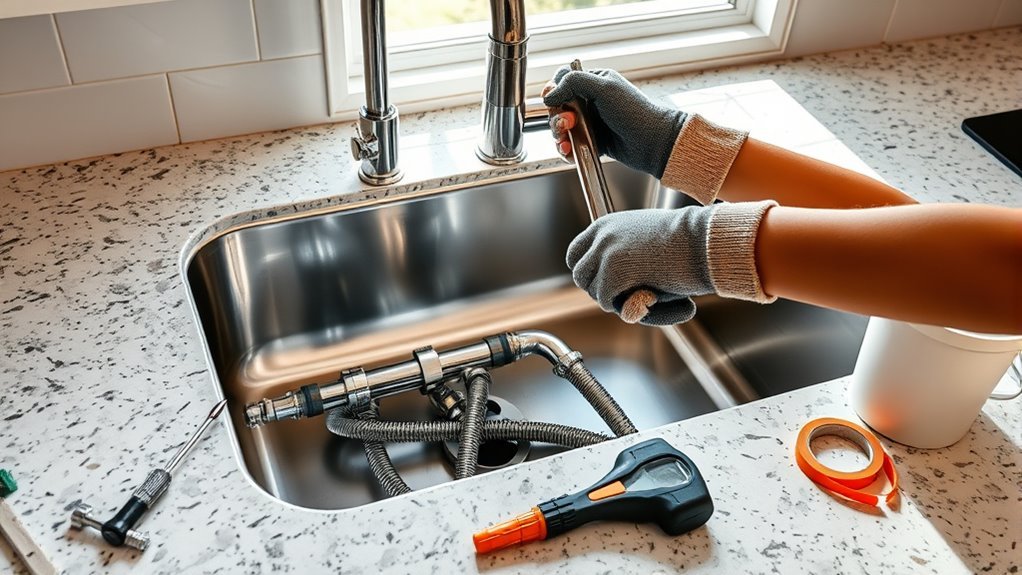
Begin by turning off the water supply valves under your sink to prevent any leaks. Next, place a bucket beneath the plumbing to catch residual water. Use sink removal techniques by loosening the P-trap and drain pipes with a wrench.
Disconnect the water supply lines carefully, following plumbing safety tips to avoid damage or injury. Once all connections are free, release any mounting clips securing the sink to the countertop. Gently lift the old sink out.
Here’s a quick guide for your disconnection process:
| Step | Tool Needed | Safety Tip |
|---|---|---|
| Loosen P-trap | Adjustable wrench | Wear gloves to avoid cuts |
| Disconnect supply | Basin wrench | Turn off valves before starting |
| Remove mounting clips | Screwdriver | Support sink weight while removing |
Following these steps guarantees a smooth, safe removal without damaging plumbing or your workspace.
Getting Your Countertop Ready for Your New Sink
Before you get started with installing your new sink, it’s a good idea to measure your countertop dimensions carefully. This way, you can make sure everything fits just right.
Also, take a close look at the edges of the sink cutout. If you notice any rough spots or uneven edges, go ahead and smooth them out. It’ll help ensure a clean, professional-looking installation.
Measuring Countertop Dimensions
To make sure your new sink fits perfectly, you’ll want to measure your countertop dimensions accurately. Start by noting down both the width and length of the space where the sink will go.
Don’t forget to account for the sink depth, especially if it’s a deeper model. This helps ensure you have enough clearance underneath.
Also, measure the faucet height to avoid any clearance issues with cabinets or shelves above.
Be sure to record all your measurements clearly. This will help during installation and when ordering your sink.
Getting accurate measurements now can save you from costly mistakes and make the replacement process much smoother.
Preparing Sink Cutout Edges
Three key steps will help you prepare your sink cutout edges for a smooth installation. First, inspect the sink cutout materials—whether laminate, granite, or wood—to make sure they’re clean and free of damage.
Next, smooth any rough edges using the right sandpaper or a router. This makes the edges safer and looks better once finished.
Finally, apply edge finishing techniques like sealing or edge banding. This protects the countertop and gives it a polished, professional look.
How to Choose the Right Replacement Kitchen Sink
How do you find the perfect kitchen sink that fits both your style and daily needs? Start by considering these essential factors to narrow down your choices.
- Sink materials & cleaning features: Choose durable materials like stainless steel or granite composite that match your cleaning habits and resist stains.
- Size options & installation types: Measure your countertop space carefully and decide between top-mount, undermount, or farmhouse styles to fit your kitchen layout.
- Style trends & faucet compatibility: Pick a sink design that complements your kitchen’s aesthetic and makes sure it works with your existing or planned faucet.
- Budget considerations & brand comparisons: Set a realistic budget and compare reputable brands to find a good balance of quality, warranty, and price.
How to Install and Secure Your New Kitchen Sink
Now that you’ve chosen the perfect sink, it’s time to get it set up in the countertop cutout. Just make sure to run a good amount of sealant around the edges—that’ll help keep everything watertight and prevent any leaks down the line. Once the sealant is in place, you can secure the sink using the mounting clips, making sure it stays firmly in position.
Positioning The Sink Properly
Before you secure your new kitchen sink, you’ll want to make sure it’s perfectly positioned within the countertop cutout. Proper alignment ensures the sink sits evenly, which helps prevent leaks and gives you a smooth fit.
The drainage angle is just as important because it allows water to flow properly toward the drain. Getting this right will save you headaches later on.
Follow these simple steps for the best positioning:
- Place the sink into the cutout and check for even spacing around all edges.
- Adjust the sink slightly to keep a consistent drainage angle toward the drain hole.
- Use a level to make sure the sink isn’t tilted or uneven.
- Double-check the alignment with the countertop edges to ensure a flush fit before moving forward.
Getting this step right will make your installation secure and functional.
Applying Sealant Correctly
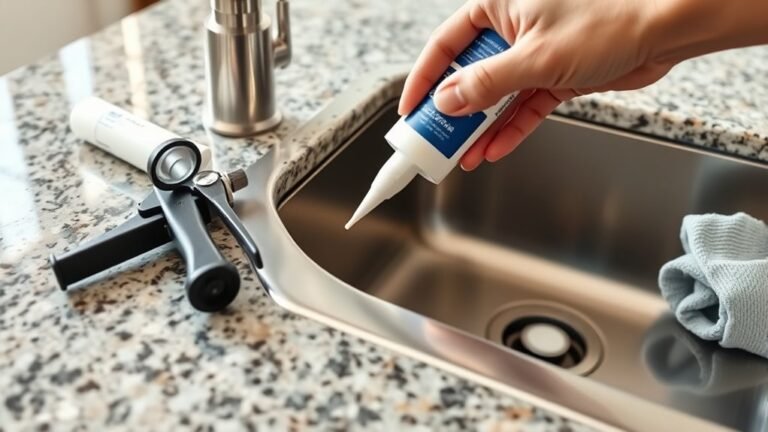
Apply a bead of sealant around the edge of the sink cutout to create a watertight barrier between the sink and countertop. Choose the right sealant type—silicone is great for flexibility and water resistance, while plumber’s putty works well for drains.
Use a caulking gun for an even application and steady pressure to make a smooth bead. Avoid gaps or excess sealant, as these can cause leaks or mess. After applying, use a damp finger or a sealant tool to smooth the bead and ensure full contact between surfaces.
Let the sealant cure as recommended by the manufacturer before moving on. Mastering these techniques guarantees a secure, leak-free seal that protects your countertop and sink from water damage.
Securing Mounting Clips
Secure the mounting clips tightly to hold your new kitchen sink firmly in place. Choosing the right types of clips is key to ensuring a secure fit. Follow these steps to keep your sink steady and leak-free:
- Position the sink in the countertop cutout, making sure it’s aligned properly.
- Attach the mounting clips underneath the countertop lip, ensuring they grip the sink flange securely.
- Tighten each clip evenly with a screwdriver or wrench, switching sides to keep everything balanced.
- Double-check that all clips are secure, but don’t overtighten, as this could damage the sink or countertop.
Connecting Plumbing to Your New Kitchen Sink
Start by aligning the new sink’s drain and water supply connections with your existing plumbing. Proper pipe alignment is key to ensuring smooth water flow and preventing leaks.
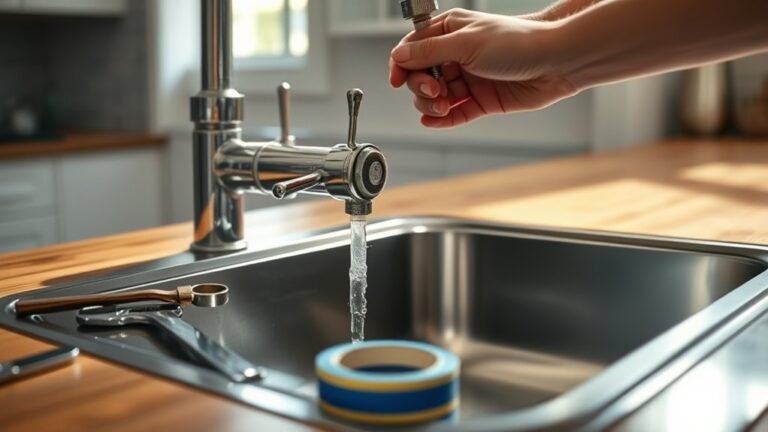
Check that all connections fit snugly without forcing any pipes, and make adjustments if needed. Use plumber’s tape on threaded connections to create a watertight seal.
Next, attach the drain assembly to the sink’s drain hole, then connect it to the P-trap. After that, connect the hot and cold water supply lines to the faucet valves.
Here’s a quick reference for your plumbing connections:
| Component | Action | Tip |
|---|---|---|
| Drain Assembly | Tighten with plumber’s putty | Avoid overtightening |
| P-trap | Secure with slip nuts | Hand-tighten, then slight turn |
| Water Supply Lines | Attach to faucet valves | Use plumber’s tape on threads |
How to Test Your Kitchen Sink for Leaks and Proper Function
Before you finish, run at least one thorough leak test to make sure every connection is tight and your sink works properly. Detecting leaks early can save you from water damage and costly repairs later on.
Follow these steps to test your kitchen sink:
- Turn on the water supply and check the water pressure. It should be steady without sudden drops.
- Run both hot and cold water at the same time, looking for drips or moisture around all joints and valves.
- Use a dry cloth to wipe around connections and watch for fresh water forming.
- Let the water run for several minutes, then turn it off and check the drain and pipes for leaks or slow drainage.
If you notice any leaks, tighten connections or replace faulty washers right away. Proper leak detection helps ensure your new sink works smoothly and keeps your kitchen safe from water damage.
How to Maintain Your New Kitchen Sink
Keeping your new kitchen sink in top condition requires regular care and attention. Start with routine sink cleaning to prevent stains and buildup, using gentle cleaners suited for your sink’s material.
Pay close attention to faucet care. Wipe down fixtures regularly to avoid mineral deposits and check for leaks often. Drain maintenance is essential; clear debris and use strainers to prevent clogs that can affect water quality.
Protect your countertops by promptly wiping spills and using cutting boards to prevent scratches. Proper installation tips help ensure your sink lasts longer and minimizes potential issues.
When adding accessories or upgrades, consider appliance compatibility and style. This keeps your kitchen looking cohesive and functional.
Stay informed about plumbing upgrades and renovation trends. These can improve your sink’s functionality and efficiency.
Fixing Common Kitchen Sink Replacement Problems
Tackling common kitchen sink replacement problems can save you time and frustration during your project. Here’s how to address frequent issues you might face:
- Clogged Drains: Clear debris from pipes before installation. Use a drain snake or chemical cleaner if needed to prevent future blockages.
- Faucet Issues: Check all connections for leaks and make sure you install the faucet securely. Tighten fittings properly to avoid drips and keep water pressure steady.
- Installation Mistakes: Measure carefully before cutting. Double-check alignment and seal all joints with plumber’s putty or silicone to prevent leaks and instability.
- Countertop Damage: Use protective padding when placing the sink. Avoid cutting too close to edges to prevent cracks or chips in your countertop.
Frequently Asked Questions
How Long Does It Typically Take to Replace a Kitchen Sink?
You’ll typically spend 2 to 4 hours replacing a kitchen sink, depending on your experience and the complexity of the job.
To speed things up, use proper plumbing tools and follow sink installation tips like turning off the water supply and carefully removing old sealant.
If you’re organized and prepared, the process goes much smoother.
Don’t rush. Taking your time guarantees a leak-free, solid installation that lasts.
Can I Replace a Kitchen Sink Without Professional Help?
Yes, you can replace a kitchen sink without professional help by following DIY tips carefully. Just make sure you turn off the water supply and gather the right tools beforehand.
Be careful to avoid common mistakes like improper sealing and incorrect plumbing connections, which can lead to leaks. Take your time measuring and fitting the new sink to ensure a snug fit.
If you stay organized and patient, you’ll be able to complete the job successfully on your own.
What Is the Average Cost of a Kitchen Sink Replacement?
You can expect to pay between $200 and $1,200 for kitchen sink replacement, depending on sink materials like stainless steel, porcelain, or granite composite. Stainless steel tends to be more affordable, while granite composite is pricier.
Installation tips include measuring carefully, turning off water, and checking plumbing compatibility to avoid extra costs. If you’re handy, you can save on labor, but complex setups might push costs higher.
Are There Eco-Friendly Kitchen Sink Options Available?
Yes, you’ll find plenty of eco-friendly kitchen sink options made from sustainable materials like recycled stainless steel, bamboo, and compostable bioplastics.
These choices not only reduce environmental impact but also come in various sink styles, from farmhouse to undermount, so you can match your kitchen’s look.
How Do I Dispose of My Old Kitchen Sink Properly?
You should start by checking local sink recycling programs, as many areas accept old kitchen sinks for metal and porcelain recycling. Avoid tossing it in regular trash because improper disposal can harm the environment.
Contact your waste management facility to learn about specific disposal methods. Some places offer bulky item pickup or drop-off centers.
If the sink’s in good shape, consider donating it to reuse organizations or Habitat for Humanity for eco-friendly disposal.
Conclusion
Replacing your kitchen sink might seem intimidating, but once you break it down step-by-step, it’s totally doable.
You might’ve heard the theory that plumbing fixes always lead to more problems, but with patience and the right tools, that’s not necessarily true.
By following these steps carefully, you’ll avoid leaks and headaches, turning your kitchen upgrade into a satisfying DIY success.
So, roll up your sleeves—you’ve got this! Replacing your kitchen sink can be a straightforward project with a little effort.