How to Refinish a Wooden Kitchen Table: A Step-by-Step Guide
Refinishing a wooden kitchen table might seem daunting, especially if you’re worried about making mistakes or ending up with a less-than-perfect finish.
You’re not alone—many people struggle with revitalizing their furniture and worry about the process being complicated or time-consuming.
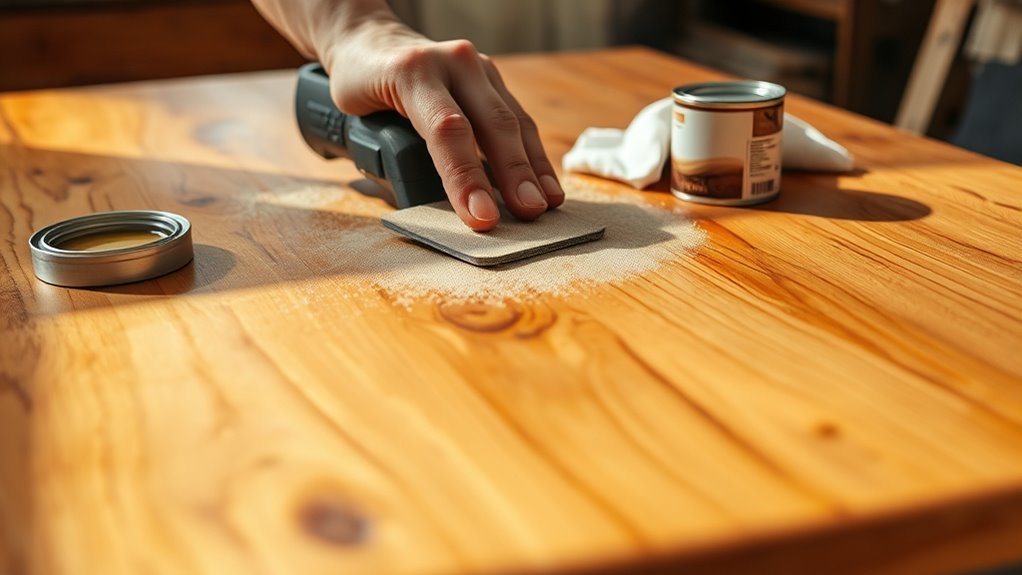
To refinish your wooden kitchen table, start by gathering sanding tools, brushes, and protective finish.
First, inspect and clean the table, then remove the old finish with sanding, repairing any damage along the way.
Apply your chosen stain or paint evenly, wiping off excess and allowing it to dry.
Seal the surface with polyurethane or varnish for added durability.
Maintain your table by cleaning regularly and protecting it from sunlight and moisture.
Keep following to discover detailed tips for a flawless finish.
Key Takeaways
- Clean the table thoroughly and check for any damage. Make sure to remove all dust and grime before you start refinishing.
- Sand the surface gradually, starting with coarse grit and moving to finer grit. Always sand with the wood grain for the best results.
- Fix scratches or gouges using wood filler or epoxy putty. Smooth out the surface so it’s even and ready for finishing.
- Apply thin, even coats of stain or paint. Wipe away any excess stain and let each coat dry completely before adding the next.
- Finish up by sealing the table with a protective coat like polyurethane. Keep it looking good with regular cleaning and occasional reapplications.
Gather Your Tools and Materials for Refinishing
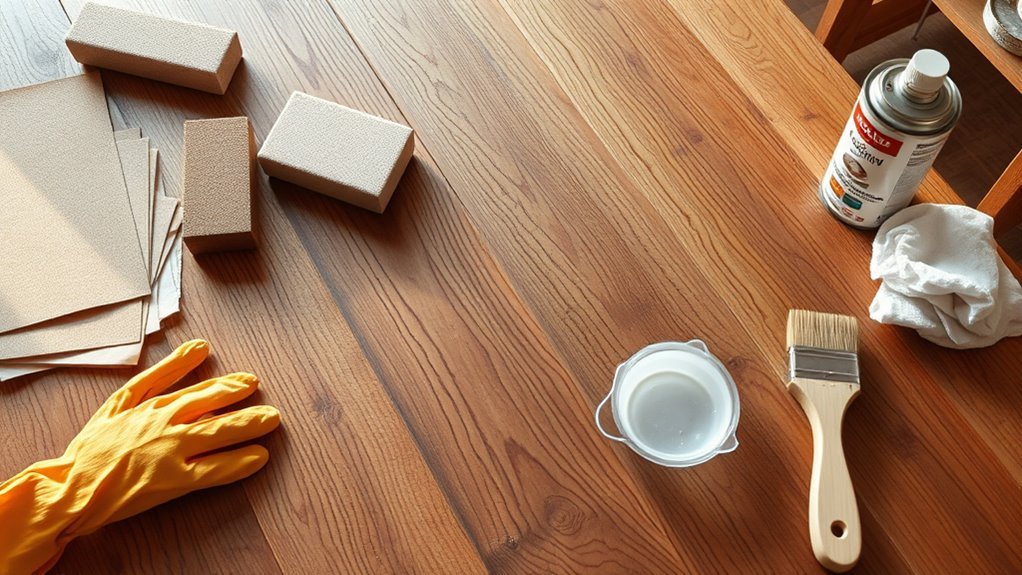
Before you start refinishing your wooden kitchen table, make sure you have all the tools and materials you’ll need. Having everything ready will save you time and keep the process smooth.
Begin by choosing the right tools: you’ll need different grits of sandpaper, a sanding block or electric sander, paintbrushes or foam brushes, and clean rags. A scraper or putty knife can also come in handy for removing old varnish or paint if necessary.
Next, pick your materials carefully. Select a quality wood stain or paint that matches your desired look, along with a durable protective finish like polyurethane or varnish. You’ll also want a good wood cleaner or mineral spirits for prepping the surface.
With the right tools and materials ready, you’ll be all set to tackle your refinishing project efficiently and achieve a polished, long-lasting result.
Inspect Your Table for Damage and Stains
Take a good look at your table’s surface and see if there are any scratches, dents, or cracks. It’s a good idea to identify these early on so you know what needs fixing. While you’re at it, check for any stains or marks that don’t come off with just a quick clean. Knowing about these imperfections upfront can really help you plan out the refinishing process more smoothly.
Identifying Surface Imperfections
Run your hands over the surface of your kitchen table to feel for scratches, dents, or rough spots that need attention. Finding these imperfections is really important before you start refinishing.
Look closely at the wood grain to spot any irregularities that might affect the final finish. Pay special attention to surface scratches that disrupt the smooth texture.
Check for minor dents or dings caused by everyday use. Also, look for areas where the wood grain has lifted or splintered.
Finally, feel for rough patches that could cause issues during sanding and staining. Catching these early makes the whole refinishing process smoother.
Spotting Stains and Marks
While examining your table, carefully look for stains and marks that could affect the refinishing process. Identifying these spots early helps with effective stain removal and mark prevention later.
Use good lighting to spot discolorations, water rings, ink marks, or scratches. Document each issue so you can address it properly.
Choose the Best Stain or Paint for Your Table
How do you decide between stain and paint for your wooden kitchen table? It mainly depends on the look and feel you want. Wood stain options highlight the natural grain, giving a warm, classic vibe. Paint finishes, on the other hand, offer solid color and can transform your table into a bold statement piece.
Consider these factors:
- Style preference – Do you want to showcase wood’s texture or prefer a smooth, opaque finish?
- Durability needs – Some stains penetrate deeply, protecting wood, while certain paint finishes provide a hard, protective layer.
- Color variety – Stains tend to come in earthy tones; paints offer a broader palette and sheen levels like matte or glossy.
- Maintenance – Stains can hide scratches better; painted surfaces might need touch-ups more often.
Choose the option that best matches your kitchen’s style and how you use your table.
Clean and Prepare the Surface Before Refinishing
Before you apply any stain or paint, you’ll need to thoroughly clean and prepare your table’s surface. Start by wiping down the entire table with a damp cloth to remove dust, dirt, and debris. For tougher grime or grease, use a mild detergent mixed with water, then rinse and let it dry completely. Proper surface cleaning guarantees the new finish adheres well and lasts longer.
Next, check the table for dents, scratches, or rough spots. Lightly sand the surface with fine-grit sandpaper, following the wood grain to avoid scratches. Sanding smooths out imperfections and opens the wood pores, helping the stain or paint to penetrate evenly. After sanding, remove all dust with a vacuum or tack cloth.
These preparation steps are key to a flawless refinishing job. Skipping or rushing through them can cause uneven color and poor adhesion. Take your time to get the surface ready before moving on.
Remove the Old Finish Safely
Once your table is clean and sanded, it’s time to remove the old finish to reveal fresh wood underneath. Different finish types like varnish, lacquer, or polyurethane may need specific removal techniques. Prioritize chemical safety by choosing eco-friendly options when possible, and always wear protective gear like gloves and goggles.
After cleaning and sanding, safely remove old finishes using eco-friendly methods and protective gear.
Make sure to work in a well-ventilated area or use fans to disperse fumes. Proper ventilation is essential for safe removal.
Follow these steps to remove the old finish safely:
- Pick a suitable eco-friendly or chemical stripper based on your finish type.
- Apply the stripper evenly with a brush, and let it soak as directed.
- Gently scrape off the softened finish with a plastic scraper to avoid damage.
- Dispose of chemical waste properly, following local disposal methods to protect the environment.
Taking these careful steps prepares your surface for a flawless refinishing job.
Repair Scratches and Gouges Before Sanding
Address scratches and gouges promptly to ensure a smooth, even surface before sanding. Start by assessing the damage: minor scratches can often be fixed with simple techniques like using a wood filler stick or a matching wood stain marker.
For deeper gouges, use methods like applying wood filler or epoxy putty. Press the filler into the damaged area with a putty knife, making sure it fills the gouge completely. Let it dry thoroughly according to the product instructions.
Once dry, lightly scrape off any excess filler to avoid uneven spots. These repair steps help ensure the surface is level and ready for sanding, preventing further damage and giving you a better final finish. Taking the time to fix imperfections now saves you from noticeable flaws later.
Sand the Table Smooth for Refinishing
So, the first thing you want to do is pick the right kind of sandpaper grit. If you go too coarse, you might end up damaging the wood, so it’s best to start with a finer grit.
When you’re sanding, use smooth, even strokes and always sand with the grain of the wood. It’s easy to miss spots if you’re not careful, so take your time and make sure you cover the entire surface.
A few key techniques can really make a difference—like keeping the sandpaper moving steadily and not pressing down too hard. Following these tips will help you get that perfectly smooth surface, ready for refinishing!
Choosing The Right Sandpaper
Choosing the right sandpaper is key to getting a smooth finish on your wooden kitchen table. Picking the right grit and paper type can make your project much easier and more effective.
Here’s what you should know:
Start with coarse grit (60-80) to quickly remove the old finish. Then, switch to medium grit (120-150) to smooth out scratches and imperfections. Finish with fine grit (220-320) for a really smooth surface.
When selecting sandpaper, choose between aluminum oxide for durability or garnet for a finer finish, depending on your wood type.
Sanding Techniques And Tips
A smooth sanding technique can really transform your wooden kitchen table and get it ready for refinishing. Start by selecting the right grit—begin with coarse sandpaper to remove the old finish, then gradually switch to finer grits for a smooth surface.
Use an orbital sander for large areas to save time, but switch to sanding blocks or hand sanding for edges and detailed spots. Always sand with the grain to avoid scratches.
Don’t forget to remove dust between grit changes to get a clean finish. As you get close to the end, focus on fine hand sanding for a silky feel.
Remember to wear a mask and goggles to protect yourself from dust and debris. Proper sanding techniques will help you achieve a flawless refinishing result.
Apply Stain or Paint Evenly and Let It Dry
Two key factors guarantee a smooth finish when applying stain or paint: even coverage and patience during drying. Whether you’re using a stain or a paint, mastering your technique is essential for a flawless surface. Here’s how to do it right:
- Use a high-quality brush or foam applicator to spread the stain or paint evenly, avoiding streaks or blobs.
- Apply thin, consistent coats, following the wood grain for stain application to enhance its natural beauty.
- Wipe off excess stain promptly to prevent blotching, but don’t rush this step.
- Allow adequate drying time between coats. Check the product’s instructions for specific times.
Seal Your Refinished Table With a Protective Finish
Now that your stain is dry, it’s a good idea to seal your table with a protective finish. Picking the right one depends on what kind of look you want and how durable you need it to be. You might consider options like polyurethane, varnish, or lacquer — each has its own pros and cons.
When you’re ready to apply the finish, make sure to do it evenly and in thin coats. This will help you get a smooth, professional-looking surface that lasts longer. Just take your time, and you’ll end up with a beautiful, protected table!
Choosing The Right Finish
Although sanding and staining transform your wooden kitchen table, choosing the right finish is what truly protects and enhances its beauty. You’ll want to take into account:
- Finish type: Matte finishes offer subtle elegance, while glossy finishes give a shiny, vibrant look.
- Stain compatibility: Water-based stains dry quicker and are easier to clean, whereas oil-based stains penetrate deeper for rich color.
- Eco-friendly options: Low-VOC finishes minimize toxic fumes and are better for your home environment.
- Practical factors: Think about matching the color with your stain, choosing the right application tools, and drying times to fit your schedule.
Picking the perfect finish guarantees durability and highlights your table’s character while matching your kitchen’s style.
Application Tips And Techniques
Start by making sure your table’s surface is clean and completely dry before applying any finish.
Choose a finish that matches your table’s color to get the best color coordination.
Use high-quality brushes to apply the protective coat evenly. Long, smooth strokes help reduce brush marks and create a consistent layer.
Be careful not to overload your brush to avoid drips and uneven coverage.
Work along the wood grain to highlight the table’s natural beauty.
Let each coat dry completely, and lightly sand between layers for a smooth, professional look.
Applying multiple thin coats is better than one thick coat because it offers better protection.
Maintain Your Refinished Table for Long-Lasting Beauty
To keep your refinished wooden kitchen table looking its best, you’ll want to develop a few simple maintenance habits. Regular cleaning is key; use a soft cloth and gentle cleaner to protect the finish.
Seasonal care is also important. Changes in humidity and temperature can affect the wood’s health, so adjust your routine accordingly. Proper placement matters too—keep your table away from direct sunlight and heat sources for better protection.
Controlling moisture is crucial to prevent warping or stains. Here are four easy tips to help your table stay beautiful and durable for years:
- Wipe up spills right away to avoid moisture damage.
- Reapply a protective coating once a year to keep the finish fresh.
- Use coasters and placemats to shield from heat and scratches.
- Keep the table away from vents and windows to limit environmental exposure.
Follow these simple steps, and your table will stay both beautiful and functional for a long time.
Frequently Asked Questions
Can I Refinish a Table With Veneer Instead of Solid Wood?
Yes, you can refinish a table with veneer, but you need to be careful because veneer is thin and fragile. Unlike solid wood, it requires gentle techniques to avoid sanding through the surface.
Use fine-grit sandpaper and avoid aggressive stripping. Light coats of finish and even coverage will help preserve the veneer.
With patience and the right approach, you can restore your veneered table beautifully.
How Long Does the Entire Refinishing Process Usually Take?
You might think the refinishing timeline is quick, but it takes patience. Usually, the entire process spans two to three days.
Sanding and stripping take a few hours, but drying time between coats is essential. Each coat needs at least a few hours to dry properly.
Rushing it can ruin your finish, so plan for overnight drying after the final coat. This ensures a smooth, durable surface you’ll love.
What Safety Gear Is Essential During Refinishing?
You’ll need safety goggles to protect your eyes from dust and splinters, plus a dust mask to avoid inhaling harmful particles. Chemical gloves are essential when handling stains or finishes to prevent skin irritation.
Work gloves help protect your hands from rough surfaces and splinters during sanding. Wearing all this gear keeps you safe and comfortable throughout the refinishing process, so don’t skip these vital protections.
Can I Refinish a Table Outdoors During Winter?
You can refinish a table outdoors during winter, but you need to be extra careful. Imagine Sarah trying to do it on a cold December day; she faced issues with drying times and damp, chilly air.
Winter weather slows down the drying process and can cause finishes to bubble or crack. It’s important to plan your outdoor work carefully—try to do it during warmer daylight hours.
Use a windbreak to protect the table from cold gusts, and keep it covered while it dries. This helps shield it from moisture and keeps the cold from affecting the finish.
Is It Better to Use Oil-Based or Water-Based Finishes?
It’s better to use oil-based finishes if you want durability and a rich, warm look since oil-based advantages include deeper penetration and longer-lasting protection.
However, if you prefer quicker drying and easier cleanup, water-based finishes might seem appealing. But keep in mind, water-based options can be less durable and may develop cloudiness over time.
You should weigh these factors based on your table’s use and your finishing goals.
Conclusion
Refinishing your wooden kitchen table turns worn-out surfaces into stunning focal points, blending old charm with fresh vibrancy.
Though the process takes patience and effort, the result is a table that feels both timeless and renewed.
By carefully sanding away the old finish and applying a protective coat, you breathe new life into something familiar.
It’s a great way to preserve history while embracing change, making sure your table stays beautiful for years to come.