How to Self Clean an Oven: A Step-by-Step Guide
Cleaning your oven can feel like a daunting chore, and you’re not alone—many people struggle with keeping it spotless.
Luckily, there are simple, effective ways to get your oven looking and smelling fresh without too much hassle.
To self-clean your oven, start by removing racks and ensuring it’s cool and unplugged.
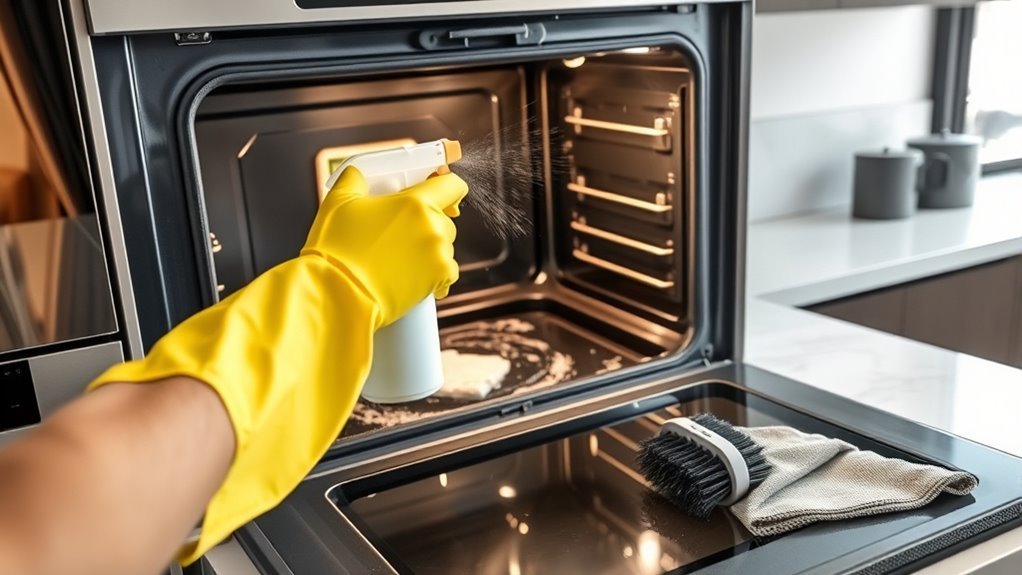
Use baking soda and vinegar to tackle grime naturally—sprinkle baking soda, spray vinegar, let fizz for 15 minutes, then scrub and wipe clean.
Alternatively, follow your oven’s self-cleaning cycle instructions, ventilate well, and wait for it to cool before wiping ash.
Don’t forget to soak and clean racks separately.
Keep going to uncover more tips for fresh-smelling, safe, and efficient oven maintenance.
Key Takeaways
- Remove all racks and items from the oven before starting the self-clean cycle.
- Make sure your kitchen is well-ventilated by opening windows or turning on an exhaust fan during cleaning.
- Follow the manufacturer’s instructions carefully for the self-cleaning process.
- Never leave the oven unattended or go to sleep during the self-clean cycle for safety reasons.
- Wait until the oven is completely cooled before wiping away any ash or residue.
Getting Your Oven Ready for Cleaning
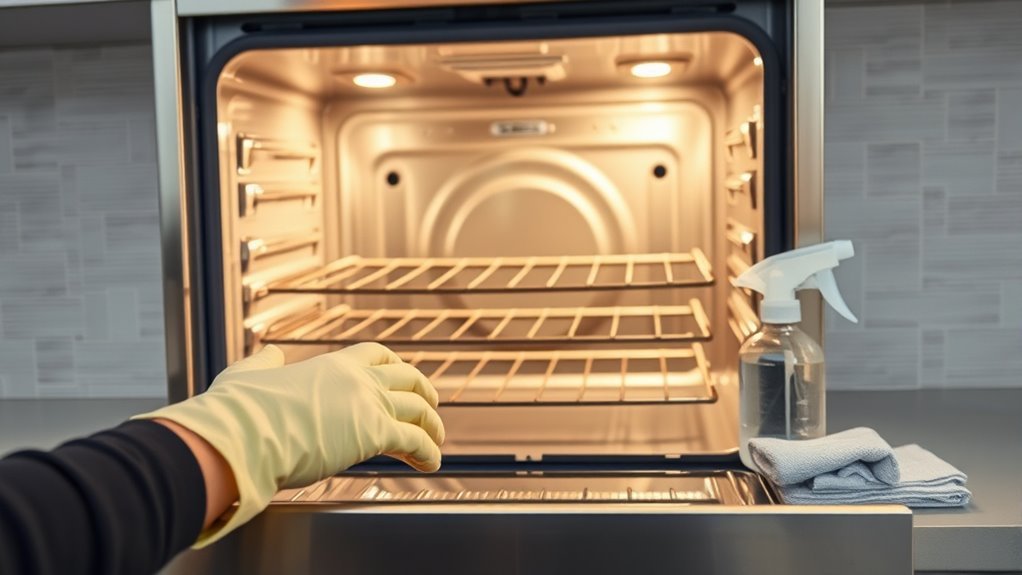
Begin by removing everything inside your oven, including racks, trays, and any loose debris. This step is essential for proper oven preparation, as it guarantees you can clean every surface effectively without obstruction.
Next, check your oven’s manual for specific safety measures before you start cleaning. Make certain the oven is completely cool to prevent burns. Also, disconnect it from power if possible to avoid electrical hazards.
Wear gloves to protect your hands from harsh cleaning agents or grime. Ventilate the kitchen by opening windows or turning on a fan to keep fumes at bay.
Inspect the oven for any damage, like cracked glass or faulty seals, which might need professional attention before cleaning. Taking these safety measures seriously helps you clean your oven effectively while minimizing risks.
Once the oven is ready and safe, you’ll be set to move on to the next steps with confidence.
Effective Natural Oven Cleaning Methods That Work
Although many commercial oven cleaners promise quick results, natural methods can be just as effective without exposing you to harsh chemicals. You can rely on simple natural cleaning recipes that use ingredients you probably already have at home.
For example, a paste made from baking soda and water works wonders on stubborn grime when left to sit for a few hours. Scrubbing with a damp cloth afterward easily removes the residue.
Using eco-friendly products not only protects your health but also reduces your environmental impact. Options like lemon juice, vinegar, and castile soap are gentle yet powerful alternatives to harsh chemicals.
Eco-friendly cleaners like lemon juice and vinegar protect your health and the environment without harsh chemicals.
They break down grease and burnt food without releasing toxins or strong odors. By choosing these natural cleaning recipes, you’ll keep your oven sparkling clean while maintaining a safer home environment.
Plus, these methods are budget-friendly and simple, making your oven cleaning routine hassle-free.
How to Use Baking Soda and Vinegar to Remove Oven Grease
Sprinkle a generous layer of baking soda over the greasy areas inside your oven to tackle tough buildup. Next, spray or pour white vinegar over the baking soda. The fizzing reaction helps break down grease and grime effectively.
Let the mixture sit for 15-20 minutes to loosen stubborn deposits. Then, scrub the surfaces with a damp cloth or sponge to lift off the grease. Finally, wipe everything clean with warm water and dry thoroughly.
This simple method is one of the best oven maintenance tips, using natural ingredients for safe, efficient grease removal.
How to Use the Oven’s Self-Cleaning Feature Safely
When you activate your oven’s self-cleaning feature, it heats to very high temperatures to burn away food residue and grease. Before starting, remove all racks, pans, and any loose debris to prevent damage and smoke.
Make sure your kitchen is well-ventilated by opening windows or turning on an exhaust fan. Always follow the manufacturer’s instructions and set the self-clean cycle according to your oven model.
For oven safety, never leave the house or fall asleep during the cleaning cycle. It can last several hours, and the exterior gets very hot. Keep children and pets away for safety.
Use precautions like wiping up spills around the oven before starting to prevent smoke. After the cycle finishes, wait until the oven cools completely before wiping away ash with a damp cloth.
Following these steps helps you use your oven’s self-cleaning feature safely and effectively.
How to Remove Stubborn Oven Stains Naturally
Want to get rid of those stubborn oven stains without all the harsh chemicals? You’re in luck! Natural ingredients like baking soda and vinegar can do wonders. Just a simple application with the right techniques can help break down tough residues safely and effectively. Let’s explore how you can make cleaning your oven both easy and eco-friendly.
Natural Cleaning Ingredients
Three natural ingredients stand out for tackling stubborn oven stains: baking soda, vinegar, and lemon juice. These natural options are effective and eco-friendly, without using harsh chemicals.
You can mix baking soda with water to make a paste that helps loosen grime. Vinegar’s acidity cuts through grease, and lemon juice adds antibacterial properties along with a fresh scent.
| Ingredient | Benefits |
|---|---|
| Baking Soda | Abrasive, neutralizes odors |
| Vinegar | Dissolves grease, disinfects |
| Lemon Juice | Antibacterial, freshens, cuts grease |
| Water | Dilutes, activates other ingredients |
Using these natural ingredients helps protect your health and the environment while keeping your oven sparkling clean.
Effective Stain Removal Techniques
Natural ingredients like baking soda, vinegar, and lemon juice are great for tackling oven stains, but how you use them makes a big difference. Start by mixing baking soda and water into a paste, then spread it over stubborn spots. Let it sit for several hours or overnight to loosen up the grime.
Next, spray vinegar over the paste to create a fizzing reaction that lifts the residue. Wipe everything away with a damp cloth, then rub lemon juice on any remaining stains for a fresh scent and extra grease-cutting power.
To keep your oven cleaner longer, try to clean it regularly—ideally after every few uses. This helps prevent buildup, making future stain removal quicker and easier so you won’t have to deal with tough messes later.
Tips for Tough Residue
Although tough oven stains can be frustrating, tackling them with simple household ingredients is entirely possible.
For effective residue removal, start by mixing baking soda with water to form a thick paste. Spread this over the stubborn stains and let it sit for several hours or overnight.
The baking soda will break down grease and burnt-on food, making it easier to scrub away. Next, spray white vinegar over the paste; the fizzing reaction helps lift stubborn stains further.
Use a non-abrasive scrubber or cloth to gently wipe the residue away. For extra tough spots, repeat the process or add a bit of lemon juice for natural acidity.
These natural methods avoid harsh chemicals while efficiently removing stubborn oven residue.
How to Clean Oven Racks and Accessories
First things first, carefully take out your oven racks and any accessories you’ve got in there. Once they’re out, pop them into a sink filled with warm, soapy water. Let them soak for a bit—that’ll help loosen up all the grease and grime. After soaking, grab a scrub brush or a sponge and give them a good scrub to get rid of any stubborn spots.
When you’re done cleaning, make sure everything is completely dry before you put the racks and accessories back in your oven. This way, you avoid any rust or water spots, and your oven stays sparkling clean!
Removing Oven Racks
Slide out the oven racks carefully to avoid scratching the interior. Different rack materials need specific maintenance to stay in good shape. Knowing what your racks are made of helps you handle them properly and extend their lifespan.
Before cleaning, remove all racks and accessories so you can clean each part thoroughly without damaging the oven’s interior.
| Emotion | Thought | Action |
|---|---|---|
| Frustration | “These racks are tough to remove!” | Take your time sliding them out gently. |
| Relief | “They’re out without damage!” | Set racks on a protected surface. |
| Satisfaction | “Now I can clean everything well.” | Prepare racks for cleaning. |
| Confidence | “I know how to maintain them better.” | Learn about your rack materials. |
Soaking and Scrubbing Techniques
Soak your oven racks and accessories in warm, soapy water to loosen baked-on grease and grime. To make this even better, try soaking solutions like a mix of baking soda and vinegar or commercial oven cleaners made for tough residue.
Let the racks sit for at least 30 minutes so the soaking solutions can break down stubborn buildup. Once they’re softened, grab your scrubbing tools—non-abrasive sponges, nylon brushes, or scouring pads work best to avoid damaging the metal.
Scrub each rack thoroughly, paying attention to corners and crevices where grime tends to hide. For spots that are really dirty, reapply the soaking solutions and scrub again.
This method makes sure your oven racks and accessories come out clean, making your oven maintenance easier and more efficient.
Drying and Reassembling
Once your oven racks and accessories are completely clean, give them a thorough drying to prevent rust and water spots. Use effective drying techniques like wiping with a microfiber cloth or letting them air dry on a clean towel. Make sure every crevice is dry, especially corners where moisture can hide.
When it’s time to put everything back, follow reassembly tips to avoid damage. Slide racks in carefully along the tracks, making sure they sit evenly. Double-check that any screws or clips on accessories are tight and secure.
Proper drying and careful reassembly will keep your oven functioning well and looking great. Taking these steps ensures your oven is ready for the next use without any lingering moisture or misplaced parts.
What You’ll Need to Clean Your Oven
You’ll need just a few essential items to get your oven clean and fresh. Before you start, gather the right cleaning supplies and keep safety precautions in mind to protect yourself and your kitchen.
Here’s what you’ll need:
- Oven cleaner or homemade solution – Choose a commercial cleaner or a mix of baking soda and vinegar for a natural approach.
- Rubber gloves – Protect your hands from harsh chemicals and grime.
- Scrubbing tools – Use a sponge, scrub brush, or non-abrasive pad to tackle stubborn spots.
- Microfiber cloths or paper towels – For wiping down and drying surfaces after cleaning.
Make sure you work in a well-ventilated area and avoid mixing chemicals. Wearing gloves and, if needed, a mask will keep you safe while effectively removing grease and burnt-on food. Having these supplies ready will make your self-cleaning process smooth and efficient.
How to Keep Your Oven Smelling Fresh After Cleaning
After thoroughly cleaning your oven, keeping it smelling fresh is the next step to maintain a pleasant kitchen environment. Start by placing a small bowl of baking soda inside the oven overnight to absorb lingering odors. You can also leave activated charcoal or coffee grounds nearby, as both naturally trap smells.
For a more natural scent, tuck fresh herbs like rosemary or thyme on the oven racks, or scatter citrus peels. These add a bright aroma as the oven warms. If you want an extra boost, wipe down surfaces with a vinegar solution to neutralize odors before drying thoroughly.
Adding a few drops of essential oils to a cotton ball and placing it in the oven can offer a subtle, invigorating scent without overpowering your kitchen. Finally, consider using safe air fresheners in the room, but avoid spraying directly inside the oven. These simple steps will help you enjoy a fresh-smelling oven after every deep clean.
Easy Daily Habits to Prevent Oven Buildup
Want to keep your oven spotless? Just wipe up spills right away whenever they happen—that way, you’ll prevent them from turning into stubborn buildup. It’s such a simple trick that makes a big difference!
And hey, have you thought about using oven liners? They’re super handy for catching drips and crumbs, so cleaning up becomes a breeze. These easy habits might seem small, but they really save you time and effort in the long run.
Wipe Spills Immediately
Catch spills as soon as they happen to keep your oven clean and prevent stubborn buildup. Wiping spills immediately is one of the best oven maintenance tips you can use every day. This simple habit stops grease and food residue from hardening, making cleaning quicker and easier.
To master this spill prevention trick, just follow these easy steps:
- Keep a damp cloth or sponge nearby when cooking.
- After each use, check your oven floor and door for any spills.
- Gently wipe up messes while they’re still fresh and soft.
- Use a mild cleaner if needed, but avoid harsh chemicals.
Use Oven Liners
One simple tool you can use to keep your oven clean is an oven liner. These liners catch spills and crumbs, saving you time on scrubbing.
When choosing liners, pick ones made of heat-resistant, non-stick materials that fit your oven size perfectly. The benefits include easy cleanup and protecting your oven floor from baked-on messes.
| Oven Liner Benefits | Choosing Liners Tips |
|---|---|
| Prevents buildup | Measure oven floor before buying |
| Easy to clean | Opt for non-stick surfaces |
| Protects oven surfaces | Check temperature resistance |
| Saves cleaning time | Verify liner fits oven model |
| Reduces smoke from spills | Avoid blocking oven vents |
Using liners regularly makes oven maintenance effortless and helps keep your appliance in top shape.
Why Regular Oven Cleaning Improves Cooking and Safety
Although you might not notice it right away, a dirty oven can really impact how your food cooks and even create safety issues. Regular cleaning helps keep your oven working well and ensures your meals bake evenly.
A dirty oven affects cooking quality and safety; regular cleaning keeps it efficient and your meals perfectly baked.
If you ignore cleaning, grease buildup can pose fire risks and cause health concerns from bacteria and smoke. To keep your oven safe and efficient, focus on these key points:
- Set a cleaning schedule based on how often you use it to prevent grime from building up.
- Remove food residues regularly to avoid smoke and bad odors.
- Check and clean the heating elements to help your oven last longer.
- Quickly clean up grease and spills to reduce fire hazards.
Frequently Asked Questions
Can I Use Commercial Oven Cleaners Instead of Natural Methods?
Yes, you can use commercial oven cleaners instead of oven cleaner alternatives like baking soda and vinegar. Just make sure you follow safety precautions carefully, such as wearing gloves and ensuring proper ventilation. Avoid skin contact as well.
Commercial cleaners are often stronger and more effective on tough grease, but they contain harsh chemicals. If you prefer a gentler method, natural oven cleaner alternatives work well and are safer for frequent use.
How Often Should I Deep Clean My Oven Annually?
Imagine your oven as a hardworking chef’s companion, gathering grime like a quiet storyteller.
For proper oven maintenance, you should deep clean it about two to four times a year, depending on use.
Sticking to this cleaning schedule prevents buildup, keeps your oven efficient, and guarantees better cooking results.
If you use it daily, aim for quarterly deep cleans; if less often, twice a year should do the trick to keep everything sparkling and safe.
Is It Safe to Clean the Oven Door Glass With Ammonia?
You shouldn’t use ammonia to clean your oven door glass because it can produce harmful fumes and might damage the glass or seals.
Instead, try a gentle cleaner or a mixture of vinegar and water to keep things safe.
Always make sure the area is well-ventilated and wear gloves when you’re cleaning.
These simple precautions help keep your oven door clean and avoid health risks.
Can Self-Cleaning Damage the Heating Elements?
Self-cleaning usually won’t damage your oven’s heating elements if you follow proper oven maintenance tips. The heating elements are designed to withstand high temperatures during self-clean cycles, but repeated or extreme use can cause wear over time.
To keep your heating elements in good shape, avoid using harsh chemicals or scrubbing them directly. Regularly check for any visible damage, and make sure the oven is completely cool before cleaning to protect these parts.
What Should I Do if My Oven Smells Like Smoke After Cleaning?
If your oven smells like smoke after cleaning, start by ventilating the area well. Open windows and turn on fans to help remove the smoke.
Next, wipe down the oven’s interior with a damp cloth to get rid of any leftover residue that might be causing the smell.
For odor neutralization, place a bowl of baking soda or vinegar inside the oven overnight. This helps absorb any lingering odors and leaves your oven smelling fresh and ready to use again.
Conclusion
Cleaning your oven is like giving your kitchen a fresh breath of life.
By tackling grease and grime with natural methods and safe self-cleaning, you’re not just scrubbing away dirt—you’re giving your oven a new lease on life.
Keep up simple habits, and your oven will shine like a trusted companion, ready to cook up warmth and memories.
Remember, a clean oven isn’t just spotless; it’s the spark that fuels your culinary adventures with self-cleaning techniques.