What Internal Temperature Is Pork Chops Done? Proven Tips for Juicy, Safe Meat
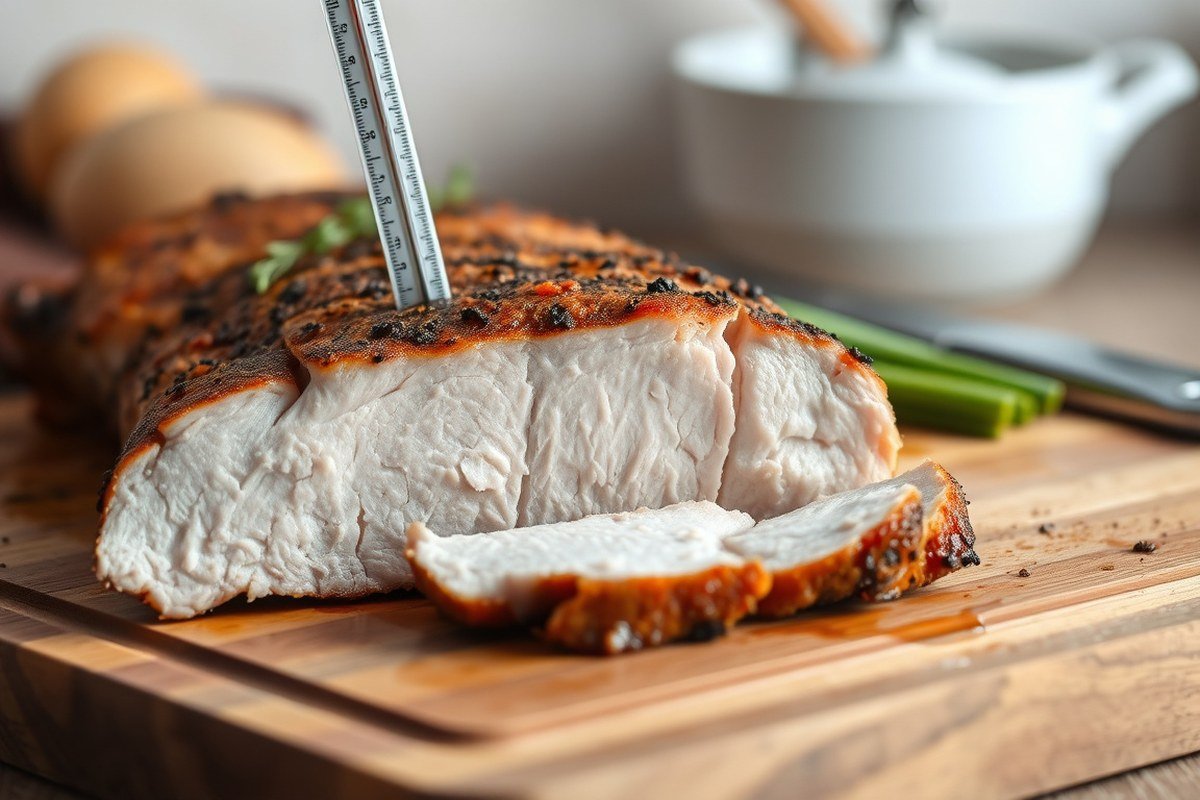
The internal temperature pork chops are done at for safety and best taste is 145°F (63°C), followed by a three-minute rest. This temperature ensures the pork is juicy, flavorful, and safe to eat while avoiding the dryness caused by overcooking.
This information is helpful for home cooks who want to prepare pork chops properly without risking foodborne illness or dry meat. You will learn how to check internal temperature correctly and understand how cooking methods and resting affect your results.
Key Takeaways
- Use an instant-read meat thermometer to check the thickest part of pork chops for accurate temperature readings.
- Remove pork chops from heat once they reach 145°F and rest them for at least three minutes before slicing.
- Cooking pork chops above 145°F risks drying out the meat and darkening its color.
- Thicker pork chops need more time to reach 145°F; adjust cooking time based on chop thickness.
- Ground pork should be cooked to 160°F for safety, unlike whole pork chops at 145°F.
- Pulled pork requires a higher internal temperature of about 190°F to become tender enough to shred.
What Internal Temperature Are Pork Chops Done at for Safety and Taste?
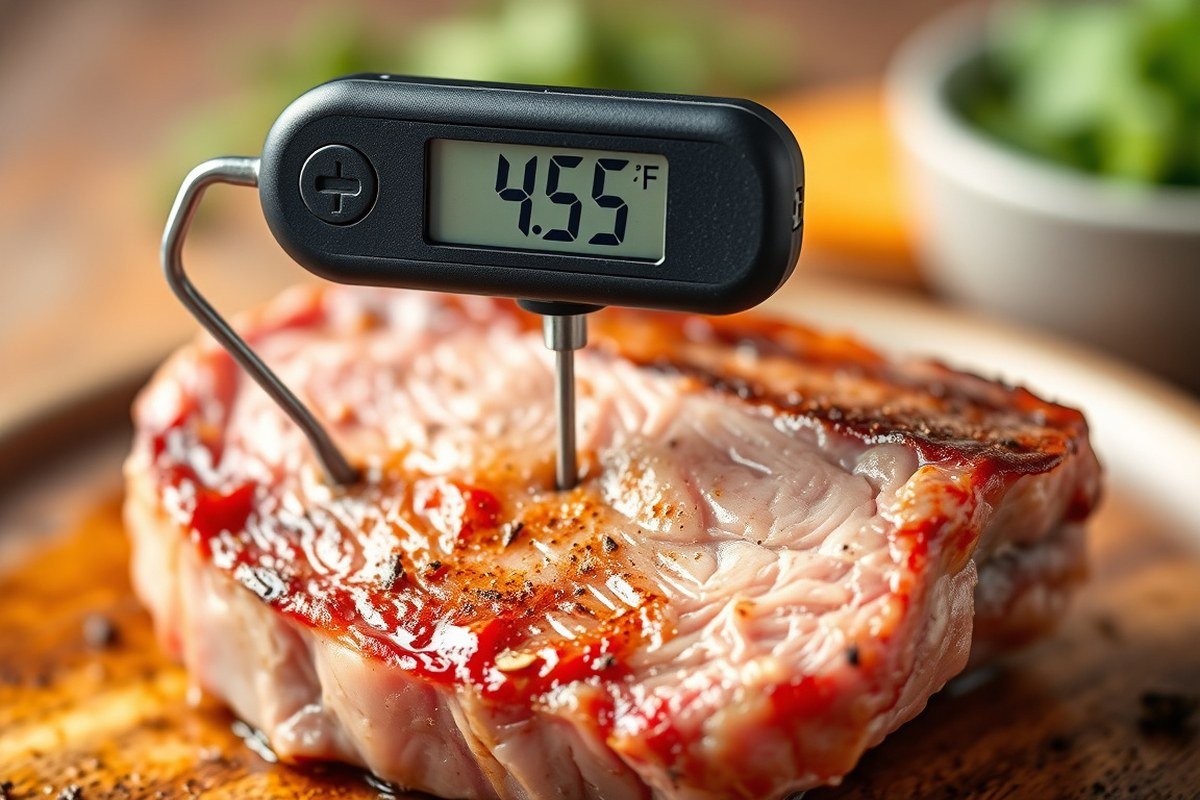
Pork chops are best cooked to an internal temperature of 145°F and then rested for at least three minutes. The USDA lowered their previous recommendation from 160°F to 145°F for whole cuts of pork after recent research. This change is based on evidence that cooking pork to 145°F followed by a rest period guarantees safety and tenderness.
Cooking pork chops to 145°F and then letting them rest allows the temperature to remain steady or even continue to rise slightly. This resting period kills any harmful bacteria present while allowing the juices to redistribute throughout the meat. It results in pork that is safe to eat, tender, and juicy. Cooking pork chops to higher temperatures, like 160°F, can make the meat drier and tougher because the proteins tighten more, pushing out moisture.
It is safe to eat pork chops with a pink center, as long as the internal temperature reaches 145°F and they rest properly. Many people worry that pink pork means undercooked or unsafe meat, but that is a misconception based on older standards. According to USDA guidelines, the pink color can remain due to factors like pH and cooking method, even when the pork is fully cooked and safe. Always use a reliable meat thermometer to check the temperature, rather than judging doneness by color alone.
An instant-read thermometer helps you cook pork chops perfectly by measuring the temperature in the thickest section. Take the pork off the heat right after it reaches 145°F. Let it rest loosely covered for three minutes before serving or slicing, which improves flavor and safety with just a short wait. Avoid exceeding 150°F unless you prefer a very well-done pork chop, as higher temperatures can dry it out.
How to Use a Meat Thermometer for Perfectly Cooked Pork Chops
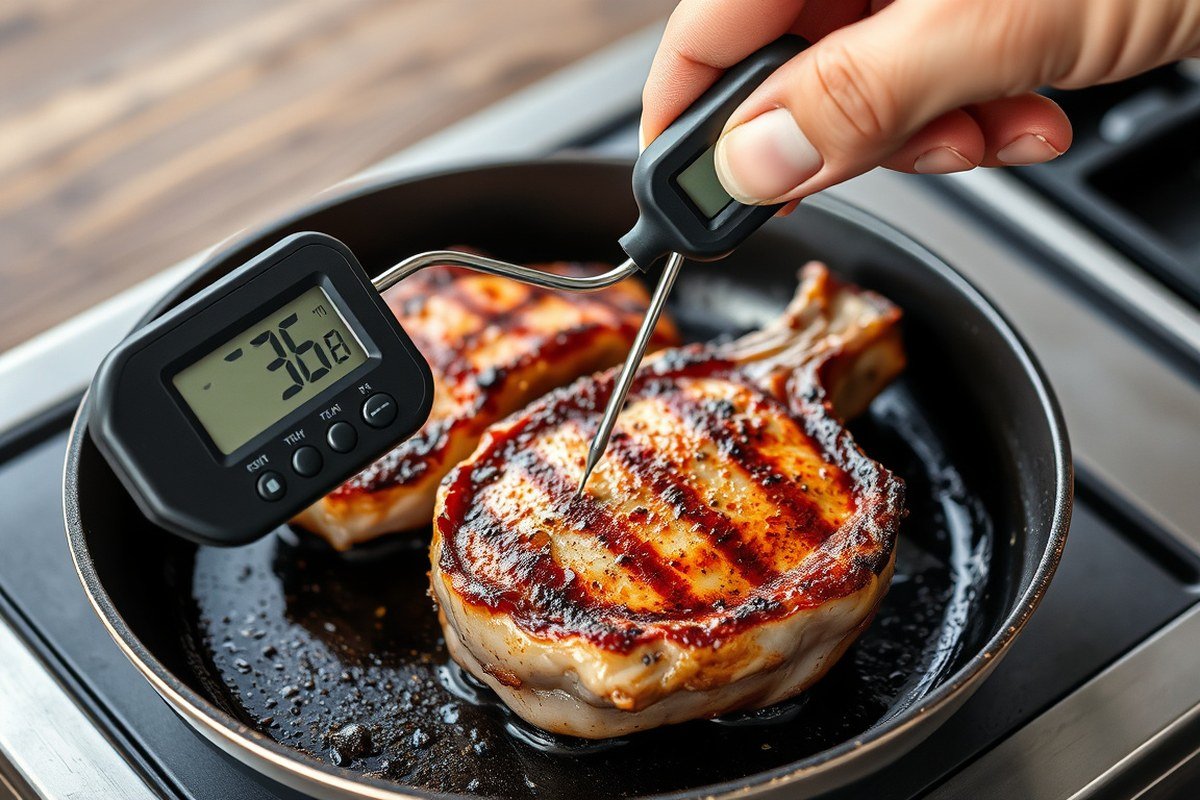
A meat thermometer is essential for cooking pork chops to the right internal temperature. Place the thermometer in the thickest section of the chop, steering clear of the bone, and check the temperature close to the end of cooking. Remove the chop from heat when it reaches 140 to 145°F, then allow it to rest to complete cooking.
Choosing the Right Thermometer Type
A digital instant-read thermometer works best for pork chops because it gives quick, accurate temperature readings, usually within seconds. Look for one with a thin probe for easy insertion and a clear display to read the temperature instantly. Avoid dial thermometers, which take longer and aren’t as precise.
Sensors that reach full temperature fast help you check doneness without overcooking during testing. Digital models typically cost $10 to $30, a small investment for the quality of your pork. Keeping a dedicated meat thermometer for pork and other meats avoids cross-contamination.
Placement Tips for Accurate Readings
Accurate temperature checks require proper placement of the thermometer probe. Insert the probe into the thickest portion of the pork chop because that’s where heat penetrates last. Steer clear of touching any bone, which heats faster and can give a false high reading.
Push the thermometer probe about halfway or more into the chop’s thick part for a reliable measure of the internal temperature. When the thermometer tip contacts bone, the reading may rise by several degrees above the true meat temperature. This can lead to undercooking the pork chop without realizing it.
Avoid inserting the thermometer near the edges since the temperature there can be higher from surrounding heat and doesn’t reflect the center temperature.
Timing for Temperature Checks
Time your thermometer checks toward the end of cooking, when you expect the chop to be close to done. Checking too early wastes heat and can extend cooking time unnecessarily. Check temperature about 5 minutes before the minimum cooking time based on thickness and cooking method.
Remove pork chops from heat at 140, 145°F. Carryover cooking during a 3-minute rest raises the temp slightly to the USDA-recommended 145°F for safe consumption. Regularly checking temperature about every 1, 2 minutes during the final cooking phase helps you catch the perfect doneness point without overcooking.
- Turn on your digital instant-read thermometer and wait for it to be ready.
- Insert the probe straight into the thickest part of the pork chop, avoiding the bone.
- Wait approximately 3, 5 seconds for the thermometer to stabilize and show a consistent reading.
- Note the temperature and compare it against the target range of 140, 145°F.
- Pull the pork chop from heat once it reaches this range.
- Allow the pork chop to rest for at least 3 minutes before slicing or eating to let carryover cooking finish the process.
- Use the thermometer to check remaining chops following the same steps.
How Resting Pork Chops After Cooking Affects Final Internal Temperature and Juiciness
Resting pork chops for about three minutes after cooking allows the internal temperature to rise slightly and lets the juices redistribute. This process, called carryover cooking, improves the texture and juiciness of the meat while preventing moisture loss. Skipping this step can leave your pork chops dry and less flavorful.
Understanding Carryover Cooking
Carryover cooking happens because the heat inside the pork chop continues to move from the hotter outer layers to the cooler center after removing it from the heat source. This causes the internal temperature to increase by 5°F to 10°F during the resting period. For pork chops, reaching a final internal temperature of 145°F with a three-minute rest ensures safety and optimal doneness.
This temperature rise is important because it finishes the cooking gently without additional heat, which helps the muscle fibers relax instead of tightening up. That makes the meat more tender and less chewy. Ignoring carryover cooking can result in undercooked or unevenly cooked pork chops if you remove them from heat too early.
How Long to Rest Pork Chops and Why
Rest pork chops for at least three minutes after cooking to allow carryover cooking to complete. During this time, heat evens out throughout the chop, and the internal temperature stabilizes at the safe target of 145°F. Resting also lets the moisture redistribute throughout the meat rather than spilling out when you cut into it.
Resting under a foil tent or loosely covered plate helps maintain temperature without steaming the meat. For thicker pork chops, resting closer to five minutes may be helpful. Less than two minutes of rest means juices haven’t settled, increasing the chance of dryness when sliced.
Benefits for Texture and Flavor
The resting period affects texture by relaxing muscle fibers that tighten during cooking. Properly rested pork chops have improved tenderness and a juicier mouthfeel. Consumer studies show significant improvements in juiciness and overall tenderness with chops cooked to the right temperature and rested properly.
Flavor also improves because moisture is retained inside the meat rather than lost on the cutting board. This moisture carries natural pork flavors and seasonings. Without resting, pork chops can seem drier and less flavorful despite being cooked to the proper temperature.
How to Rest Pork Chops Correctly
Once the pork chop hits about 140°F to 143°F during cooking, remove it from the pan or grill and immediately tent it with foil. Leave it undisturbed for three minutes, checking with a meat thermometer afterward to confirm it reached 145°F. Avoid stacking multiple chops or cutting into them too soon, as this releases the juices prematurely.
Using a digital meat thermometer with an instant-read feature helps monitor temperature precisely. Timing your rest with your cooking schedule ensures the pork chop stays warm and juicy at serving.
How Cooking Methods Influence the Time and Temperature for Pork Chops
Pork chops reach safe and tasty doneness at an internal temperature of 145°F, but the cooking method greatly influences how long you cook them and the best temperature to use. Oven baking, grilling, stove-top searing, and Instant Pot cooking all have different heat applications and timeframes, especially depending on chop thickness. Adjusting your technique for each method ensures juicy meat with just the right crust or tenderness.
Oven Baking Times and Temps
Baking pork chops in the oven is a gentle, even cooking method that works well for chops of various thicknesses, especially ones 1 inch or thicker. Set the oven temperature between 350°F and 400°F. Thinner chops (around 3/4 inch) take about 15 to 20 minutes, while thick-cut chops (1 to 1.5 inches) can take 20 to 30 minutes. Oven baking is best when paired with searing or broiling to develop a crust before or after baking. The precise internal temperature target remains 145°F, but cooking slower helps the meat retain moisture without overcooking the edges. Using a cast-iron or heavy stainless steel pan that moves from stovetop to oven lets you start with a high-heat sear for flavor, then finish baking without drying the chops.
Grilling Times and Temps
Grilling applies direct dry heat, which is great for adding flavor but requires close attention to avoid overcooking. Preheat the grill to medium-high, around 375°F to 400°F. For chops 3/4 inch thick, grill 4 to 5 minutes per side. Thicker chops at 1.5 inches need roughly 6 to 8 minutes per side. Because grills heat unevenly and can char the outside, flipping often and moving chops away from direct flames helps cook evenly. Aim for that 145°F internal temperature and use a meat thermometer to check doneness as grilling times vary by grill and chop size.
Stove and Instant Pot Times and Temps
Cooking on the stove mainly involves pan-searing over medium-high heat to develop a flavorful crust before either finishing in the oven or directly cooking through on the stovetop. Thin chops take around 3 to 4 minutes per side, while thick chops benefit from 2 minutes per side seared then 5 to 10 minutes at lower heat or in the oven. A heavy skillet is best since it retains heat well and distributes it evenly.
The Instant Pot provides a different approach. It cooks pork chops quickly under pressure, perfect for braised-style pork with gravy. Set it on high pressure for 8 to 10 minutes depending on chop thickness. This method doesn’t brown the meat first, so you trade crust for tender, moist pork finished with sauce. Internal temperature still targets 145°F, but Instant Pot cooking requires less active monitoring. Below is a table summarizing these approximate times and temperatures based on cooking method and chop thickness.
| Cooking Method | Pork Chop Thickness | Heat Setting | Approximate Cooking Time | Internal Temperature Target |
|---|---|---|---|---|
| Oven baking | 3/4 inch | 350°F to 400°F | 15, 20 minutes | 145°F |
| Oven baking | 1 to 1.5 inches | 350°F to 400°F | 20, 30 minutes | 145°F |
| Grilling | 3/4 inch | 375°F to 400°F | 4, 5 minutes per side | 145°F |
| Grilling | 1.5 inches | 375°F to 400°F | 6, 8 minutes per side | 145°F |
| Stove (pan sear) | 3/4 inch | Medium-high heat | 3, 4 minutes per side | 145°F |
| Stove (pan sear + oven finish) | 1 to 1.5 inches | Medium-high sear, then 350°F oven | 2 minutes sear per side + 5, 10 minutes oven | 145°F |
| Instant Pot (pressure cook) | Any thickness | High pressure | 8, 10 minutes | 145°F |
Use these cooking times as a baseline and always rely on a meat thermometer for measuring internal temperature. Different pans, grills, and Instant Pot models vary in heat output, which influences how fast the pork chops reach 145°F. Proper timing and temperature control combined with checking the temperature ensures perfectly cooked chops no matter the method.
What Thickness and Cut Mean for Pork Chop Cooking Temperature and Timing
Thickness and the presence of a bone significantly influence how pork chops cook and the internal temperature targets for ideal doneness. Thicker chops take longer to heat through, which means the cooking time increases, but the temperature should still reach the same safe range to ensure juiciness and safety. For example, a 1-inch thick pork chop typically takes about 8 to 10 minutes to cook on a grill or stovetop, while a 1.5-inch chop requires closer to 12 to 15 minutes. Thicker cuts allow the interior to reach the right doneness without the exterior overcooking quickly.
Bone-in pork chops generally cook differently from boneless because the bone acts as a heat sink, slowing cooking on the side where the bone is present. This slower heat transfer means bone-in chops often require a slightly longer cooking time than boneless ones of the same thickness. However, that extra time improves flavor and juiciness by distributing heat more evenly and gently. For instance, a 1-inch bone-in chop may need about 2 to 3 minutes more per side compared to boneless. This cut helps retain moisture better, making bone-in chops a top choice for juicy, flavorful results.
Cut type also changes how tender and juicy pork chops turn out. Rib chops, sometimes called “rib-eye” pork chops, and loin chops are popular for their tenderness and balance of fat and meat. These cuts, especially when bone-in and at least 1-inch thick, respond best to quick, moderate heat cooking methods like grilling or pan searing. Shoulder or blade chops are tougher and benefit from slower, longer cooking methods, which is why they are less ideal for quick chop cooking but great for slow braising or pulling.
Cooking pork chops to a medium internal temperature, around 140°F followed by a brief rest, helps maintain juiciness and tenderness. Undercooking risks food safety issues, while overcooking makes the meat dry and tough, a problem that becomes more severe as chop thickness increases. Therefore, adjust cooking time rather than aiming for higher temperatures on thick chops to avoid toughness.
Use a meat thermometer by placing it in the thickest area of the pork chop, avoiding contact with the bone, to ensure an accurate temperature measurement.
Choosing thicker, bone-in chops from rib or loin sections gives you the best starting point for juicy pork chops that handle heat steadily and emerge tender. Cooking time needs to be careful and calculated; it’s better to extend cooking by a few minutes than to rush and dry out the chop by overshooting temperature targets. Bone presence slows heat nicely, promoting even cooking, while thickness demands patience but rewards with more moist, flavorful meat.
Common Mistakes in Cooking Pork Chops and How to Fix Under- or Overcooking
Overcooking pork chops is the main cause of dry, tough meat. When pork chops reach temperatures much above 145 °F (63 °C), the muscle fibers contract and squeeze out moisture, leaving them less juicy. Once they hit about 155 °F (68 °C) or higher, the drying effect becomes noticeable. The key to avoiding this is monitoring temperature closely and removing them promptly when they hit the safe target.
Guessing doneness without a thermometer often leads to either undercooking or overcooking. Visual cues like color can be misleading since pork can look done before reaching the safe internal temperature, or remain slightly pink yet still be safe. Texture and firmness tests can help but aren’t as reliable as a thermometer. Using an instant-read digital thermometer removes much of this guesswork and greatly improves results.
Thermometer misuse is another frequent problem. Common mistakes include checking too early, inserting the probe too shallow, or testing in fatty or bony parts instead of the thickest, meatiest section. Each of these errors can give false readings and cause you to cook the pork chops incorrectly. Taking a moment to insert the thermometer into the center and waiting about 10 seconds for a stable reading usually solves this. Instant-read thermometers cost around $10 to $30, presenting a simple investment for consistent results. To prevent dryness and undercooking, here is a quick decision rule and some practical tips:
- Check temperature 2-3 minutes before estimated finish time to avoid overcooking.
- Insert thermometer probe into the thickest part, avoiding bones or fat.
- Remove chops from heat at 140 °F (60 °C) and rest to reach 145 °F (63 °C).
- Rest pork chops for 3-5 minutes; carryover heat raises temperature and redistributes juices.
- For grilled chops, manage high heat carefully to prevent outside charring and inside dryness.
- If no thermometer, press pork chop center: firm but with slight give indicates done.
- Use visual cues with caution; pink tint can be safe if temperature is confirmed.
When pork chops are overcooked, they become dry and less flavorful, making them less enjoyable to eat. To avoid that, don’t rely on guesswork during cooking or just checking appearance. Instead, measure the internal temperature accurately using a digital instant-read thermometer, check at the right spot, and factor in resting time. These steps take only seconds but lead to tender and juicy pork chops every time.
Why Ground Pork and Pulled Pork Need Different Internal Temperatures
Ground pork needs to be cooked to an internal temperature of 160°F to be safe. This higher temperature is necessary because grinding mixes surface bacteria throughout the meat, increasing the risk of foodborne illness if not fully cooked. Unlike whole cuts, there is no resting time required for ground pork. Using a reliable meat thermometer, check that the center of the ground pork reaches 160°F before removing it from heat to ensure safety.
Pulled pork, usually made from tougher cuts like pork shoulder, requires a much higher internal temperature, generally between 190°F and 205°F. Cooking it this long and hot breaks down the connective tissue and collagen, making the meat tender enough to pull apart easily. The higher temperature is not primarily about killing bacteria, since the pork will be cooked for many hours at lower heats, but about achieving the proper texture and juiciness. This slow-cooking approach uses low and slow heat rather than a quick temperature increase.
It is unsafe to consider pulled pork done at lower temperatures such as 135°F. Although 135°F might be safe for certain whole cuts intended for medium-rare, it won’t effectively break down the connective tissue needed to create that pull-apart tenderness. The meat would be undercooked in texture and possibly unsafe if the time at lower temperatures isn’t long enough to pasteurize. Always aim for the 190°F to 205°F range for pulled pork to get the right softness and ensure it is safe to eat.
Cooking ground pork to 160°F is straightforward: use medium heat, and insert a meat thermometer into the thickest part of the patty, meatball, or loaf. Once it hits 160°F, remove it promptly to avoid overcooking and dry meat. For pulled pork, plan on slow roasting or smoking low and slow for several hours, checking the internal temperature occasionally. When the thermometer reads between 190°F and 205°F, insert a fork or probe; the meat should slide apart with little resistance. This texture test complements the temperature check, confirming the pork is tender enough for pulling.
Costs in terms of time and effort differ between the two. Ground pork cooks relatively fast, often under 20 minutes, making it convenient for weeknight meals. Pulled pork takes longer, typically 8 to 12 hours depending on method and size, requiring planning but rewarding you with deeply flavorful, tender results. Using a reliable thermometer prevents guesswork and ensures the specific temperatures needed for safety and texture are met without overcooking or undercooking either type of pork.
Checklist for Cooking Safe, Juicy, and Flavorful Pork Chops Every Time
Start by selecting pork chops that are fresh and well-trimmed, ideally about 1 to 1.5 inches thick. Thicker chops retain moisture better and allow for more even cooking. Before cooking, pat them dry with paper towels to help the seasoning stick and to promote a good sear. Season your chops simply with salt and pepper or your preferred spices at least 15 minutes ahead of cooking to improve flavor.
Use a reliable meat thermometer to check the internal temperature during cooking. Insert the probe into the thickest part of the chop, avoiding bone or fat, to get an accurate reading. The USDA recommends cooking whole cuts of pork to 145 ºF followed by at least a 3-minute rest time to ensure safety and juice retention.
- Select pork chops about 1 to 1.5 inches thick for even cooking
- Pat meat dry and season at least 15 minutes before cooking
- Use a meat thermometer inserted in the thickest part to check temperature
- Cook until internal temperature reads 145 ºF, then rest 3 minutes
- Rest chops covered loosely with foil to retain juices
- Serve immediately after resting to enjoy best texture and flavor
- When the temperature reads below 145 ºF after resting, return the chops to the heat briefly.
After cooking, let the pork chops rest covered loosely with foil for three minutes. This resting period lets the juices redistribute and finish cooking gently. Should the temperature still be below 145 ºF after resting, put the chops back on the heat for a short period until they reach the safe temperature. Avoid overcooking as it dries out the meat and diminishes flavor.
Always check temperature away from the bone to avoid false readings that could lead to undercooking or overcooking.
Serving your pork chops right after resting maximizes juiciness and tenderness. Following these steps ensures a safe, juicy, and flavorful result every time you cook pork chops.
Step-by-Step Action Plan for Perfectly Cooked Pork Chops
Follow these steps to cook safe, juicy pork chops with the right internal temperature every time.
- Before cooking: Choose pork chops that are at least 1 inch thick to help control cooking time and retain moisture.
- Preheat your pan or grill: Heat to medium-high so the pork chops develop a good sear without overcooking inside.
- Insert a meat thermometer: Place it into the thickest part of the chop to monitor temperature accurately as you cook.
- During cooking: Cook until the thermometer reads 140°F to 145°F for safety and optimal juiciness.
- Rest immediately: After removing from heat, let chops rest 3 to 5 minutes so the internal temperature rises to 145°F and juices redistribute.
- Check final temperature: Confirm the chop is within 145°F after resting to ensure it is both safe and tender.
- Adjust if needed: If undercooked, return chops briefly to heat. Overcooked pork chops can benefit from brines or marinades next time to lock in moisture.
Frequently Asked Questions
Should Pork Chops Be 145 Or 160?
Pork chops are safe and best when cooked to 145°F with a three-minute rest time. Cooking to 160°F can make them drier and less flavorful.
Can I Pull Pork Chop At 135?
Pulling pork chops at 135°F is below the recommended safe temperature and can pose a risk. Wait until they reach at least 145°F before resting.
How Long at 400 for Boneless Pork Chops?
Boneless pork chops typically take about 20 to 25 minutes at 400°F, depending on thickness. Use a thermometer to check for 145°F internal temperature.
How to Tell When a Pork Chop Is Done Cooking Without a Thermometer?
Look for clear juices and firm texture to check doneness, but these signs aren’t reliable. Using a meat thermometer is the safest way to ensure proper cooking.
Can You Eat Pork Chops Medium Rare?
Pork chops can be safely eaten medium rare if they reach 145°F and rest for three minutes. This temperature ensures safety while keeping meat tender and juicy.
Why Does Pork Chop Color Change with Cooking Temperature?
Pork chops become darker and less red as internal temperature rises above 145°F, affecting appearance and flavor. Cooking to the right temperature balances color and taste.
The Bottom Line
Achieving an internal temperature of 145°F and allowing a rest period guarantees pork chops stay safe and juicy. Use a dependable meat thermometer and choose the right chop thickness to improve cooking success. This approach helps you serve perfectly cooked pork chops every time.




One Comment