How to Use an Ice Cream Maker for Perfect Homemade Ice Cream
Using an ice cream maker is straightforward once you understand the basic steps: prepare your ice cream base, chill it thoroughly, assemble and operate the machine properly, and wait as it churns your mixture into creamy ice cream. The process usually requires pre-freezing the bowl or compressor and running the machine for 20 to 40 minutes depending on the model and recipe.
This method matters because homemade ice cream crafted with an ice cream maker offers freshness, control over ingredients, and a texture impossible to replicate with store-bought versions. Whether you're aiming for classic vanilla, rich chocolate, or fruity sorbet, the machine helps incorporate air evenly to achieve a smooth, scoopable dessert.
This article breaks down the step-by-step use of various types of ice cream makers, covers tips on preparing and chilling your mixture, explains cleaning and maintenance tactics, and compares key models suited for home kitchens.
Understanding Different Types of Ice Cream Makers
Electric Compressor Ice Cream Makers
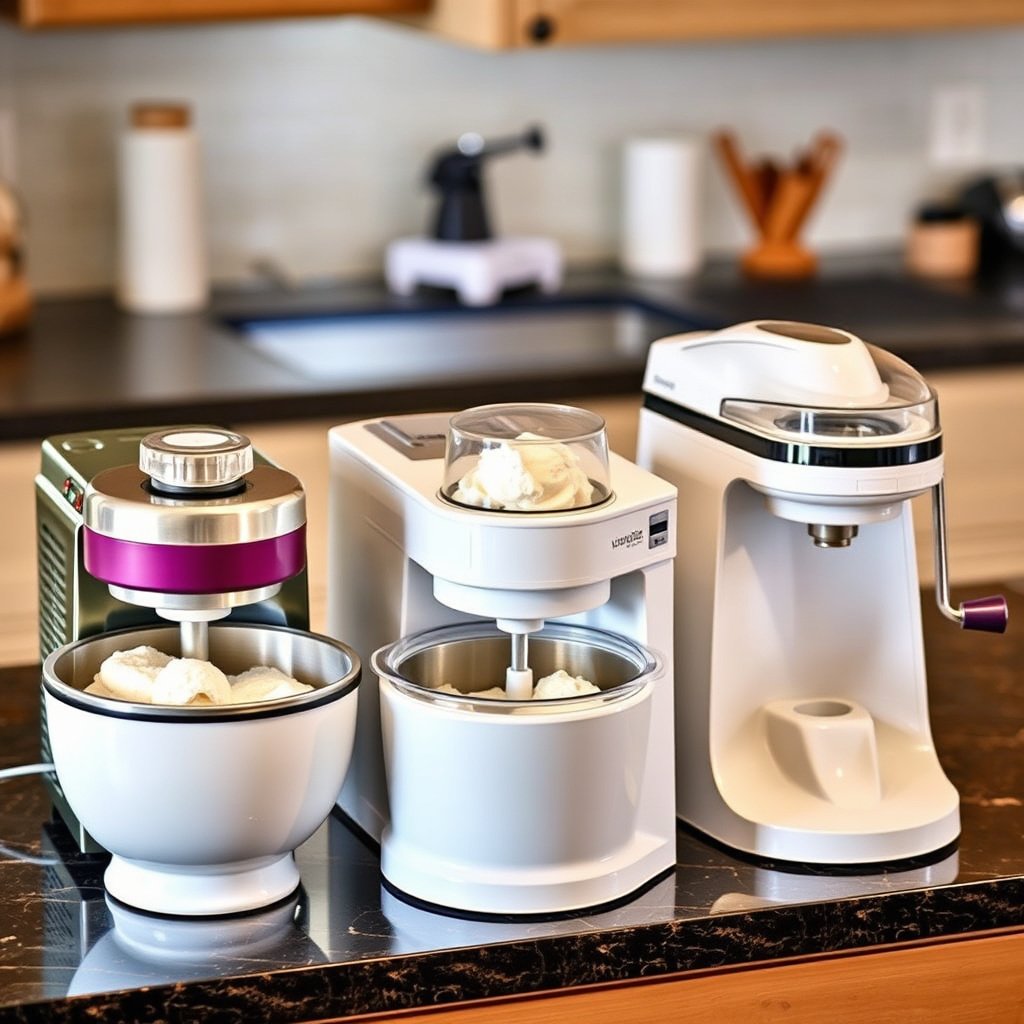
Electric compressor ice cream makers are self-contained units with built-in freezing mechanisms, allowing you to make multiple batches without waiting for the bowl to freeze. They provide consistent temperature control, which results in smoother, creamier ice cream and can freeze mixtures directly.
These units tend to be more expensive and bulkier than other styles but deliver professional-grade results. Their efficiency makes them popular among enthusiasts who produce ice cream frequently or in larger quantities.
Freezer Bowl Ice Cream Makers
Freezer bowl ice cream makers require pre-freezing the removable bowl for at least 12 to 24 hours before use. The bowl contains a gel that freezes and chills the mixture as it's churned by the motorized paddle.
These machines are more affordable and compact but limit how many batches you can make consecutively. The freezing time also requires advanced planning to have the bowl ready when you want to make ice cream.
Preparing Your Ice Cream Base Correctly
Choosing Ingredients and Mixing the Base
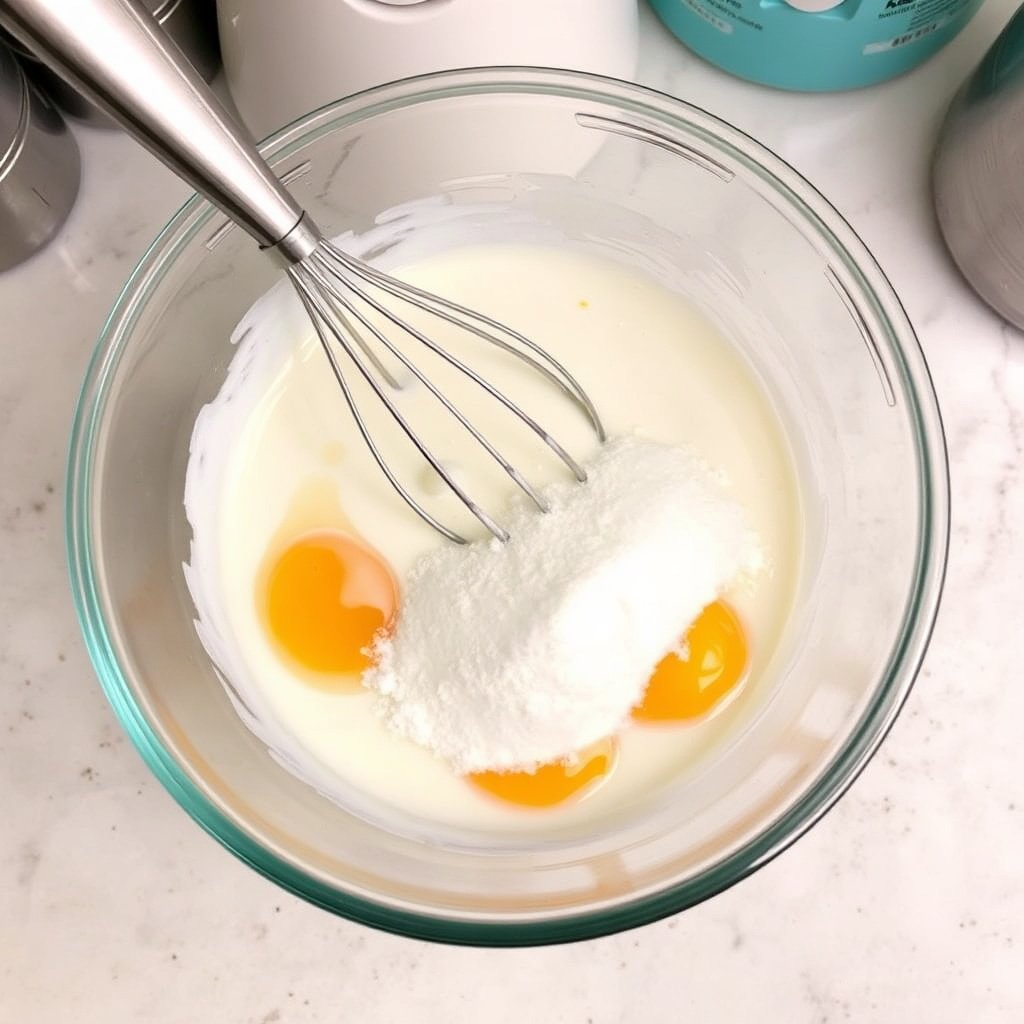
Select fresh, high-quality ingredients such as heavy cream, whole milk, sugar, and flavorings like vanilla or cocoa. For custard-style ice cream, eggs are gently cooked into the mixture to improve texture and richness.
Thoroughly mix all ingredients and chill the base in the refrigerator for several hours or overnight. A cold base freezes faster and yields smoother texture during churning.
- Heavy cream and whole milk proportions affect creaminess
- Sugar not only sweetens but also lowers freezing point
- Chilling the base for 4+ hours improves results
Incorporating Flavors and Mix-Ins
Add delicate flavorings like vanilla extract or fruit purees into the base before chilling, ensuring even distribution. Mix-ins like chocolate chips, nuts, or fruit chunks should be added near the end of churning to avoid breaking them down.
Be mindful of moisture content in mix-ins, as excessive liquid may affect freezing and texture. Consider lightly toasting nuts or pre-freezing fruit pieces to maintain structure.
- Add extracts before chilling
- Fold in solid mix-ins last
- Pre-treat mix-ins to improve texture
Operating Your Ice Cream Maker Safely and Effectively
Setting Up and Running the Machine
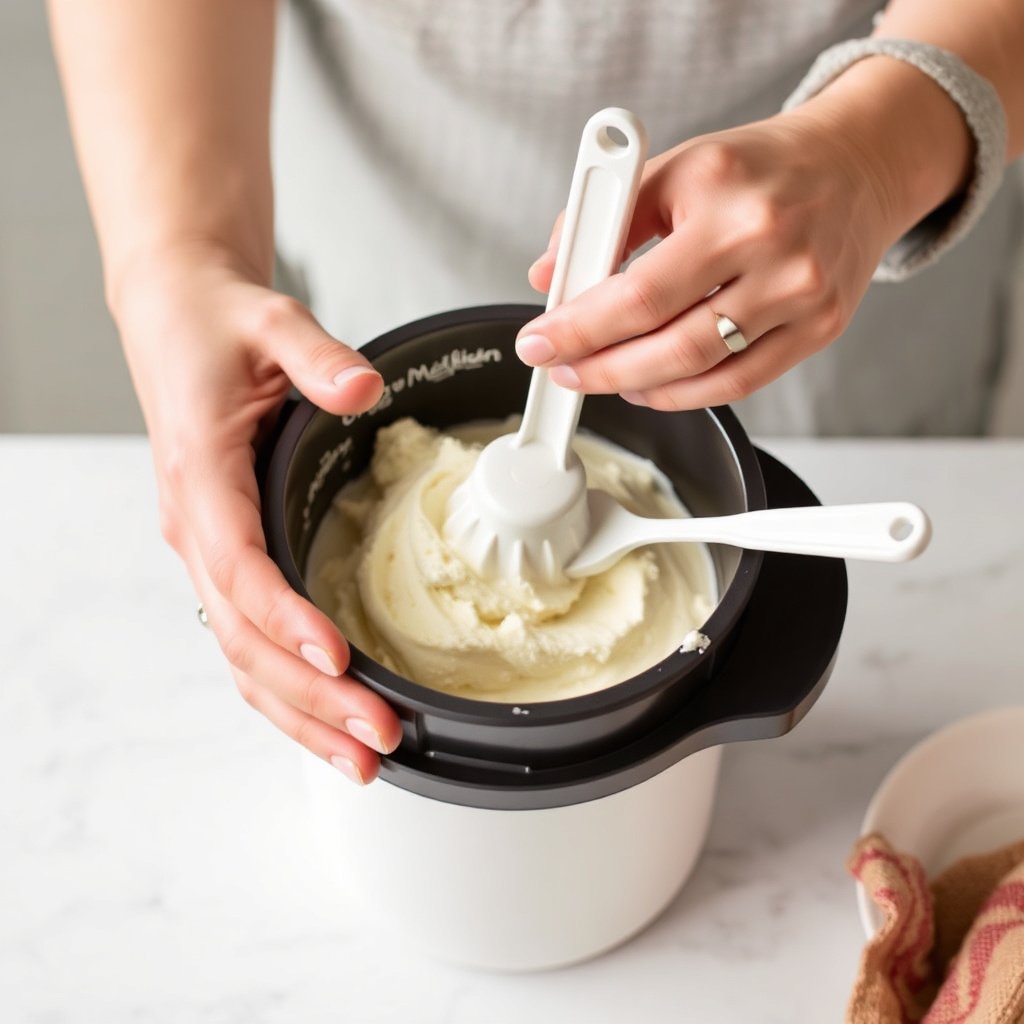
Ensure the freezer bowl or machine components are sufficiently cold before use. Assemble the parts according to the manufacturer's instructions and pour the chilled base into the bowl once ready.
Turn on the ice cream maker and allow it to churn the mixture. Time varies by model but generally ranges from 20 to 40 minutes until it reaches soft-serve consistency.
- Check freezer bowl is fully frozen
- Do not overfill the bowl
- Keep the machine steady while running
For more on this, see our related guide: What Is the Best Whiskey to Drink: Complete Guide to Top Picks and Tips.
Common Troubleshooting Tips
If the ice cream remains too soft, the bowl may not be cold enough, or the mix may require longer freezing time. Conversely, overly hard ice cream could indicate excessive churning or too little fat in the base.
Avoid opening the lid repeatedly during churning, which can lower temperature and interrupt freezing. If motor stalls, check for blockages or excessive mixture thickness.
- Pre-freeze components thoroughly
- Monitor consistency without frequently opening lid
- Adjust base recipe for fat and sugar content
Cleaning and Maintaining Your Ice Cream Maker
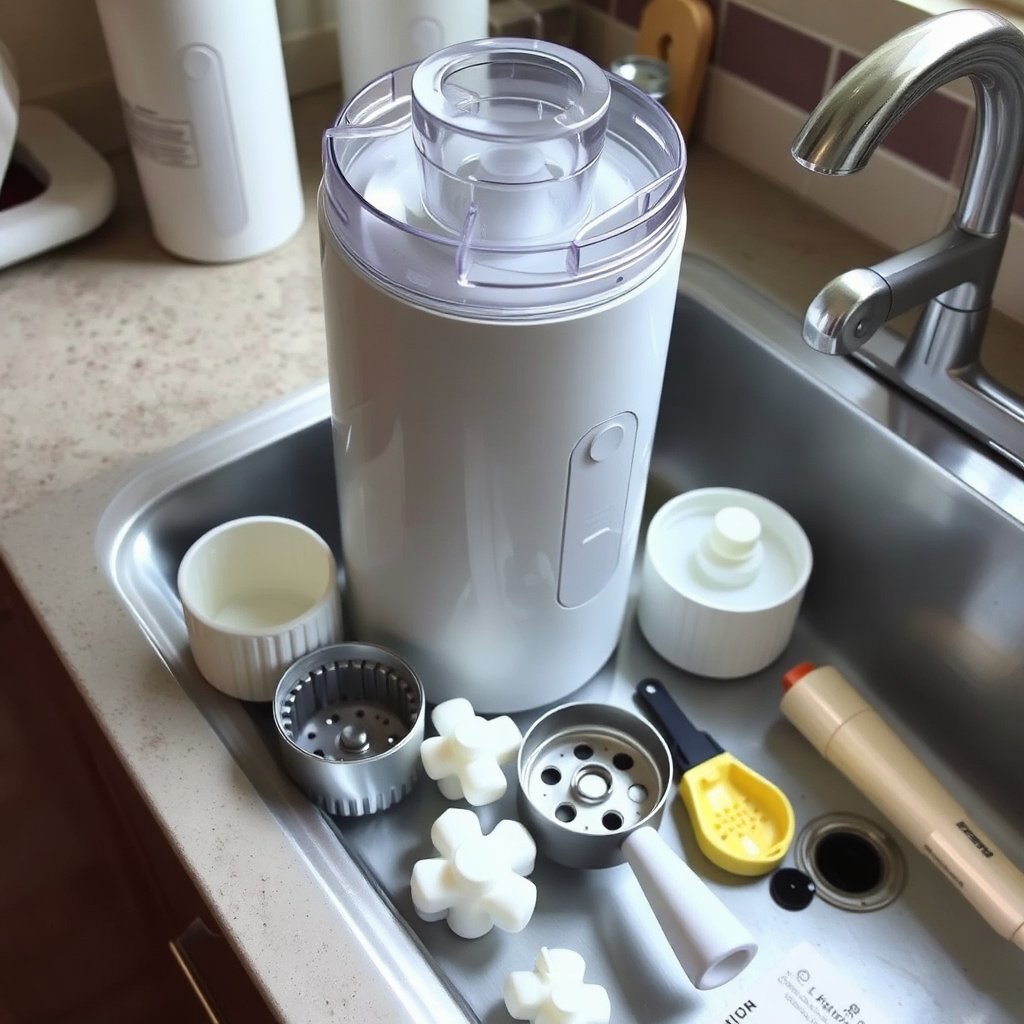
Proper Cleaning Techniques
After use, immediately disassemble removable parts such as the paddle, bowl, and lid. Wash with warm, soapy water and rinse thoroughly to prevent residue buildup that can affect future batches.
Avoid immersing electric components in water. Instead, wipe exterior and motorized sections with a damp cloth. Dry all pieces fully before storage.
- Hand wash removable parts
- Use soft cloth for electrical components
- Dry before storing to avoid mold
Storing Your Machine Correctly
Store your ice cream maker in a dry, cool place. Freezer bowls should be returned to the freezer promptly if planning multiple batches or stored sealed to keep them ready for future use.
Regularly check seals and paddles for wear and tear, replacing parts when necessary to maintain performance.
- Keep freezer bowls sealed
- Check parts for damage periodically
- Store away from direct sunlight
Choosing the Best Ice Cream Maker for Your Needs
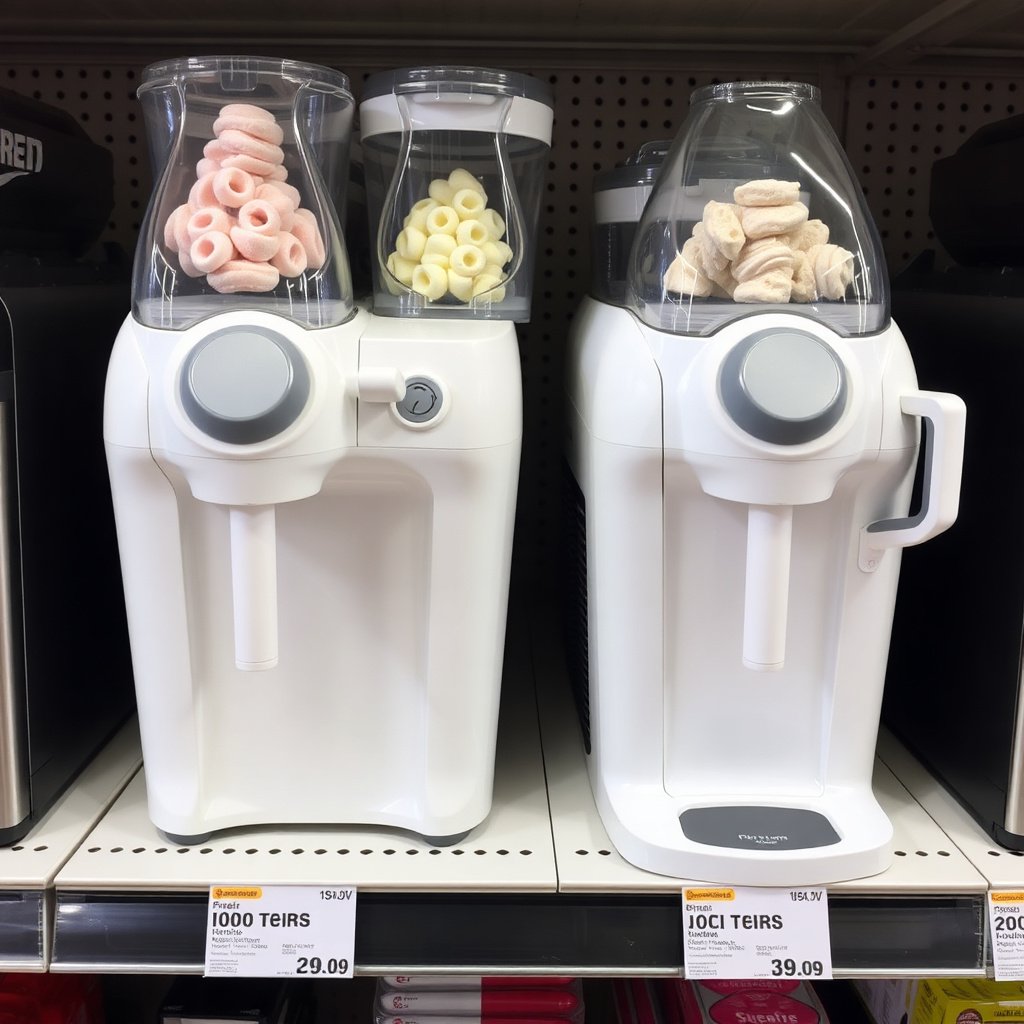
Factors to Consider When Buying
Consider your budget, kitchen space, and how often you plan to make ice cream. More frequent use may justify investing in a compressor model for convenience and continuous batches.
Also evaluate capacity size, ease of cleaning, control features like timer and speed settings, and whether you prefer manual versus automatic operation.
- Budget vs. feature set
- Size and storage
- User-friendliness and cleaning
For more on this, see our related guide: What Is a Breakfast Buffet? A Complete Guide to Food, Drinks, and Tips.
Popular Models for Home Use
Models like the Cuisinart ICE-100 Compressor provide powerful freezing and versatility, ideal for enthusiasts. Freezer bowl makers like the Hamilton Beach Electric Ice Cream Maker offer budget-friendly, compact options for casual users.
Manual crank machines serve well for smaller batches or educational purposes but require physical effort and planning for ice and salt preparation.
- Cuisinart ICE-100 for advanced use
- Hamilton Beach for budget users
- Manual models suit fun, interactive making
Serving and Storing Homemade Ice Cream
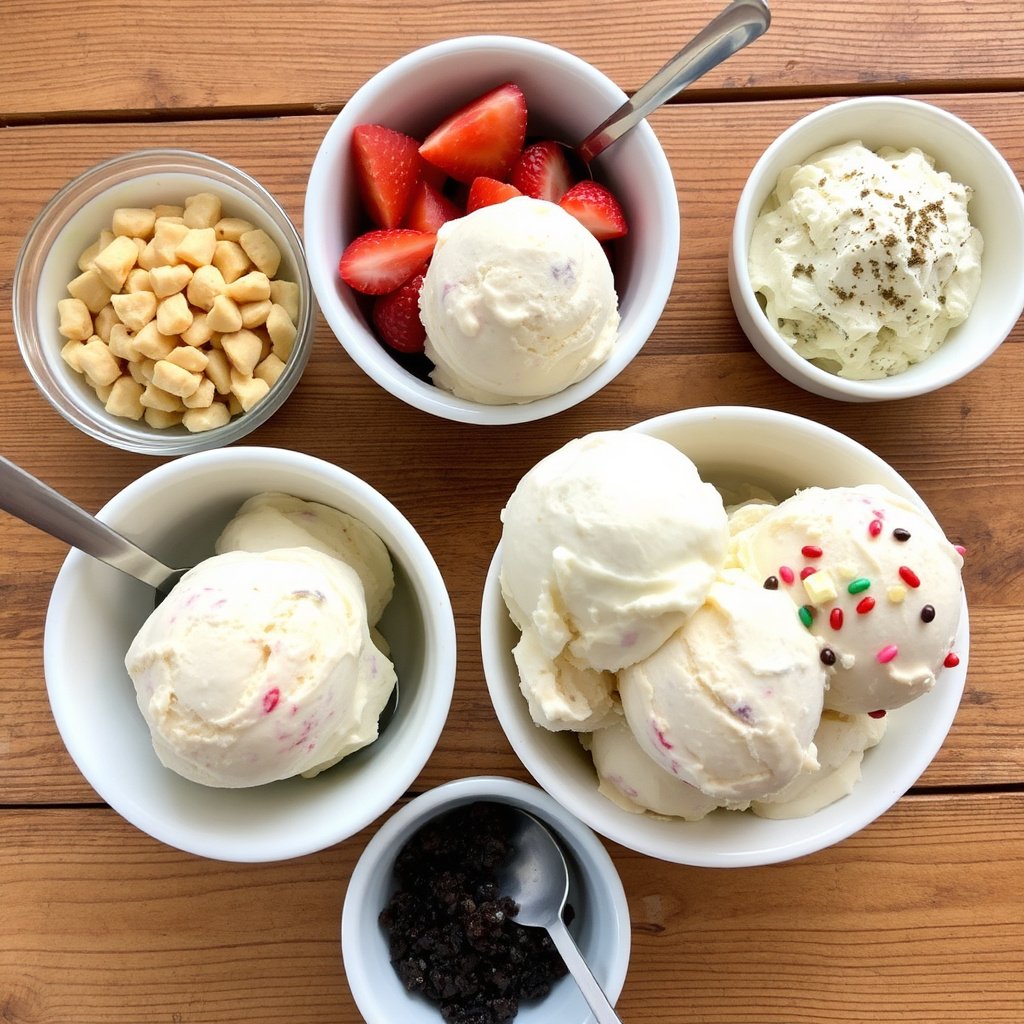
Best Practices for Serving
Serve the ice cream soon after churning for the freshest, softest texture. If you want firmer ice cream, transfer it to an airtight container and freeze for a few hours to harden slightly.
Use an ice cream scoop warmed in hot water to form clean, attractive scoops without tearing.
- Serve freshly churned for soft texture
- Freeze longer for firmer consistency
- Warm scoop tool before serving
For a broader understanding of how ice cream makers have evolved, consider checking out the Wikipedia page on ice cream makers. Ice cream maker types and usage.
Storing Leftovers Properly
Store leftover ice cream in airtight freezer-safe containers to prevent ice crystals and freezer burn. Place a piece of plastic wrap or wax paper directly on the surface before sealing for best preservation.
Consume homemade ice cream within 1 to 2 weeks for optimal flavor and texture.
- Use airtight containers
- Add plastic wrap on surface
- Consume within two weeks
Ice Cream Maker Type Comparison
Here's a quick comparison of popular ice cream maker types to help you understand their features and suitability.
| Type | Cost Range | Batch Size | Freezing Time | Ease of Use |
|---|---|---|---|---|
| Compressor | $200-$500 | 1.5-2 quarts | 20-30 minutes | High |
| Freezer Bowl | $40-$100 | 1-2 quarts | 20-40 minutes (after pre-freezing bowl) | Medium |
| Manual Crank | $25-$75 | 0.5-1 quart | Depends on crank speed | Low |
| Gelato Maker (Compressor) | $300-$600 | 1.5-2 quarts | 30-40 minutes | High |
Frequently Asked Questions
How long should I freeze the bowl before making ice cream?
Typically, the freezer bowl needs to be frozen for at least 12 to 24 hours to reach the proper temperature for effective freezing during churning.
Can I use any recipe in an ice cream maker?
While most recipes for ice cream bases will work, custard-style recipes with eggs or those with high fat content tend to produce best results for creaminess and texture.
Is it necessary to chill the ice cream base before churning?
Yes, chilling the base thoroughly helps it freeze faster and creates a smoother, creamier finished product by improving the texture during churning.
How do I clean the ice cream maker without damaging it?
Disassemble all removable parts and wash them with warm, soapy water. Wipe down the motor and electrical parts with a damp cloth. Avoid submerging any electrical components.
Can I add mix-ins like nuts or chocolate chips during churning?
It's best to add mix-ins during the last 5 minutes of churning to prevent them from breaking down and to ensure even distribution throughout the ice cream.
Key Takeaways
- Pre-freezing the bowl or using a compressor system is essential for proper freezing.
- A chilled ice cream base enhances texture and reduces freezing time.
- Different ice cream maker types suit different budgets and usage frequencies.
- Add mix-ins late in the churning process to maintain their texture.
Conclusion
Mastering how to use an ice cream maker revolves around understanding your machine's specific requirements and preparing your ingredients carefully. Starting with a well-chilled base and the right icy environment inside the machine allows the mixture to transform into smooth, creamy ice cream. Equally important is following manufacturer instructions for assembly and operation to maintain consistent performance. Patience during freezing and proper timing in adding mix-ins can elevate your homemade dessert significantly.
When choosing an ice cream maker, consider how often you'll use it and how much space you have. Compressor models offer convenience for frequent users who want continuous batches without delay, while more affordable freezer bowl types work well for occasional treats and smaller kitchens. Manual crank machines can be charming for hands-on ice cream making but suit smaller batches. Recipes incorporating custard bases tend to yield richer textures, while fruit sorbets can be crafted on any machine type with a few adjustments.
To start, pick a recipe that matches your equipment and ingredient preferences, prepare the base with care, and allow ample chilling time. Once your ice cream maker is assembled and running, watch the transformation happen—then enjoy your fresh homemade creation. With practice, you’ll refine technique and expand flavor variety, making your ice cream maker a rewarding fixture in your kitchen.