How to Remove Kitchen Sink: A Step-by-Step Guide
Are you tired of dealing with a stubborn or outdated kitchen sink and feeling unsure about how to remove it? You’re not alone—many people struggle with this task, unsure where to start or worried about causing damage.
Removing a kitchen sink might seem daunting, but with the right steps, you can do it safely and smoothly.
To remove your kitchen sink, first clear and protect your workspace. Gather tools like wrenches, a putty knife, and safety gear.
Turn off the water supply, open faucets to drain, and disconnect plumbing carefully. Detach mounting clips or cut sealant to free the sink.
Use proper lifting techniques to avoid injury, clean the area thoroughly, and troubleshoot any stubborn parts.
Keep going to uncover detailed tips for a smooth, safe removal process.
Key Takeaways
- Turn off the water supply valves and drain any remaining water by opening the faucet before disconnecting the plumbing.
- Carefully detach the faucet connections, supply lines, and plumbing pipes using the appropriate tools.
- Remove any mounting clips or fasteners that hold the sink to the countertop or cabinet.
- For undermount sinks, cut through the adhesive or sealant with a utility knife before lifting the sink out.
- Lift the sink safely by bending your knees, keeping your back straight, and using support tools if needed.
Preparing Your Kitchen: Clear and Protect Work Areas
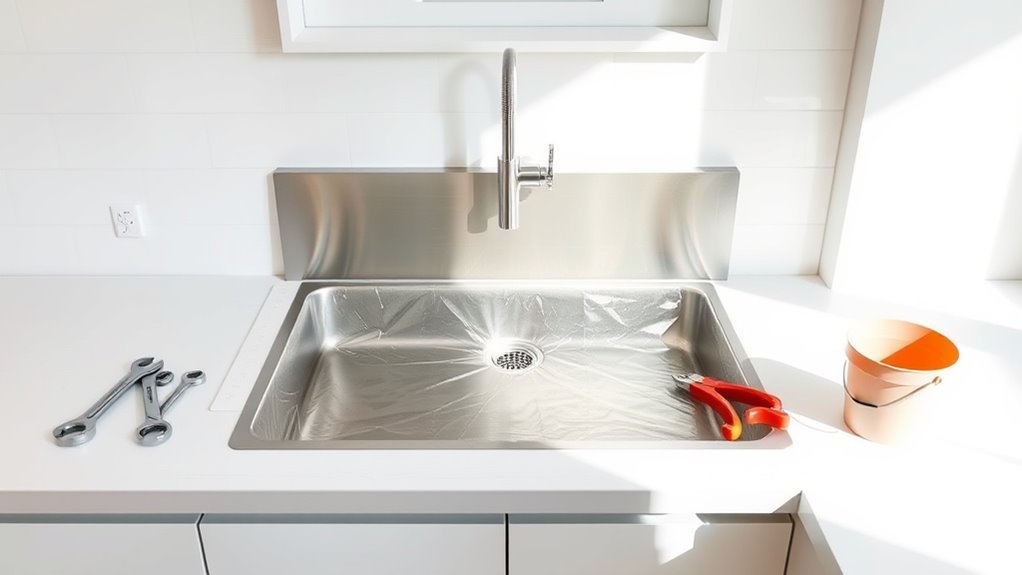
Before you start removing your kitchen sink, clear the area thoroughly to give yourself plenty of room to work. Remove any dishes, utensils, and clutter from the countertop and inside the cabinets below the sink. This helps prevent accidents and makes organizing supplies easier as you go.
Next, protect surfaces around your workspace with drop cloths or old towels. This shields both the countertop and the cabinet floor beneath the sink from water spills or dropped tools.
As you clear and protect the area, gather organizing supplies like bins or trays. Keep screws, bolts, and small parts in one spot so you won’t lose anything during the removal process.
Taking these steps helps create a safer, more efficient workspace, reducing stress and potential damage while you remove your kitchen sink.
Essential Tools for Removing a Kitchen Sink
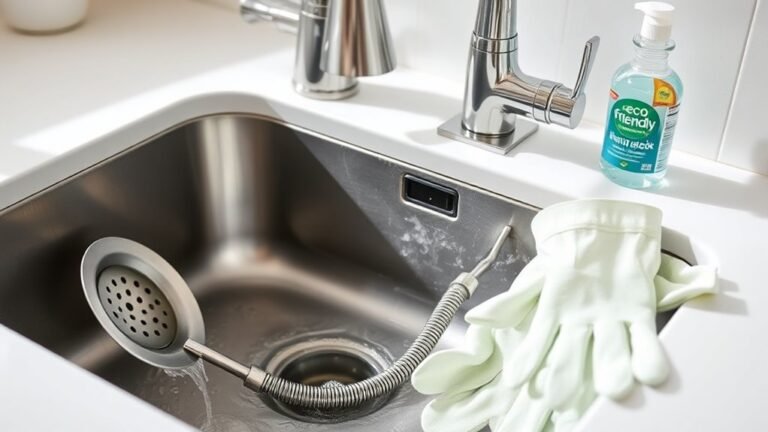
To get started, you’ll want to gather some basic hand tools like a wrench and a screwdriver. These will come in handy when you’re loosening and removing the sink. Oh, and don’t forget to gear up with safety items like gloves and goggles — it’s always better to stay protected.
If you have specialty plumbing tools, they can really make the job smoother and help prevent any accidental damage. Having the right tools on hand makes all the difference!
Basic Hand Tools
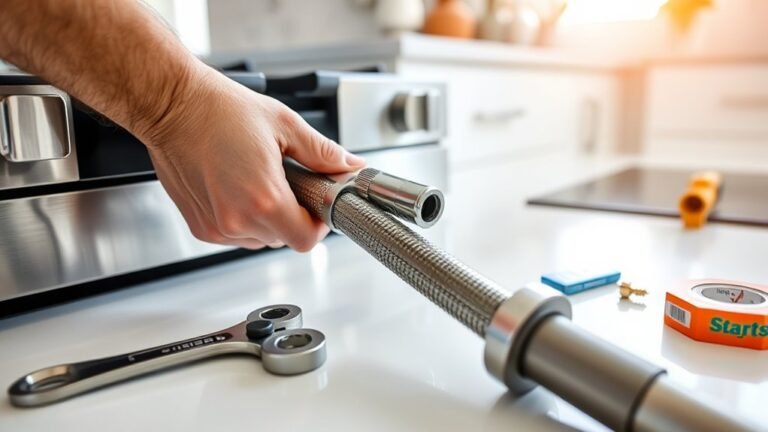
Gathering the right hand tools makes removing a kitchen sink much smoother and faster. You’ll want a few basics for efficient maintenance: an adjustable wrench to loosen plumbing connections, a basin wrench to reach tight spots under the sink, and a screwdriver for removing clips or mounting hardware.
A putty knife helps scrape away old sealant, while a bucket catches drips. Keeping your tools organized is key—arranging them within easy reach prevents frustration and speeds up your work.
Don’t forget pliers for gripping and cutting tools for stubborn caulk or pipe tape. With these hand tools ready and organized, you’ll tackle sink removal confidently and avoid unnecessary delays or damage.
Proper prep sets you up for success in this project.
Safety Equipment Needed
A reliable set of safety equipment protects you from common hazards while removing a kitchen sink. First, always wear safety goggles to shield your eyes from splashes, debris, and unexpected sprays when disconnecting pipes.
Rubber gloves are essential to protect your hands from sharp edges, grime, and potential chemical residues in the plumbing. Furthermore, consider using a mask if you’re sensitive to dust or mold that might be present under the sink.
Closed-toe shoes will guard your feet from dropped tools or heavy parts. Before starting, make sure your safety gear fits well and is in good condition.
Prioritizing safety helps you work confidently and reduces the risk of injury during the removal process.
Specialty Plumbing Tools
Removing a kitchen sink requires several specialty plumbing tools that make the job easier and safer. To guarantee smooth plumbing maintenance and future sink installation, you’ll want to gather the right equipment before starting.
- Adjustable Wrench – Perfect for loosening nuts and bolts without damaging them.
- Pipe Wrench – Essential for gripping and turning pipes during disassembly.
- Basin Wrench – Designed to reach tight spaces under the sink where other wrenches can’t fit.
- Plumber’s Putty or Silicone Sealant – Helps reseal the sink during reinstallation, preventing leaks.
Having these tools on hand will streamline your work, minimize damage, and save time. Using the right tools guarantees your plumbing maintenance is efficient and your sink installation goes smoothly afterward.
How to Turn Off the Kitchen Sink Water Supply Safely
Before you start disconnecting anything, find the shut-off valves under your kitchen sink to stop the water flow. These valves control the water supply to your faucet, so turning them off helps prevent leaks and water damage while you’re working.
Usually, you’ll see two shutoff valves—one for hot water and one for cold. Turn each valve clockwise until it stops to shut off the water completely. If the valves are stiff, carefully use an adjustable wrench to avoid damaging them.
After shutting off the valves, open the kitchen faucet to drain any remaining water from the lines. This step makes sure no water sprays out when you disconnect the plumbing later.
If you can’t find individual shutoff valves, turn off the main water supply for your home first. Check that the water is off by turning the faucet handles and seeing if water flows. Once the water is safely off, you’re all set to disconnect the sink plumbing.
How to Disconnect the Kitchen Sink Faucet and Plumbing
Now that you’ve turned off the water supply, you can start disconnecting the faucet connections underneath the sink. Grab a wrench and carefully loosen the supply lines and mounting hardware. Just take your time so you don’t damage anything.
Once those are off, you can go ahead and remove the plumbing pipes. This will free up the sink components completely, making it easier to replace or repair whatever you need.
Turn Off Water Supply
Although it might seem simple, turning off the water supply is an important first step to prevent leaks when disconnecting your kitchen sink faucet and plumbing. First, find the shut-off valves under the sink—they control the water going to the faucet.
Next, turn the shut-off valves clockwise to shut off the water. Then, open the faucet to release any remaining pressure and drain out excess water.
Check both the hot and cold water lines to make sure the supply is completely off. Finally, place a bucket or towel under the valves to catch any drips when you’re ready to disconnect later.
Detach Faucet Connections
With the water supply shut off, you can start detaching the faucet connections. First, identify your faucet type—single-handle, double-handle, or pull-out—as each uses different connection methods.
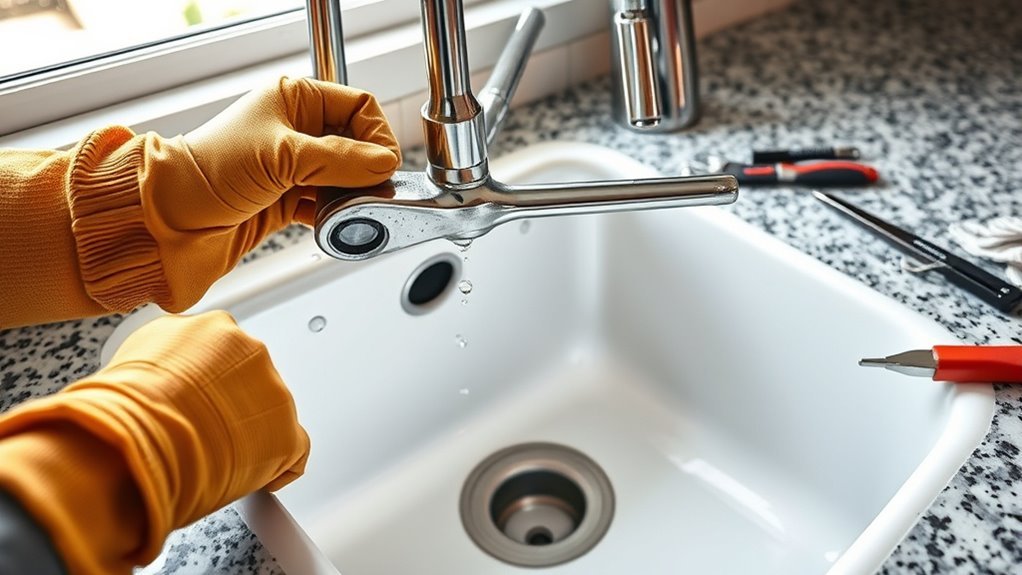
Use an adjustable wrench or basin wrench to loosen the nuts securing the supply lines. Be ready for some residual water to drip out during this step.
| Faucet Type | Connection Method | Tool Needed |
|---|---|---|
| Single-handle | Compression fittings | Basin wrench |
| Double-handle | Threaded nuts | Adjustable wrench |
| Pull-out | Quick-connect fittings | Pliers |
| Wall-mounted | Threaded connections | Pipe wrench |
Once the connections are loose, gently pull the supply lines away from the faucet. This helps clear the way for removing the faucet without damaging any plumbing parts.
Remove Plumbing Pipes
Start by loosening the nuts that hold the plumbing pipes beneath your kitchen sink using an adjustable wrench or channel-lock pliers. Different pipe materials, like PVC or metal, might need specific tools or techniques, so check yours carefully.
To remove the pipes without causing drainage issues, follow these steps: first, place a bucket under the pipes to catch any leftover water. Then, loosen and remove the slip nuts connecting the drain trap.
Carefully disconnect the drain trap and other pipe sections. Afterward, inspect all parts for damage or buildup that could cause drainage problems.
How to Remove the Drain Assembly and Garbage Disposal
Loosen the drain assembly by disconnecting the P-trap and any connecting pipes beneath the sink. Place a bucket underneath to catch any water that may spill out. Once disconnected, unscrew the drain flange from the sink basin using a drain wrench or pliers, loosening the locknut holding the drain assembly in place. Carefully remove the drain assembly from the sink.
If you have a garbage disposal, start by unplugging it or switching off the power at the circuit breaker for safety. Disconnect the dishwasher hose if attached, then loosen the mounting ring securing the disposal to the sink flange. Support the disposal’s weight as you twist and remove it from the mounting assembly. You may need a screwdriver or wrench to help release it.
With the drain assembly and garbage disposal removed, you’ve cleared the way to continue with your sink removal project efficiently. Keep all parts organized if you plan to reuse or replace them.
Removing the Sink From Your Countertop or Cabinet
Carefully detach any clips or fasteners securing the sink to your countertop or cabinet. Different sink types, like drop-in or undermount, have distinct attachment methods, so knowing your sink’s style helps. Follow these installation tips to proceed smoothly:
- Locate all mounting clips around the sink’s perimeter. These typically hold drop-in sinks in place.
- Use a screwdriver or wrench to loosen each fastener. Keep them handy for reinstalling.
- For undermount sinks, check for adhesive or sealant along the edges. Gently cut through it with a utility knife.
- Once all clips and sealants are removed, test if the sink is free by gently lifting at the edges.
Following these steps guarantees the sink detaches without damage to your countertop or cabinet. This preparation sets you up well for the next phase of removal.
Safe Techniques for Lifting and Removing the Kitchen Sink
When you’re lifting your kitchen sink, it’s really important to use proper body mechanics. That way, you can protect your back and avoid any injuries. Before you start, make sure you have support tools like a dolly or straps on hand—they’ll make the job a lot easier and safer.
Also, take a moment to clear out the area around the sink. Having enough space to move freely will help you work more safely and efficiently. Just a few simple steps can make a big difference when you’re lifting or removing your sink!
Proper Body Mechanics
Mastering proper body mechanics will help you lift and remove the kitchen sink safely without straining your back or muscles. To practice ergonomic lifting and keep good body alignment, follow these steps:
- Stand close to the sink with your feet shoulder-width apart for stability.
- Bend your knees, not your waist, to lower yourself, keeping your back straight.
- Use your legs to lift the sink, engaging your core to support your spine.
- Keep the sink close to your body as you lift and move it to reduce strain.
Using Support Tools
Using support tools like suction cups, adjustable wrenches, and lifting straps can make removing your kitchen sink safer and easier. These tools help you get a firm grip and reduce strain when lifting or loosening fittings.
Always follow installation tips to avoid damaging pipes or countertops during removal. Here’s a quick guide on essential support tools:
| Tool | Purpose | Installation Tips |
|---|---|---|
| Suction Cups | Grip smooth surfaces | Clean surface before use |
| Adjustable Wrench | Loosen/tighten nuts | Use correct size to prevent slips |
| Lifting Straps | Distribute weight evenly | Position straps under sink edges |
Using these support tools properly ensures a smooth, safe removal process without unnecessary damage or injury.
Clearing Surrounding Area
Before lifting your kitchen sink, clear at least three feet of space around your work area. This helps prevent accidents and makes it easier to move safely.
It’s also a good idea to remove all items from the countertop and nearby cabinets to avoid clutter. Lay down a protective mat or thick cloth over the surface to protect it.
Keep a bucket and towels nearby to catch any leftover water. And make sure you have a clear path to carry the sink away safely without tripping.
How to Clean and Inspect the Sink Area Before Installation
Start by thoroughly cleaning the sink area to remove any debris, grease, or old sealant. Use a mild cleaner and a scrub brush to make sure the surface is spotless. This is important for good adhesion during installation and helps prevent leaks.
Next, inspect the countertop and cabinet for any damage or water stains that might need fixing before you move forward. Check your installation checklist to make sure you have all the tools and materials you need.
Inspect countertops and cabinets for damage and ensure all tools are ready before starting your installation.
Look for any signs of mold or rot in the cabinet area and deal with these issues right away. Proper cleaning and inspection now will make the installation smoother and help your sink last longer.
Taking the time to do this properly now will save you from problems down the line. A clean, well-inspected area makes all the difference for a successful sink setup.
Fixing Common Kitchen Sink Removal Problems
When you encounter stubborn caulk or tight mounting clips, don’t get discouraged—these are some of the most common hurdles during sink removal. To handle these and other issues like leaky connections or stubborn screws, follow these steps:
Soften caulk by heating it gently with a hairdryer before scraping it away with a putty knife.
Use penetrating oil on stubborn screws, letting it sit for a few minutes to loosen corrosion.
For leaky connections, place a bucket underneath, then carefully disconnect fittings using adjustable pliers to avoid spills.
If mounting clips are hard to reach, use a mirror and a flashlight to verify you’re unscrewing the right fasteners without damaging the sink or countertop.
When to Call a Professional for Kitchen Sink Removal Help
Dealing with stubborn screws, tight clips, or leaky connections can test your patience and skills. If you’re struggling with these issues during sink removal, it might be time to call a professional.
Complex sink installation setups or older plumbing systems often require specialized tools and expertise. Trying to remove a sink without the right knowledge can lead to water damage or costly repairs.
Professionals guarantee proper plumbing maintenance, which helps prevent future leaks or malfunctions. If you notice corrosion, mold, or unexpected pipe configurations, don’t hesitate to seek expert help.
Also, if you’re unsure about disconnecting water lines or handling garbage disposals, a plumber can save you time and frustration. Remember, calling a professional isn’t a failure; it’s a smart way to protect your home and get the job done right the first time.
Frequently Asked Questions
Can I Reuse My Old Kitchen Sink After Removal?
Yes, you can reuse your old kitchen sink after removal if it’s still in good shape.
Restoring or refinishing it yourself can give it a fresh look, saving you money and cutting down on waste.
Just make sure to clean it thoroughly, check for any damages, and think about refinishing to get rid of scratches or stains.
With a little effort, your old sink can look almost new and work perfectly in your kitchen again.
How Do I Dispose of an Old Kitchen Sink Properly?
Picture a gleaming old sink, ready for its next chapter. To dispose of it properly, start by checking local sink recycling programs. Many scrap yards accept metal sinks for eco-friendly reuse.
Remove all plumbing fixtures carefully to avoid damage. Follow plumbing tips by draining and disconnecting pipes before transport.
If recycling isn’t an option, schedule a bulky waste pickup or take it to a landfill that handles large metal items. This way, you keep your disposal responsible and environmentally friendly.
What Materials Are Kitchen Sinks Typically Made From?
Kitchen sinks are typically made from stainless steel, ceramic, or composite materials. Stainless steel is popular because it’s durable and easy to maintain.
Ceramic sinks give a classic look but can chip more easily. Composite materials like granite or quartz mixes are tough and resistant to stains.
When choosing your sink, think about how much maintenance you’re willing to do and what style suits your kitchen best.
How Long Does the Entire Sink Removal Process Usually Take?
The entire sink removal process usually takes about 1 to 3 hours, moving like clockwork when you use proper sink removal techniques.
You’ll want to carefully disconnect plumbing considerations like water supply lines and drain pipes to avoid leaks or damage.
If you’re experienced, it might be quicker, but rushing can cause issues.
Taking your time guarantees a smooth removal, just like a well-rehearsed dance where every step flows seamlessly into the next.
Are There Any Eco-Friendly Options for Sink Removal and Disposal?
Yes, you can definitely choose eco-friendly options for sink removal and disposal. Look for recycling programs that accept metal, porcelain, or composite sinks to help keep them out of landfills.
You can also donate usable sinks to local shelters or reuse centers. That way, you’re giving them a second life instead of throwing them away.
Conclusion
Now that you’ve mastered removing your kitchen sink step-by-step, you’re ready to take on your next home improvement project with confidence.
Just like a blacksmith forging tools for a new era, you’ve prepared your space, handled plumbing with care, and solved common issues along the way.
Remember, if things get tricky, don’t hesitate to call a professional.
With patience and the right know-how, your kitchen will be ready for a fresh, modern upgrade — and you’ll be well on your way to installing a new sink.