How to Clean Kitchen Tiles: A Step-by-Step Guide
Cleaning kitchen tiles can feel like a never-ending chore, especially when grease and stains seem to stubbornly stick around. If you’ve ever felt overwhelmed by dirty grout lines or dull, grimy floors, you’re not alone. Many people struggle with keeping their kitchen tiles spotless and fresh.
To clean your kitchen tiles, start by gathering basic supplies like a bucket, mild detergent, scrub brush, and microfiber cloths.
Begin with sweeping or vacuuming to remove dust, then use a warm water and dish soap mix to tackle backsplash grease.
Mop floor tiles with a vinegar solution, scrubbing grout gently. Treat stains with baking soda paste and seal grout to protect it.
Following a routine keeps your tiles spotless and fresh. For more detailed tips, you can investigate deeper cleaning methods and maintenance.
Key Takeaways
- Sweep or vacuum your kitchen tiles to get rid of loose dirt and dust before you start cleaning.
- For the backsplash, use warm water, dish soap or vinegar, and a sponge to wipe away grease and grime.
- Mop the floor tiles with a mild detergent or vinegar solution, taking care to gently scrub the grout lines.
- For stubborn stains and grout upkeep, apply a baking soda paste or a specialized grout cleaner.
- After cleaning, don’t forget to apply a sealant and keep up with a regular cleaning schedule to keep your tiles and grout looking great.
Gather Essential Tools and Supplies for Cleaning Kitchen Tiles
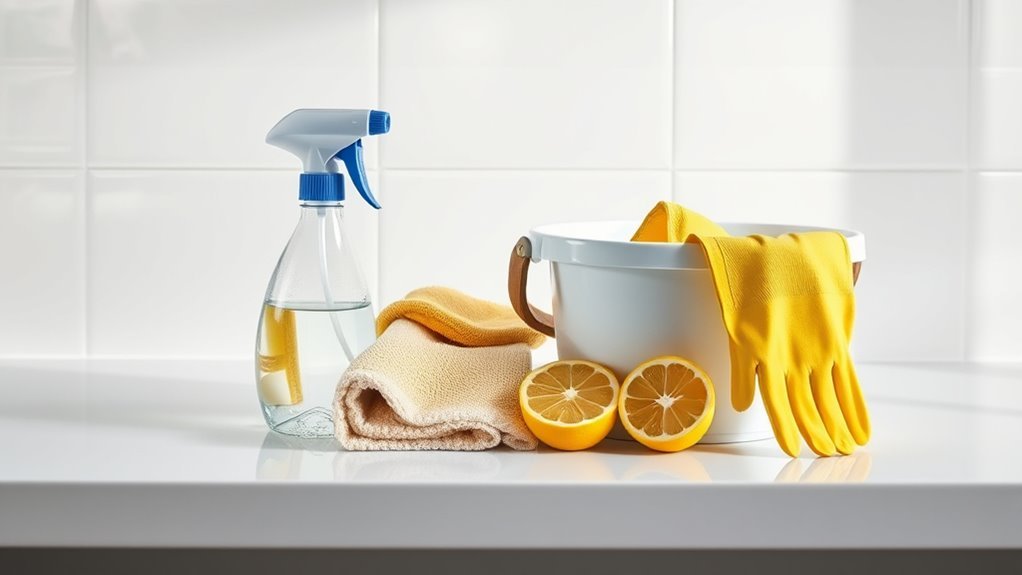
To clean your kitchen tiles effectively, start by gathering five essential tools and supplies: a bucket, a scrub brush or sponge, a mop, a mild detergent or tile cleaner, and microfiber cloths.
These tile cleaning tools form the foundation of your cleaning process, helping you tackle dirt and grime efficiently. The bucket helps you mix your cleaning solution and rinse your tools easily.
Essential tile cleaning tools create a strong foundation for efficiently tackling dirt and grime in your kitchen.
A scrub brush or sponge lets you target stubborn spots without damaging the tile surface. Using a mop makes it simple to cover larger areas, saving you time and effort.
Microfiber cloths are perfect for drying and polishing tiles, giving them a streak-free shine. Choosing a mild detergent or a tile cleaner designed for kitchen tiles protects your surface from harsh chemicals.
Remove Surface Dirt and Dust From Kitchen Tiles
Before applying any cleaning solution, you should remove surface dirt and dust from your kitchen tiles. This step is essential for effective cleaning and helps prevent scratching the tiles.
Start by using a soft-bristle broom or a dry microfiber cloth to sweep away loose dirt and dust. These dusting techniques guarantee you pick up fine particles without damaging the tile surface.
For hard-to-reach areas, a vacuum with a brush attachment works well. Incorporating regular dusting into your tile maintenance tips can prolong your tiles’ appearance and reduce the need for intensive cleaning.
Avoid using harsh brushes or abrasive tools, as they can dull the finish. By consistently removing surface dust and dirt, you create a clean base for tackling stains and grime later.
Taking this simple step not only improves the cleanliness of your kitchen but also helps maintain your tiles’ overall condition.
Remove Grease and Grime From Kitchen Tile Backsplash
Once you’ve cleared away surface dust and dirt, it’s time to tackle the tougher buildup of grease and grime on your kitchen tile backsplash. For effective grease removal, start by mixing warm water with a few drops of dish soap or a vinegar solution.
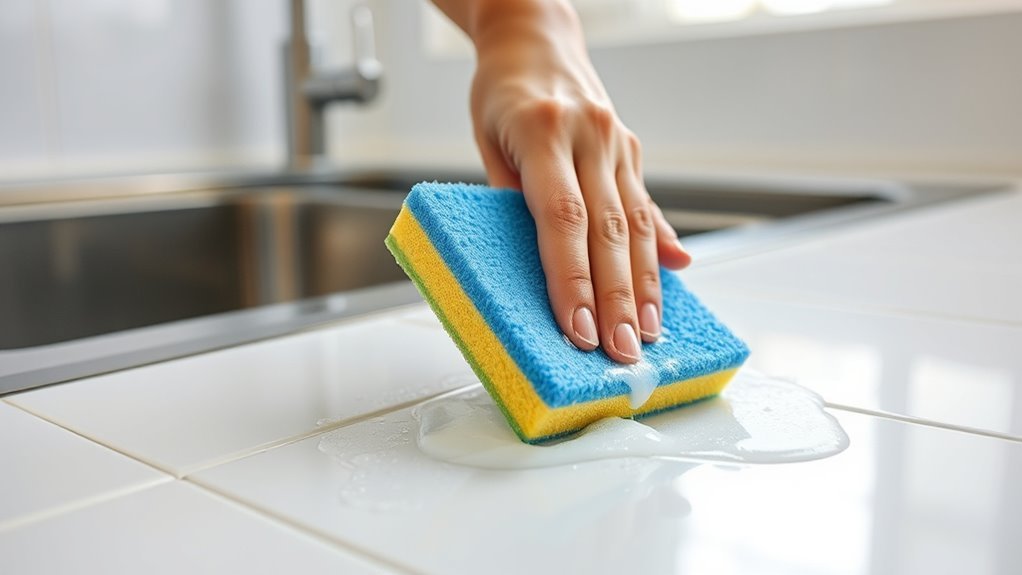
Apply this mixture to the backsplash using a sponge or soft cloth, focusing on greasy spots. Let it sit for a few minutes to break down the buildup. Then, scrub gently in circular motions to lift the grime without damaging the tiles.
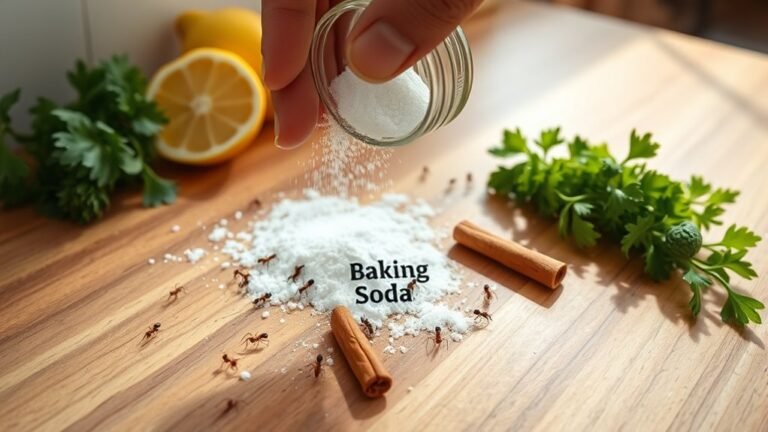
For stubborn grease, a paste made of baking soda and water can provide extra scrubbing power. Rinse the area thoroughly with clean water to remove any residue, then dry with a microfiber cloth to prevent streaks.
Regular backsplash maintenance like this prevents grease from hardening and keeps your kitchen looking fresh. By staying consistent with these simple steps, you’ll keep your tiles clean and grease-free without much hassle.
Deep Clean Your Kitchen Floor Tiles
Although kitchen floor tiles are built to handle heavy use, they still need a thorough deep clean to get rid of dirt and stains that regular sweeping can’t remove. Start by sweeping or vacuuming to clear away loose debris.
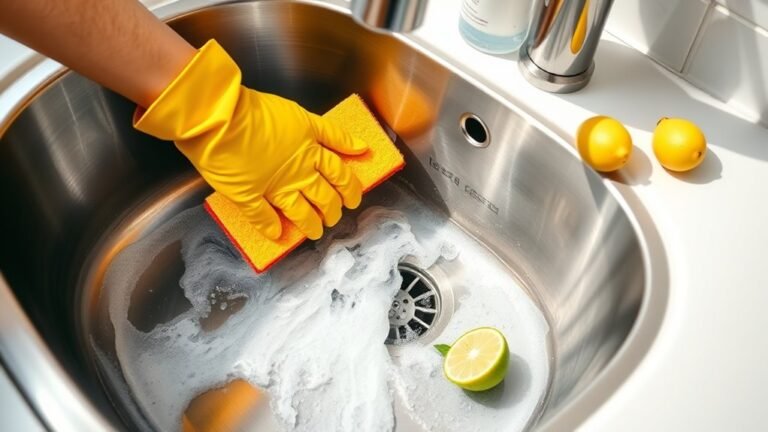
Next, make an eco-friendly cleaning solution by mixing warm water with white vinegar or a few drops of mild dish soap. Mop the floor with this mixture, paying special attention to the grout lines where dirt tends to accumulate.
For stubborn spots, gently scrub with a soft brush to avoid damaging the tiles. Afterward, rinse the floor with clean water to wash away any leftover residue.
Keeping up with these tile maintenance tips regularly will help your floor stay fresh and last longer. Avoid harsh chemicals that can harm both your tiles and the environment.
Remove Stubborn Stains From Kitchen Tiles
Got a tough stain on your kitchen tiles? No worries! First, try to figure out what kind of stain it is—that way, you can choose the best approach to get rid of it.
For most stains, natural cleaners like baking soda or vinegar work wonders and are gentler than harsh chemicals. Just sprinkle some baking soda on the stain or pour a bit of vinegar, and let it sit for a few minutes. Then, use a soft brush or sponge to scrub gently. This targeted technique helps lift the stain without harming your tiles.
Identify Stain Types
How do you tackle stubborn stains on your kitchen tiles effectively? It starts with proper stain identification. Knowing whether the stain is grease, coffee, rust, or mold helps you choose the right cleaning approach.
For example, greasy stains require degreasing agents, while rust needs specialized removers. Take a close look at the stain’s color, texture, and origin to identify it correctly.
This awareness not only helps in stain removal but also plays a crucial role in stain prevention. Once you understand what causes these marks, you can adjust your cleaning routine to avoid future buildup.
Regularly wiping spills promptly and using appropriate cleaners based on stain type will keep your kitchen tiles spotless and extend their lifespan.
Use Natural Cleaning Agents
When stubborn stains won’t budge, natural cleaning agents can be a safe and effective choice for your kitchen tiles. Using these options helps protect your tile surface and keeps your home eco-friendly by reducing chemical exposure.
Here are four powerful options to try:
- Baking Soda Paste – Mix baking soda with water, apply it to stains, and let it sit before wiping away. It’s great for lifting stubborn spots.
- White Vinegar – Spray diluted vinegar on tiles to break down grease and grime naturally. It’s a simple and effective solution.
- Lemon Juice – Use fresh lemon juice for its natural bleaching and antibacterial properties. It leaves your tiles fresh and shiny.
- Hydrogen Peroxide – Carefully apply hydrogen peroxide to lighten tough stains without harsh chemicals. It’s a gentle yet powerful option.
These natural cleaners work well on tough stains while keeping your kitchen safe and green.
Apply Targeted Scrubbing Techniques
Natural cleaning agents can loosen grime and lighten stains, but some spots may still need a bit more effort. That’s where targeted techniques come in.
Identify stubborn stains and apply a small amount of a stronger cleaner or a paste made from baking soda and water directly on the area. Use a stiff-bristled brush or an old toothbrush for focused scrubbing.
Work in small circular motions, concentrating on grout lines or textured tile surfaces where dirt hides. Avoid using excessive force to prevent damaging the tile finish.
After scrubbing, wipe away residue with a damp cloth and inspect the spot. Repeat if necessary, but remember, consistent maintenance reduces the need for intense scrubbing.
These targeted techniques will help you tackle tough stains effectively without harming your kitchen tiles.
Effective Homemade Cleaners for Kitchen Tiles
You can tackle stubborn stains and grime on your kitchen tiles with just a few simple ingredients found around your home. Using homemade cleaners not only saves money but also offers eco-friendly options that support your tile maintenance efforts without harsh chemicals. Here are four effective DIY solutions to try:
- Vinegar and Water: Mix equal parts for a natural disinfectant that loosens dirt and grease.
- Baking Soda Paste: Combine baking soda with water to form a paste. Scrub tiles gently to remove tough stains.
- Lemon Juice Spray: The acidity cuts through grime and leaves a fresh scent.
- Castile Soap Solution: Dilute with water for a gentle, biodegradable cleaner that’s safe on tiles.
These homemade cleaners are easy to make and perfect for regular upkeep, helping your kitchen tiles stay clean and bright while being environmentally responsible.
Choosing and Using Commercial Tile Cleaners
When you’re picking out commercial tile cleaners, you’ll notice there are different products made for various tile types and stains. It’s a good idea to read the labels carefully and follow the instructions on how to use them. That way, you’ll get the best cleaning results without risking any damage to your tiles.
And don’t forget to wear gloves while cleaning—that helps protect your skin. Also, make sure you’re in a well-ventilated area so you can stay safe and comfortable while you’re at it.
Types Of Tile Cleaners
Although plenty of commercial tile cleaners are available, not all are suitable for every type of kitchen tile. Choosing the right one helps protect your tiles and keeps them looking their best.
Here are four common types you’ll come across:
- pH-neutral cleaners are gentle on natural stone and ceramic tiles. They’re perfect for regular cleaning without causing damage.
- Alkaline cleaners work well for tackling grease and heavy dirt on glazed tiles. They’re great for deep cleaning.
- Acid-based cleaners are effective against mineral deposits, but they can be harsh on some tiles. Use them cautiously to avoid damage.
- Eco-friendly options are made from natural ingredients. They reduce chemical exposure and are better for the environment.
Always pick a cleaner specifically designed for your tile type. This helps prevent damage and keeps your tiles looking their best longer.
Application Tips And Safety
Selecting the right tile cleaner is only half the battle; applying it correctly guarantees the best results without harming your tiles or yourself. When using commercial tile cleaners, always test the cleaner on a small, hidden area first to check for any reactions.
Use a soft cloth or sponge to apply the solution evenly, avoiding abrasive tools that could scratch the surface. Don’t forget safety precautions—wear gloves and make sure the area is well-ventilated to prevent irritation from fumes.
Avoid mixing cleaners because it can create hazardous chemicals. Rinse thoroughly with water to remove any residue, then dry the tiles to prevent streaks or damage. Following these steps keeps your kitchen tiles clean and safe.
Clean and Maintain Kitchen Tile Grout
Because grout is porous and prone to staining, you’ll need to clean it regularly to keep your kitchen tiles looking fresh. Proper maintenance not only improves appearance but also extends grout’s life. Here’s how to clean and maintain your kitchen tile grout effectively:
- Scrub with a grout cleaner: Use a specialized grout cleaner or a mix of baking soda and water. Apply it, then scrub with a stiff brush to remove dirt and mildew.
- Rinse thoroughly: Wipe away residue with a damp cloth to prevent buildup.
- Apply grout whitening treatment: If your grout looks dull or stained, use a grout whitening product to restore its original color.
- Seal the grout: After cleaning and drying, apply grout sealing to protect against moisture and future stains.
Prevent Dirt and Stains on Kitchen Tiles
Preventing dirt and stains on your kitchen tiles starts with simple daily habits that make a big difference. You can take preventive measures like wiping spills immediately and using mats or rugs in high-traffic areas to reduce dirt buildup.
Avoid dragging heavy pots or sharp objects across the tiles to prevent scratches, which can trap dirt and stain easily. For extra protection, consider applying a high-quality sealant. This creates a barrier that repels moisture and stains, making your tiles easier to clean.
Be sure to regularly check and maintain the sealant to keep it effective. Keep your kitchen well-ventilated to reduce humidity, which can contribute to grime and mold.
How Often to Clean Kitchen Tiles for Best Results
Although kitchen tiles are durable, you should clean them regularly to keep them looking their best and to prevent dirt and grime buildup. Setting a consistent cleaning schedule helps maintain hygiene and extends the life of your tiles.
Here’s a simple guide for how often to clean:
- Daily: Wipe up spills and crumbs right away to avoid stains and sticky spots.
- Weekly: Mop or scrub the floor tiles with a mild cleaner to get rid of dirt and grease.
- Monthly: Deep clean grout lines using a special cleaner or a baking soda paste to prevent discoloration.
- Quarterly: Check for any damage or mold growth and deal with issues promptly.
Frequently Asked Questions
Can Sealing Kitchen Tiles Improve Their Durability?
Yes, sealing kitchen tiles can improve their durability by protecting them from stains, moisture, and wear. You’ll enjoy benefits like easier cleaning and longer-lasting surfaces.
To keep your tiles in top shape, don’t forget about sealing frequency. It varies depending on the tile type, but usually once a year is enough.
Regular sealing helps maintain your kitchen’s look and prevents damage, saving you time and money in the long run.
Are There Specific Cleaning Methods for Natural Stone Tiles?
Yes, you should use specific cleaning methods for natural stone tiles to avoid damage. For effective natural stone care, avoid acidic or abrasive cleaners that can etch the surface.
Instead, use pH-neutral, stone-specific cleaners and soft cloths or mops. Regular tile maintenance includes sealing the stone periodically to protect it from stains and moisture.
Following these steps helps keep your natural stone tiles looking beautiful and lasting longer.
How to Repair Cracked or Chipped Kitchen Tiles?
Oh, sure, nothing says “home improvement” like a cracked tile screaming for attention. To fix it, start by gently removing the broken piece—no need to turn your kitchen into a demolition site.
Choose the right adhesive type, like epoxy or thin-set mortar, to secure your tile replacement firmly.
Apply the adhesive carefully, press the new tile in place, and grout around it once it’s set. Voilà, your kitchen’s little disaster is history!
Is Steam Cleaning Safe for Kitchen Tiles?
Yes, steam cleaning is safe for kitchen tiles when you use the right techniques. It provides deep sanitization without needing harsh chemicals, so your tiles stay spotless and germ-free.
Just make sure your tiles are sealed properly to prevent moisture damage. You’ll enjoy a quick, eco-friendly clean that lifts dirt and grime with ease.
This keeps your kitchen tiles looking fresh and well-maintained without any hassle.
What Causes Grout Discoloration Beyond Dirt and Stains?
Grout discoloration goes beyond just dirt and stains. You’ll find that moisture, mold, mildew, and even harsh cleaning chemicals can cause grout to darken or change color.
Poor grout maintenance lets these factors take hold, leading to lasting discoloration. Also, grout can absorb oils and food spills, which make it look grimy.
To keep grout looking fresh, you’ve got to address these discoloration causes regularly and seal your grout properly.
Conclusion
Keeping your kitchen tiles spotless doesn’t have to be a chore. Regular cleaning can cut down kitchen bacteria by up to 90%, making your space safer and more inviting.
By following these simple steps, you’ll keep your tiles looking fresh and shiny. It doesn’t take much effort to prevent grime buildup and maintain that clean look.
Just grab your supplies and make tile cleaning a quick, easy part of your routine. Using the right techniques for kitchen tile cleaning will keep your space sparkling and healthy.