How to Fix a Dripping Kitchen Faucet: A Step-by-Step Guide
Dealing with a dripping kitchen faucet can be incredibly frustrating. You’re not alone—many people struggle with constant leaks that waste water and increase your utility bill.
Luckily, fixing it yourself is often simpler than you think.
To fix a dripping kitchen faucet, first identify the cause by knowing your faucet type and checking for worn washers, O-rings, or damaged parts.
Gather tools like wrenches and screwdrivers, then turn off your water supply completely.
Disassemble the faucet carefully, replace faulty components, and reassemble it securely to stop leaks.
Finally, test for drips and maintain your faucet regularly to prevent future issues.
Keep following the steps to get the full repair process and tips.
Key Takeaways
- First, figure out what type of faucet you have and check the washers, O-rings, or cartridges for any signs of wear that might be causing the drip.
- Make sure to turn off the water supply valves under the sink before you start working on it. Safety first!
- Carefully take apart the faucet, keeping track of all the small parts and screws so nothing gets lost.
- Swap out any damaged washers, O-rings, or cartridges, then put everything back together securely. Just don’t overtighten.
- Finally, turn the faucet on and watch for leaks. Make sure it flows smoothly without any drips.
Identify What’s Causing Your Kitchen Faucet to Drip
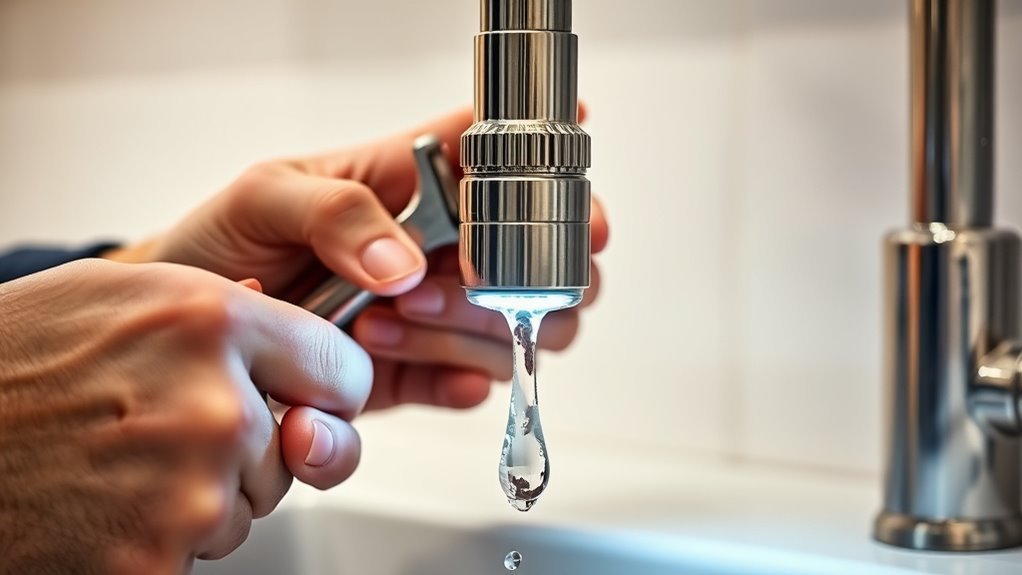
Before you can fix your dripping kitchen faucet, you need to figure out what’s causing it. Different types—like compression, cartridge, ceramic disk, and ball faucets—have their own mechanisms that can fail in different ways.
Common causes include worn-out washers, damaged O-rings, corroded valve seats, or loose parts. For example, compression faucets often drip because their rubber washers wear out over time. Cartridge faucets may leak if the cartridge itself is faulty.
Ceramic disk faucets usually drip because of debris or worn seals. Ball faucets can have issues with springs or seats inside the assembly. Knowing your faucet type helps you know what parts to check first.
Start by turning off the water supply. Then, look for visible damage or loose components. Recognizing the common causes related to your specific faucet type makes diagnosing the problem quicker and more accurate.
This sets you up for a smoother repair process.
Get the Right Tools Ready for the Repair
Once you’ve identified the cause of your dripping faucet, gather the tools you’ll need to fix it properly. Having the right tools makes the repair smoother and helps avoid unnecessary damage.
Essential supplies usually include an adjustable wrench, a flathead screwdriver, and a Phillips screwdriver. You might also need a hex key or Allen wrench if your faucet has set screws.
Keep a pair of pliers handy for gripping and turning small parts. Also, have replacement parts ready, like new washers, O-rings, or cartridges depending on your faucet type.
A clean cloth and some plumber’s grease can help with reassembly and making sure everything seals tightly. Organizing these supplies before you start saves time and frustration.
Turn Off Your Water Supply Before You Start
Two main valves control your kitchen faucet’s water flow, and turning them off is crucial to prevent water from spilling everywhere while you work. These valves are usually located under the sink—one for hot water and one for cold.
Before you start, locate these shut-off valves and turn them clockwise to close the water supply completely. This step is an important safety measure that protects you from unexpected leaks or flooding during the repair.
Locate and turn shut-off valves clockwise to prevent leaks and flooding during faucet repairs.
If you can’t find individual shut-off valves, turn off the main water supply to make sure no water reaches the faucet. After shutting off the water, open the faucet to relieve any remaining pressure and drain leftover water.
This makes the repair cleaner and safer. Always double-check that the water is off before you begin, so you avoid surprises once you start fixing the dripping faucet.
Disassemble Your Dripping Kitchen Faucet Step-by-Step
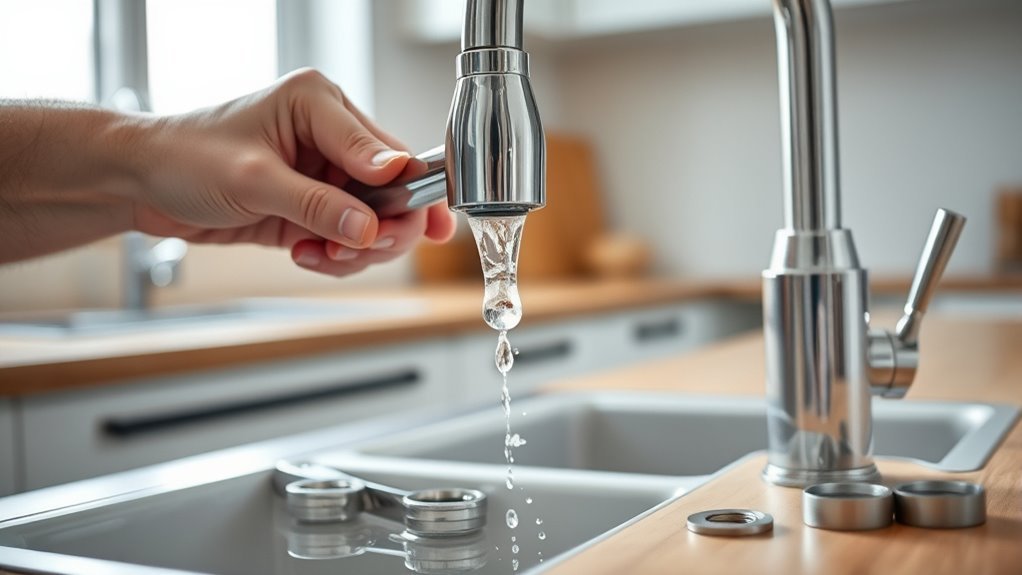
After shutting off the water and relieving pressure, you’re ready to take apart the faucet to find the source of the drip. Start by removing the decorative caps or handles, which may need a small screwdriver or Allen wrench depending on your faucet type. Keep track of screws and small parts carefully.
Next, use a wrench to loosen the packing nut and remove the stem or cartridge, depending on your faucet style. Some faucets require you to unscrew retaining clips or nuts before fully disassembling.
Remember, how often you need to repair depends on the faucet type and water quality. Take note of any worn components as you go. Lay out all parts in order so you can easily reassemble later.
Inspect and Replace Worn-Out Kitchen Faucet Parts
Now that you’ve got your faucet taken apart, take a good look at the parts that usually wear out, like the O-rings, washers, and cartridges. These are the usual culprits when it comes to leaks and drips, so replacing them can make a big difference.
Just follow a simple step-by-step process to swap out any damaged pieces. Once you’ve replaced the worn-out parts, your faucet should function like new again—no more annoying drips!
Identify Common Worn Parts
Although a dripping faucet can be frustrating, you can often fix it by identifying and replacing the worn parts causing the leak. Start by checking these common culprits:
Worn washers, damaged O rings, and leaky seals often cause persistent drips. These tiny parts wear out over time and need replacing.
Faulty cartridges, corroded valves, and cracked housings can disrupt water flow and lead to leaks.
Loose screws, misaligned parts, worn springs, and broken handles affect the faucet’s function and may cause dripping.
Inspect each component carefully to pinpoint the exact issue. Catching these worn parts early helps you avoid bigger problems and costly repairs down the line.
Once you’ve identified the problem, you’ll be ready for the next step: replacing the faulty parts.
Step-by-Step Replacement Process
Once you’ve identified the worn parts causing your faucet to drip, it’s time to replace them. First, turn off the water supply to prevent any spills. Next, figure out what type of faucet you have—whether it’s compression, cartridge, ball, or ceramic disk—since each needs specific parts.
Carefully remove the handle to expose the faulty components like washers, O-rings, or cartridges. Check these parts for damage or wear. Replace them with exact matches to keep the water pressure right and avoid future leaks.
Reassemble the faucet in reverse order, making sure all connections are tight but not overtightened. Finally, turn the water back on and check for leaks. Following this step-by-step process will help you fix your faucet and save water in the long run.
Clean Faucet Components to Prevent Future Drips
If you want to prevent future drips, the first step is to clean off any mineral deposits that might have built up on your faucet parts. It’s a pretty straightforward process—just remove those deposits, and your faucet will thank you!
After that, it’s a good idea to apply some lubricant to the moving parts. This helps everything run smoothly and can really make a difference in preventing leaks down the line. Following these simple steps can help your faucet stay in good shape longer and keep those annoying drips at bay.
Remove Mineral Deposits
Because mineral deposits can build up inside your faucet over time, removing them is key to stopping drips and keeping your faucet working smoothly. Mineral buildup can clog parts and prevent a proper seal, causing leaks.
To clean your faucet components effectively:
- Soak removable parts in a vinegar solution for 30 minutes to dissolve deposits.
- Use a soft brush or toothbrush to gently scrub away loosened mineral buildup.
- Rinse thoroughly with water and dry before reassembling the faucet.
This simple process helps restore the faucet’s function and prevents future dripping caused by hardened minerals. Regularly removing mineral deposits keeps your kitchen faucet in top shape and extends its lifespan.
Lubricate Moving Parts
Although cleaning mineral deposits is important, lubricating the moving parts in your faucet helps it operate smoothly and prevents future drips. After disassembling the faucet, apply faucet grease to washers, O-rings, and cartridge stems.
This reduces friction and wear, helping seals stay tight. Be sure to use the right type of lubricant—silicone-based grease is best because it won’t damage rubber parts or break down over time. Avoid petroleum-based lubricants, as they can cause damage.
Spread the grease evenly but sparingly to avoid attracting dirt or debris. Once you’ve lubricated everything, carefully reassemble the faucet, making sure each part fits snugly. This simple step not only fixes leaks but also helps your faucet last longer, keeping it drip-free with minimal maintenance.
Reassemble the Faucet Correctly to Avoid Leaks
Three key steps guarantee you reassemble the faucet correctly to avoid leaks: aligning parts properly, tightening components securely, and double-checking seals. Following these faucet assembly tips will help you prevent future drips and water damage.
Align Parts Properly: Make sure each component fits exactly where it belongs. Misaligned parts can cause gaps, leading to leaks. Take your time to position washers, O-rings, and cartridges correctly.
Tighten Components Securely: Use the appropriate tools to tighten screws and nuts firmly but avoid overtightening, which can damage parts. Secure fittings keep water flow controlled and prevent leaks.
Double-Check Seals: Inspect all seals carefully before final assembly. Replace any worn or damaged seals as part of your leak prevention strategies. Proper seals are essential to maintain a watertight faucet.
Test Your Faucet to Stop the Drip
Once you’ve reassembled your faucet, it’s important to test it thoroughly to make sure the drip has stopped. Turn on the faucet and watch closely for any signs of water dripping from the spout.
After reassembling, test your faucet carefully to confirm the drip has completely stopped.
This step is key because even a tiny, slow drip can waste water and increase your bill. Pay attention to the faucet pressure too; it should feel steady and consistent without any sputtering or fluctuations.
If the pressure feels low or irregular, there might be an issue with your installation or a clogged aerator. Test both hot and cold water separately to ensure each valve seals properly.
Let the water run for about a minute, then turn it off. Watch the faucet for a few minutes to see if any drips come back. If there’s no drip and the pressure feels stable, you’ve fixed the problem and can enjoy a leak-free kitchen faucet.
Troubleshoot Persistent Faucet Drips
If your faucet keeps dripping even after trying to fix it, it’s time to look a little deeper. Persistent leaks often come from underlying issues beyond simple repairs. To address this and stop the drip for good, follow these steps:
- Check the Cartridge or Valve Seat: Worn-out cartridges or damaged valve seats are common culprits. Take them out and look for cracks or mineral buildup, then replace them if needed.
- Inspect O-Rings and Washers: Even tiny imperfections here can cause leaks. Make sure they’re in good shape and seated properly.
- Examine Water Pressure: High water pressure can make faucets leak constantly. Use a pressure gauge to check it and adjust if necessary.
Maintain Your Kitchen Faucet to Keep It Drip-Free Longer
To keep your kitchen faucet from dripping again, it’s a good idea to give it a regular clean and check for any loose parts. Just a quick inspection now and then can make a big difference.
And don’t forget to lubricate the moving parts too. That way, everything will operate smoothly, and you’ll reduce the chances of leaks or drips.
Following these simple steps can help your faucet last longer and keep it working perfectly without any pesky drips!
Regular Cleaning Tips
Regularly cleaning your kitchen faucet helps prevent mineral buildup and grime that can cause leaks over time. To keep it in top shape, aim to clean once a week.
Use eco-friendly solutions like vinegar or baking soda mixed with water instead of harsh chemicals that might damage the finish. Here’s a simple routine to follow:
- Wipe down the faucet daily with a soft cloth to remove surface dirt.
- For a deeper clean, soak a cloth in an eco-friendly solution and wrap it around the faucet for 15 minutes.
- Rinse thoroughly with water and dry to prevent water spots and mineral deposits.
Check for Loose Parts
Several loose parts inside your kitchen faucet can cause annoying drips and leaks. To prevent common faucet issues, start by turning off the water supply and removing the handle.
Check screws, nuts, and washers for looseness or damage. Tighten any loose screws carefully, but don’t overtighten, which could cause damage.
Pay special attention to the packing nut and valve seat, as they’re often the culprits in leaks. Using a wrench or screwdriver, secure these components to restore a tight fit.
This step is one of the most effective faucet maintenance tips you can follow to keep your faucet drip-free longer. Addressing loose parts early helps prevent small leaks from turning into bigger problems, saving you time and money down the line.
Lubricate Moving Components
Apply a suitable lubricant to the moving parts inside your kitchen faucet to keep everything operating smoothly and prevent leaks. Using faucet grease offers several benefits, like reducing friction, preventing wear, and extending your faucet’s lifespan.
Here’s how to do it effectively:
- Disassemble the faucet handle carefully to access the internal components.
- Apply a thin layer of faucet grease to the valve stem, O-rings, and other moving parts.
- Reassemble the faucet and test the handle for smooth operation and leak prevention.
Frequently Asked Questions
What Causes a Faucet to Drip Only at Certain Times of Day?
You’ll notice your faucet drips only at certain times of day because of drip patterns linked to temperature fluctuations. When water heats up or cools down, it expands or contracts, causing pressure changes inside the pipes.
These shifts make seals or washers loosen temporarily, triggering intermittent drips. So, your faucet’s drip patterns reflect how temperature changes affect the plumbing, creating leaks that come and go depending on the time and water temperature.
Can Hard Water Damage My Kitchen Faucet Over Time?
Yes, hard water effects can definitely damage your kitchen faucet over time. The minerals in hard water build up, causing scale and corrosion that affect your faucet’s performance and lifespan.
To prevent this, you should regularly perform faucet maintenance, like cleaning aerators and checking seals. Using water softeners or filters can also help reduce mineral buildup, keeping your faucet working smoothly and extending its durability.
How Do I Know When It’s Time to Replace My Entire Faucet?
If your faucet sounds like a waterfall or sprays water everywhere, it’s definitely crying out for help!
You’ll know it’s time to replace your entire faucet when signs like constant leaks, corroded parts, or slow water flow start to show up.
If repairs no longer fix stubborn drips or handles become loose, it’s probably time to say goodbye to that faucet.
Don’t wait too long—replace it before your kitchen turns into a swimming pool!
Are There Eco-Friendly Faucet Options That Reduce Water Waste?
Yes, there are many eco-friendly faucet options that help reduce water waste. Look for models made with sustainable finishes or recycled metals.
These faucets often feature water-saving tech like aerators, flow restrictors, or motion sensors. They cut down on water use without sacrificing performance.
Choosing one not only saves water and energy but also helps lower your bills. It’s a smart way to support a greener home and make a positive environmental impact.
Can a Dripping Faucet Increase My Water Bill Significantly?
Yes, a dripping faucet can increase your water bill quite a bit over time. Even small leaks waste gallons daily, making it harder to conserve water.
By fixing leaks quickly, you can make your plumbing more efficient and cut down on unnecessary water loss.
Fixing drips not only helps the environment but also keeps your utility costs lower.
Don’t underestimate a slow drip—it adds up faster than you might think.
Conclusion
Who knew that fixing a tiny drip could turn into a mini plumbing adventure? But once you’ve identified the culprit, replaced those worn parts, and reassembled your faucet, you’ll feel like a kitchen hero.
Just remember, the next time your faucet decides to sing its dripping song, you’ve got the skills to silence it—no plumber needed. So go ahead, enjoy the quiet, and maybe keep a wrench handy just in case.