How to Make Gravy: A Step-by-Step Guide for Rich, Flavorful Sauces
Making gravy from scratch starts with a simple base of fat and flour, cooked until golden, then whisked together with broth or pan drippings to create a smooth, flavorful sauce. This process is straightforward, requires few ingredients, and can transform any meal with its rich depth.
Gravy is more than just a condiment; it adds moisture, flavor, and visual appeal to dishes like roasted meats, mashed potatoes, and vegetables. Whether you use pan drippings or vegetable broth, mastering gravy enhances your cooking skills and elevates everyday dining.
This guide covers the essential steps to prepare basic gravy, tips for adjusting thickness and flavor, variations for different types of gravies, and troubleshooting common issues, so you can confidently create gravies that complement your meals.
H2 Understanding the Basic Components of Gravy

H3 What Is a Roux and Why It Matters
A roux is the foundation of most gravies, made by cooking equal parts of fat (butter, oil, or meat drippings) and flour. This combination thickens the sauce and prevents lumps, contributing to gravy's smooth and velvety texture.
Cooking the roux to a light golden color adds a subtle nutty flavor, while a darker roux introduces deeper, more complex notes. The length of cooking the roux influences both color and thickness, so adjusting it tailors your gravy's character.
- Equal parts fat and flour
- Cook until golden or desired color
- Forms the thickening base
H3 Choosing the Right Liquid
Most gravy recipes use broth, stock, or pan drippings as the liquid component. Broth adds a clean, savory taste, while pan drippings carry intense meat flavors that enhance the gravy’s richness.
Water can be used in a pinch but will result in a less flavorful gravy. To boost taste, combine broth with drippings or add seasonings such as herbs, garlic, and Worcestershire sauce, balancing flavor and consistency.
- Chicken, beef, or vegetable broth
- Pan drippings for depth
- Avoid water alone for flavor
H2 Step-by-Step Process to Make Basic Gravy
H3 Preparing the Roux
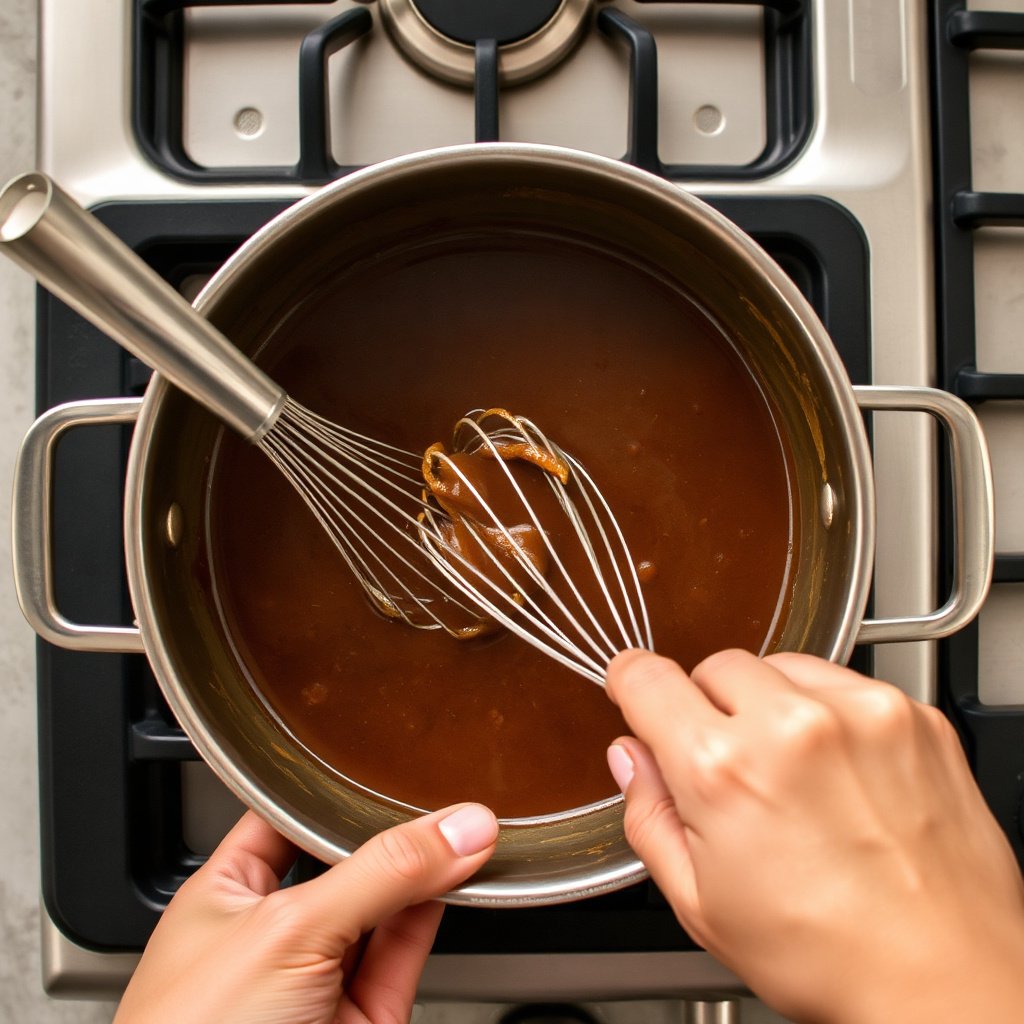
Start by melting fat in a saucepan over medium heat, then gradually whisk in flour. Stir continuously to cook evenly and eliminate raw flour taste. Aim for a color between pale blonde and golden brown depending on your flavor preference.
Keep the heat moderate to prevent burning, and whisk thoroughly to keep the mixture smooth. When the roux reaches the desired hue, you’re ready to add liquid.
H3 Incorporating the Liquid and Seasoning
Slowly pour in broth or drippings while whisking vigorously to avoid lumps. Bring the mixture to a gentle simmer, letting it thicken while stirring frequently.
Add salt, pepper, and optional seasonings like sage or thyme to enhance flavor. Adjust thickness by adding more liquid to thin or additional roux to thicken until reaching the perfect gravy consistency.
- Whisk to prevent lumps
- Simmer until thickened
- Season to taste
H2 Variations of Gravy for Different Meals
H3 Classic Brown Gravy
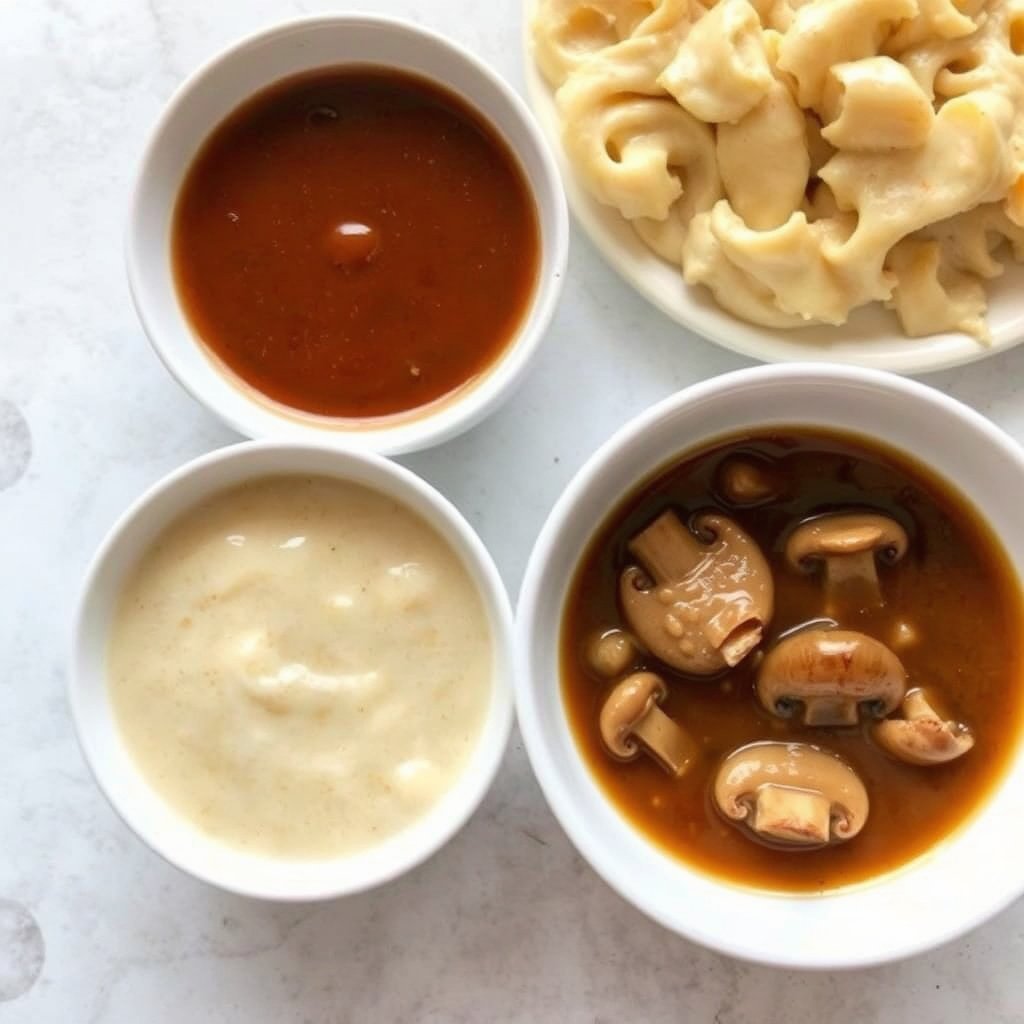
Brown gravy typically uses beef or turkey drippings combined with beef broth. This gravy is hearty and savory, ideal for roasts and mashed potatoes.
To intensify flavor, deglaze the pan with red wine or add caramelized onions before making the roux. This adds layers of richness that complement meats well.
For more on this, see our related guide: How to Make Biscuits and Gravy: A Complete Guide with Tips and Tricks.
H3 White or Cream Gravy
White gravy uses milk or cream instead of broth, creating a milder, creamier sauce. It pairs well with fried chicken, biscuits, and breakfast dishes.
Start with butter as your fat, cook the roux lightly, and gradually whisk in warm milk. Season simply with salt, pepper, and a hint of nutmeg or garlic powder.
H2 Tips for Achieving Perfect Gravy Texture and Flavor
H3 Preventing Lumps and Adjusting Thickness
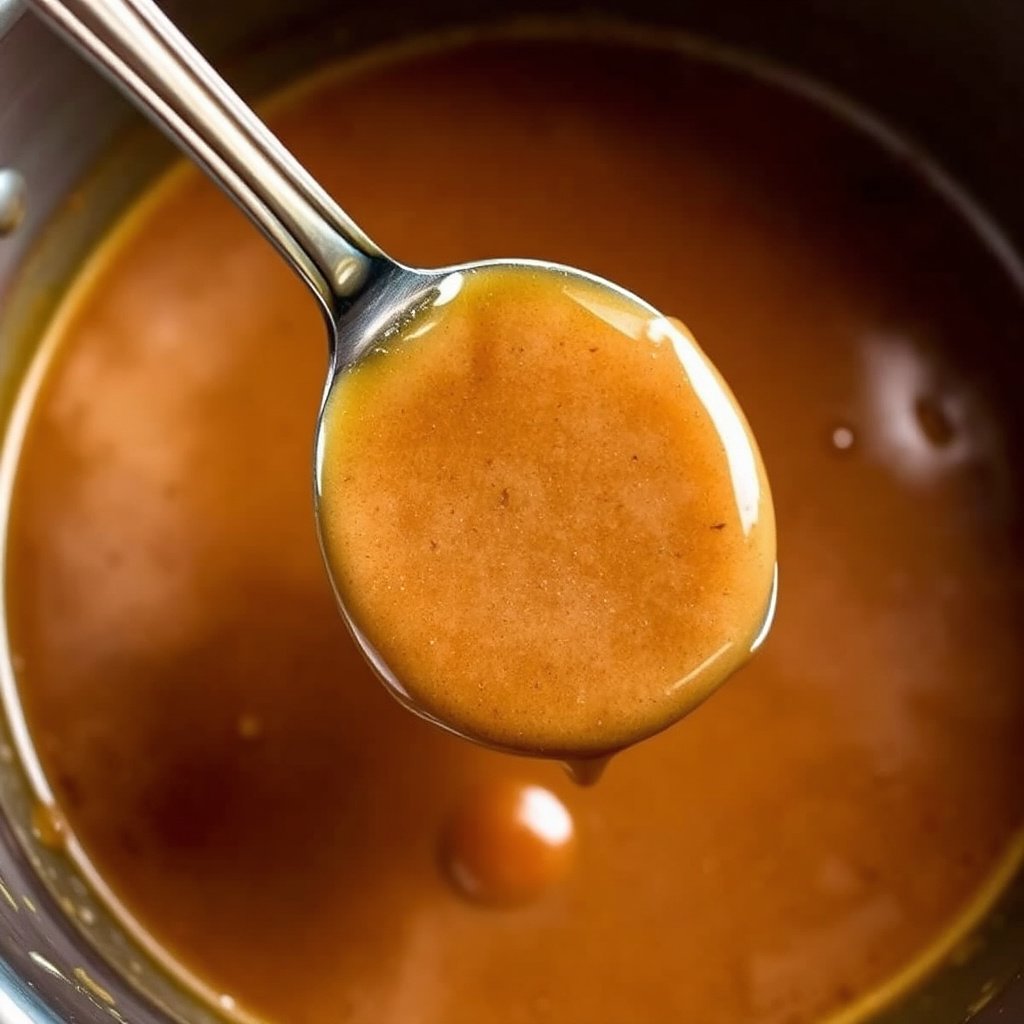
Whisk slowly and steadily when adding liquid to the roux to avoid lumps. If lumps appear, strain the gravy or beat them out with a whisk or blender.
Control thickness by adjusting flour and liquid ratios. For thinner gravy, add broth in small increments. For thicker gravy, cook the roux longer or add a slurry made of flour and cold water.
- Add liquid slowly
- Use a fine whisk
- Employ slurry if needed
H3 Balancing Flavor with Seasonings
Taste your gravy as it simmers and adjust seasoning gradually. Common additions include onion or garlic powder, fresh herbs, black pepper, and touches of acidity like a splash of vinegar or mustard to brighten flavors.
Avoid over-salting early on, especially if using salty broth or pan drippings. Season at the end to maintain a balanced and nuanced taste.
H2 Troubleshooting Common Gravy Problems

H3 Fixing Lumpy Gravy
If lumps form, remove the gravy from heat and vigorously whisk, or strain it through a fine mesh sieve. Alternatively, blend with an immersion blender for smooth texture.
To prevent lumps in the future, always whisk flour into fat before adding any liquid and add liquid slowly, mixing continuously.
For more on this, see our related guide: What Is the Best Seafood Restaurant Dish? 10 Top Choices and How to Pick.
H3 Gravy Too Thin or Too Thick
Thin gravy can be thickened by cooking longer to reduce liquid or whisking in a flour-and-water slurry. Too thick gravy benefits from gradual addition of broth or water while stirring.
Monitor simmering closely; overheating can break down the thickening starches or cause separation.
H2 Using Gravy to Enhance Different Meals

H3 Pairing Gravy with Meats
Gravy pairs beautifully with roasted or grilled meats, boosting juiciness and adding savory flavor layers. Brown gravy complements beef, pork, and turkey, while cream gravy is suited to chicken and breakfast meats.
Consider the meat’s cooking juices as a base for gravy to maximize flavor cohesion between dish and sauce.
For a thorough overview of gravy's history and variations, see the detailed Gravy article on Wikipedia. Gravy.
H3 Using Gravy with Vegetables and Sides
Pour gravy over mashed potatoes, rice, or roasted vegetables to add moisture and flavor. Vegetarian gravies made with vegetable broth provide options for meatless meals.
Adjust seasoning and consistency depending on the side; thicker gravies work well on potatoes, while lighter ones can enhance steamed vegetables.
Gravy Types Comparison
Here’s a comparison of common gravy types based on ingredients, typical use cases, and flavor profile to help determine what suits your meal best.
| Gravy Type | Base Fat | Liquid Used | Flavor Profile | Best Pairings |
|---|---|---|---|---|
| Brown Gravy | Beef or turkey drippings | Beef or turkey broth | Rich, savory, meaty | Roasts, mashed potatoes |
| White Gravy | Butter | Milk or cream | Creamy, mild, smooth | Fried chicken, biscuits |
| Mushroom Gravy | Butter or oil | Vegetable broth with mushrooms | Earthy, umami-rich | Vegetarian dishes, steaks |
| Sausage Gravy | Sausage fat | Milk | Spicy, hearty | Breakfast biscuits |
| Vegetable Gravy | Vegetable oil or butter | Vegetable broth | Light, savory, herbaceous | Vegetarian sides |
Frequently Asked Questions
Can I make gravy without pan drippings?
Yes, you can make gravy using broth or stock instead of pan drippings. While drippings add rich flavor, using quality broth combined with seasoning still produces a delicious, savory gravy.
How do I prevent lumps in my gravy?
To avoid lumps, always whisk flour into melted fat to form a smooth roux before adding liquid gradually while whisking continuously. This helps combine the ingredients evenly and prevents clumping.
What should I do if my gravy is too thick?
If gravy is too thick, thin it out by gradually stirring in warm broth or water until it reaches your desired consistency. Avoid adding too much liquid at once to maintain smoothness.
Is it possible to make vegetarian gravy?
Absolutely. Vegetarian gravy uses vegetable broth and fat like butter or oil instead of meat-based ingredients. Adding mushrooms or soy sauce can boost umami and create rich flavor without animal products.
How long can I store homemade gravy?
Homemade gravy lasts about 3-4 days refrigerated in an airtight container. Reheat gently on the stove while stirring to restore smoothness before serving.
Key Takeaways
- A roux of fat and flour is the base for smooth gravy.
- Choosing the right liquid affects gravy flavor and richness.
- Adjust thickness by controlling flour and liquid ratios.
- Season gradually and taste as you go for balanced gravy.
Conclusion
Making gravy from scratch is a straightforward process that begins with a roux, blending fat and flour, and finishes by adding broth or drippings to achieve a smooth, flavorful sauce. Understanding these basic principles helps you create gravies that enhance dishes consistently and appeal to different palates. With practice, you’ll gain confidence in tailoring the gravy’s thickness, color, and seasoning to match your meal’s ingredients and your taste preference, transforming simple dinners into memorable experiences.
Different recipes deliver varying flavors and textures: brown gravy offers hearty richness perfect for roasted meats, while white gravy suits creamy comfort foods like biscuits and fried chicken. For vegetarian or mushroom gravies, using vegetable broth and umami-rich components gives satisfying alternatives. Knowing how to troubleshoot common problems such as lumps or inconsistent thickness allows you to stay in control of the final product. Whether you want classic gravies or experimenting with new styles, mastering the basic gravy recipe and its variations puts a versatile culinary tool at your disposal.
Start by practicing with the simple roux and broth combination, adjusting the seasoning as you become comfortable. Don’t hesitate to utilize pan drippings when possible for that exceptional depth of flavor. Exploring different gravy types can broaden your cooking repertoire, making your home meals more enjoyable and impressive. With patience and attention to detail, making gravy will quickly become an effortless yet impactful step in your cooking routine.