How to Replace Kitchen Cabinets: A Step-by-Step Guide
Are you dreaming of a fresh, updated look for your kitchen but feeling overwhelmed by the idea of replacing your cabinets? You’re not alone—many people struggle with figuring out where to start or worry about making costly mistakes.
Luckily, with a little guidance, you can transform your space and enjoy a beautiful new kitchen.
To replace your kitchen cabinets, start by evaluating if DIY fits your skills and schedule. Choose cabinets that match your style and budget, then gather essential tools like a drill and level.
Clear your kitchen, safely remove old cabinets, and inspect walls for damage.
Level and secure base cabinets to studs, then install wall cabinets carefully. Finally, attach doors and hardware for a polished look.
Keep going for a detailed breakdown to guarantee your cabinet replacement goes smoothly.
Key Takeaways
- Assess your DIY skills, budget, and time commitment before deciding whether to replace your kitchen cabinets yourself or hire a professional.
- Choose cabinet materials and styles that strike a balance between durability, looks, current trends, and what fits your budget.
- Prepare your workspace by clearing out the cabinets, disconnecting utilities, and checking the walls for any damage before you start removing everything.
- Measure carefully, mark where the studs are, and ensure the base cabinets are level so everything fits and stays secure.
- When installing wall cabinets, use a ledger board for proper alignment, secure them to the studs, and finish by attaching doors and handles.
Is DIY Kitchen Cabinet Replacement Right for You?
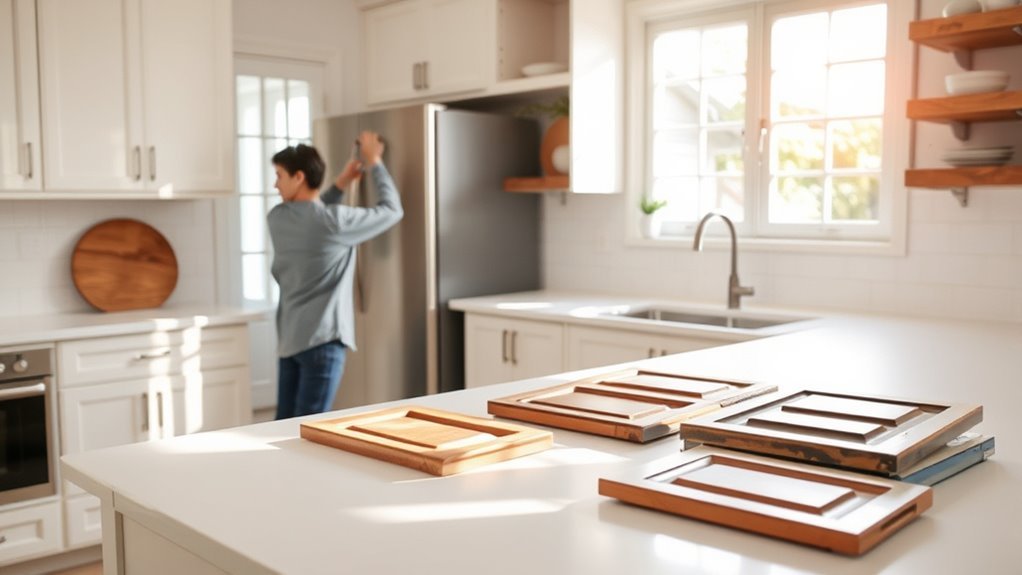
How do you know if replacing your kitchen cabinets yourself is a smart choice? Start by weighing the DIY pros against the challenges. You’ll save money, but costs go beyond just materials; consider tools and the risk of mistakes.
Be honest about your skills—if you’re comfortable with basic carpentry and space planning, you’re on the right track. Think about your timeline; DIY projects often take longer than expected, so be prepared for a time commitment that could stretch over days or even weeks.
Safety is key, especially when handling power tools or heavy cabinets. Stay mindful of safety measures throughout the process. Keep an eye on current design trends to make sure your new cabinets match your desired look.
Planning your space well is essential. Poor layout can ruin the whole project, so take your time to get it right. If these elements align with your situation and confidence level, tackling cabinet replacement yourself can be both rewarding and cost-effective.
Choose Cabinets That Match Your Style and Budget
Selecting the right cabinets starts with balancing your personal style and budget. You want cabinet materials that fit your kitchen’s look and last over time. Popular options include wood, laminate, and MDF, each with different costs and durability.
Keep an eye on current design trends like minimalist styles, bold colors, or classic shaker doors. This helps ensure your cabinets stay fresh and stylish for years to come.
Here’s a quick overview of cabinet materials, styles, and approximate costs to help you decide:
| Cabinet Material | Design Trend | Approximate Cost |
|---|---|---|
| Solid Wood | Classic/Shaker | $$$ |
| Laminate | Modern/Minimalist | $ |
| MDF | Painted/Customizable | $$ |
| Plywood | Rustic/Farmhouse | $$ |
| Thermofoil | Sleek/Contemporary | $ |
Use this guide to choose cabinets that match your style without stretching your budget too much.
Gather Essential Tools and Materials for Kitchen Cabinet Replacement
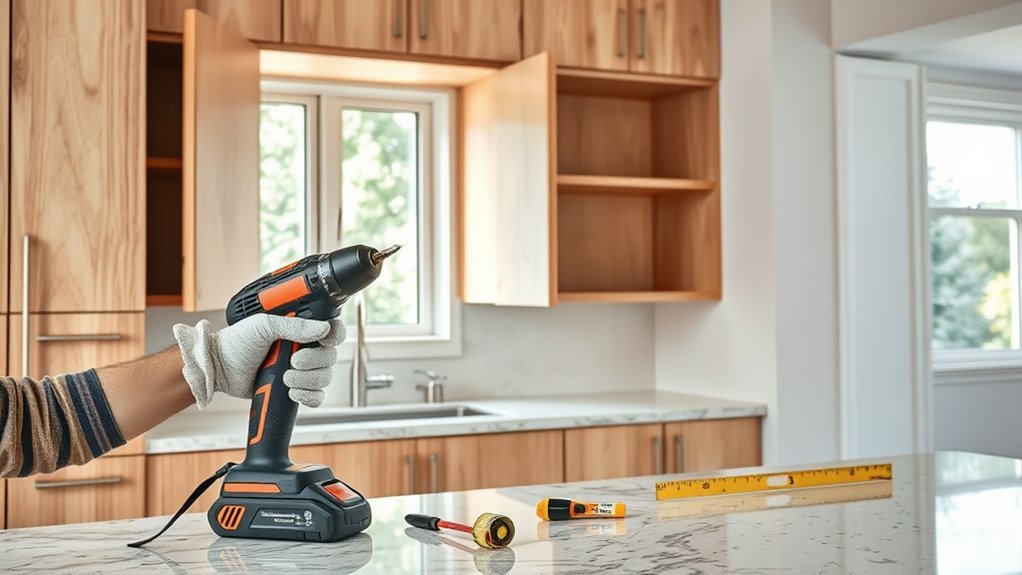
Before you jump into replacing your kitchen cabinets, it’s a good idea to make sure you have all the essential tools on hand. Things like a drill, screwdriver, level, and measuring tape are must-haves to get the job done right. Having these tools ready will make the process way easier and more efficient.
You’ll also want to gather some materials like screws, shims, and wood filler. These will come in handy to ensure everything fits perfectly and looks seamless once you’re done. It’s always better to have everything you need before you start, so your project can go smoothly without any unnecessary delays.
Must-Have Tools
Gathering the right tools is essential to guarantee a smooth kitchen cabinet replacement process. Using proper cabinet installation techniques and following safety precautions can save you time and prevent accidents.
Here’s a quick look at the must-have tools you’ll need:
| Tool | Purpose |
|---|---|
| Power Drill | Fasten screws efficiently |
| Stud Finder | Locate wall studs for secure mounts |
| Level | Confirm cabinets are perfectly aligned |
In addition to these, a screwdriver set, measuring tape, and safety gear like gloves and goggles are critical. Having the right tools on hand lets you focus on precise installation and safety throughout the project.
This makes your kitchen cabinet replacement more efficient and hassle-free.
Required Materials
Once you have the right tools ready, focus on gathering the materials needed for your kitchen cabinet replacement. Start by choosing cabinet styles that match your kitchen’s design and your personal taste.
Whether you like modern, traditional, or shaker styles, pick cabinets that fit your space and lifestyle. Consider eco-friendly options like bamboo, reclaimed wood, or low-VOC finishes to help the environment.
These materials not only look great but also support sustainability. Don’t forget essential hardware like hinges, handles, and drawer slides that match your cabinet style.
Also, gather mounting brackets, screws, wood glue, and shims to ensure your installation goes smoothly. Having everything ready makes the whole process easier and more efficient.
Prepare Your Kitchen for Cabinet Removal
Three key steps will help you prepare your kitchen for cabinet removal efficiently. First, clear out all items from your cabinets and countertops. This protects your belongings and gives you full access to the cabinets you’ll be removing.
Clear your cabinets and countertops to protect belongings and ensure easy access during kitchen cabinet removal.
Second, plan how your kitchen layout might affect the removal process. If your kitchen has tight corners or an island, you’ll need extra space and possibly more tools to maneuver cabinet parts safely.
Third, identify the cabinet styles installed. Different styles—such as framed or frameless—may require different removal techniques to avoid damaging walls or adjoining cabinets.
Here’s a quick checklist:
- Empty cabinets and clear countertops.
- Assess your kitchen layout for access and workspace.
- Note your cabinet styles to prepare the right removal method.
Following these steps guarantees a smooth start and minimizes surprises as you move forward with replacing your kitchen cabinets.
Inspect and Repair Wall Damage After Removing Cabinets
Once you’ve taken out the cabinets, take a good look at the walls. You might find some holes, dents, or even loose drywall that needs fixing. Don’t worry—it’s pretty straightforward to get everything looking good as new.
You’ll want to grab a few basic tools like a putty knife, some sandpaper, and joint compound. These will come in handy for patching up any damage. Just follow a simple step-by-step process: fill in the holes or dents with the joint compound, let it dry, then sand it smooth so everything’s flush with the wall. Once that’s done, your walls will be ready for the new cabinets to go back up!
Common Wall Damage Types
Anyone who’s removed kitchen cabinets knows the walls often take a beating in the process. Before installing new cabinets, you need to identify and fix common wall damage types to ensure a smooth finish.
First, look out for moisture damage and mold growth. Check for water stains, peeling paint, or signs of mold. Ignoring moisture can lead to serious structural problems later on.
Next, inspect for drywall cracks and wear patterns. Removing cabinets can cause cracks or expose areas where the wall was pressed against the cabinets. Fixing these helps keep your wall sturdy.
Finally, keep an eye out for pest infestation. Look for small holes or damage that might indicate pests. These can weaken your walls if left unchecked.
Spotting these issues early means you can repair your walls properly and avoid bigger problems down the road.
Tools for Wall Repair
Gather the right tools before you start repairing wall damage after removing your kitchen cabinets. You’ll need a putty knife, sanding block, drywall compound or spackle, a utility knife, and a paint scraper. These tools help you apply and smooth patching techniques effectively.
Depending on your wall materials—drywall, plaster, or paneling—you might also need joint tape or mesh for larger holes. A primer and paintbrush will come in handy to finish the repair.
Inspect your walls thoroughly to identify dents, holes, or uneven surfaces. Having these tools ready guarantees you can address all damage properly and prepare the surface for new cabinets.
Proper preparation with the right tools simplifies the repair process and ensures a smooth, professional-looking finish.
Step-by-Step Repair Process
Start by thoroughly inspecting the walls where your cabinets were removed. Look for any damage like holes, dents, or leftover adhesive. Fixing these imperfections is key to getting a smooth surface that looks great with your new kitchen design.
Next, remove any leftover adhesive or debris using a scraper. This will leave a clean surface to work with.
Then, fill any holes and dents with spackle or joint compound. Use a putty knife to smooth it out evenly.
Once the repair compound is dry, lightly sand the area to blend it with the rest of the wall.
Taking the time to address wall damage helps keep your walls strong and ensures your new cabinets will fit perfectly. Proper prep also makes your kitchen look more polished and cohesive with your updated style and layout.
Measure and Mark for Installing New Kitchen Cabinets
Before you install your new kitchen cabinets, you’ll need to measure and mark the walls carefully to ensure a perfect fit. Start by using reliable measuring techniques—measure the height from the floor to the ceiling and note any uneven areas.
Next, measure the width of the wall precisely, accounting for doorways, windows, and outlets. Use a level to draw a horizontal line where the base cabinets will sit, usually 34.5 inches from the floor. This helps keep your cabinets straight and aligned.
Transfer all your measurements onto the wall with a pencil, following proper marking guidelines. Mark stud locations so you know where to secure your cabinets firmly. Also, mark the height for the upper cabinets, typically 18 inches above the base.
Accurate measurements and clear markings will prevent installation errors and save you time. Taking these steps will give you a solid foundation for your cabinet replacement project.
Safely Remove Old Kitchen Cabinets
Before you begin ripping out those old kitchen cabinets, it’s a good idea to clear the work area first. This way, you’ll have plenty of space to move around safely and avoid tripping over tools or debris.
Also, don’t forget to turn off and disconnect any utilities like water and electricity. It’s a simple step that can prevent accidents and keep you safe while you work. Taking these precautions will make the whole process smoother and a lot less stressful.
Preparing The Work Area
To prepare the work area for removing old kitchen cabinets, start by clearing everything from the cabinets and nearby surfaces.
Next, clean the surfaces to prevent dust and debris from spreading during removal. Organizing your tools beforehand will make the process smoother and safer.
Follow these steps:
- Lay down drop cloths or protective sheets on the floors and countertops to avoid scratches and stains.
- Remove any appliances or furniture near the cabinets to create a spacious work zone.
- Set up a designated spot for your tools, keeping them organized and within reach for easy cabinet removal.
This preparation helps you work safely and efficiently.
Disconnecting Utilities Safely
Although disconnecting utilities might seem straightforward, it’s important to do it carefully to avoid accidents or damage. Before removing old kitchen cabinets, turn off the water supply and power at the breaker to stay safe around plumbing and electrical connections.
Use a voltage tester to make sure the power is off. Carefully disconnect plumbing lines with a wrench, and cap the pipes to prevent leaks. For electrical outlets, unscrew the faceplates and gently pull out the wires, noting how they are connected for when you reconnect everything.
| Utility Type | Safety Step | Tool Needed |
|---|---|---|
| Plumbing | Shut off water, disconnect pipes | Adjustable wrench |
| Electrical Outlets | Turn off breaker, test voltage | Voltage tester |
| Gas Lines | Turn off gas supply | Pipe wrench |
| Drain Lines | Cap drain pipes | Pipe caps |
Following these steps keeps you and your home safe.
Level and Secure Base Cabinets Properly
Start by checking the floor for any uneven spots that could throw off your cabinet alignment. Proper cabinet leveling is essential to guarantee a smooth, professional look and to avoid future problems with doors and drawers.
Once the floor is ready, follow these steps for a secure installation:
- Use a level on the base cabinet’s top and sides. Shim underneath uneven spots to achieve perfect leveling.
- Secure each base cabinet to the wall studs using long screws. This assures a sturdy, secure installation that won’t shift over time.
- Clamp adjoining cabinets together, then screw through the side panels to join them tightly. This keeps everything aligned and stable.
Taking the time to level and secure base cabinets properly sets a solid foundation for the rest of your kitchen project. Skipping this step can lead to crooked cabinets and costly adjustments later.
Install Wall Cabinets With Safety and Precision
When you install wall cabinets, prioritizing safety and precision ensures they fit securely and help prevent accidents. Start by using a stud finder to identify wall studs accurately. Mounting cabinets directly into studs makes sure they can handle the weight.
Mark these studs clearly before you begin. Next, use a level and a ledger board to keep the cabinets straight and properly spaced. Secure the ledger board at the right height to create a steady base for mounting the cabinets.
Lift each cabinet carefully and align it with your marks. Then, screw it into the studs. Keep checking the level during the process to maintain consistent height and alignment.
Working with a helper makes this step safer and easier. By following these steps, you’ll install your wall cabinets safely and with precision, giving you a professional-looking and durable result.
Add Doors, Hardware, and Finish Your Cabinets
Attach the cabinet doors carefully to make sure they open and close smoothly and line up perfectly. Picking the right door styles helps set the overall look of your kitchen, so choose designs that match your style.
Once the doors are in place, it’s time to add hardware finishes that fit your cabinet’s look and your kitchen’s vibe. Follow these steps to finish your cabinets:
- Select Hardware Finishes: Match knobs and pulls with your cabinet door styles for a cohesive look. Popular options include brushed nickel, matte black, or antique brass.
- Install the Hardware: Measure and mark the exact spots before drilling holes to avoid mistakes. Make sure handles are secured firmly for lasting durability.
- Apply the Finish: Use paint or stain designed for kitchen use. Seal with a protective coat to protect against moisture and everyday wear.
Frequently Asked Questions
How Long Does a Typical Kitchen Cabinet Replacement Take?
You can expect a typical kitchen cabinet replacement to take about 3 to 7 days, depending on the kitchen size and complexity.
For an accurate time estimate, consider demolition, installation, and any custom adjustments.
Focusing on project planning helps avoid delays. Make sure materials arrive on time and tools are ready.
Staying organized helps you complete the job efficiently without unexpected setbacks or extended downtime.
What Are Common Mistakes to Avoid During Cabinet Replacement?
You’ll want to avoid common mistakes like not measuring accurately, which can lead to ill-fitting cabinets.
Don’t rush when choosing materials; picking low-quality options can cost you later.
Also, don’t overlook checking wall conditions or removing old cabinets properly. Skipping these steps might cause delays or damage.
Taking your time guarantees a smooth replacement, so double-check measurements and invest in durable materials for the best results.
Can I Upgrade Cabinets Without Full Removal?
Yes, you can upgrade cabinets without full removal by exploring refacing options. This involves replacing the cabinet doors and drawer fronts while keeping the existing boxes, saving time and money.
You can also use painting techniques to refresh your cabinets, giving them a new look without the hassle of demolition. Both methods let you transform your kitchen efficiently, avoiding the mess and cost of a complete cabinet replacement.
How Do I Dispose of Old Kitchen Cabinets Responsibly?
Start smartly by sorting your sturdy, sentimental slabs. You can donate old cabinets to places like Habitat for Humanity or local charities, giving your goods a second life.
If they’re too tired or torn, take them to recycling centers that handle wood and metal. This way, you reduce waste responsibly and recycle resources.
What Are the Benefits of Custom Cabinets Versus Premade?
Custom cabinet advantages include a perfect fit, personalized design, and higher quality materials, giving your kitchen a unique look. You’ll enjoy better durability and storage options tailored to your needs.
On the other hand, premade cabinet drawbacks involve limited styles, standard sizes, and often lower-quality materials. While premade cabinets save time and money upfront, you might sacrifice long-term satisfaction and customization that custom cabinets provide.
Conclusion
Replacing your kitchen cabinets might seem like a tall order, but with the right tools and a clear plan, you can turn this project into a walk in the park. Just take it step by step, and don’t rush the process.
By choosing styles that fit your budget and installing everything carefully, you’ll soon enjoy a refreshed kitchen that feels brand new. Remember, every nail you drive brings you closer to the heart of your home.