How to Change Kitchen Faucet: A Step-by-Step Guide
Upgrading your kitchen faucet might seem like a daunting task, especially if you’re worried about leaks or complicated installations. Many people struggle with figuring out where to start or worry about damaging their sink.
But don’t worry—you’re not alone, and with a few simple steps, you can confidently replace your faucet and give your kitchen a fresh look.
To change your kitchen faucet, first gather tools like a wrench and turn off the water supply valves under the sink. Open the faucet to drain water, then remove mounting nuts and disconnect the old faucet carefully.
Clean the sink area before positioning and securing the new faucet with mounting nuts. Reconnect water lines, check for leaks by turning water back on slowly, and tighten if needed.
Keep going to uncover tips for troubleshooting and proper maintenance.
Key Takeaways
- Turn off the water supply valves under the sink and open the faucet to drain any remaining water before removing it.
- Use an adjustable or basin wrench to loosen the mounting nuts and carefully disconnect the water supply lines.
- Clean the sink area thoroughly, removing old sealant, rust, and debris before installing the new faucet.
- Position the new faucet, secure it with mounting nuts, and connect the hot and cold water lines properly.
- Finally, test for leaks by slowly turning on the water valves and tighten any connections if you notice leaks.
Gather Tools and Materials
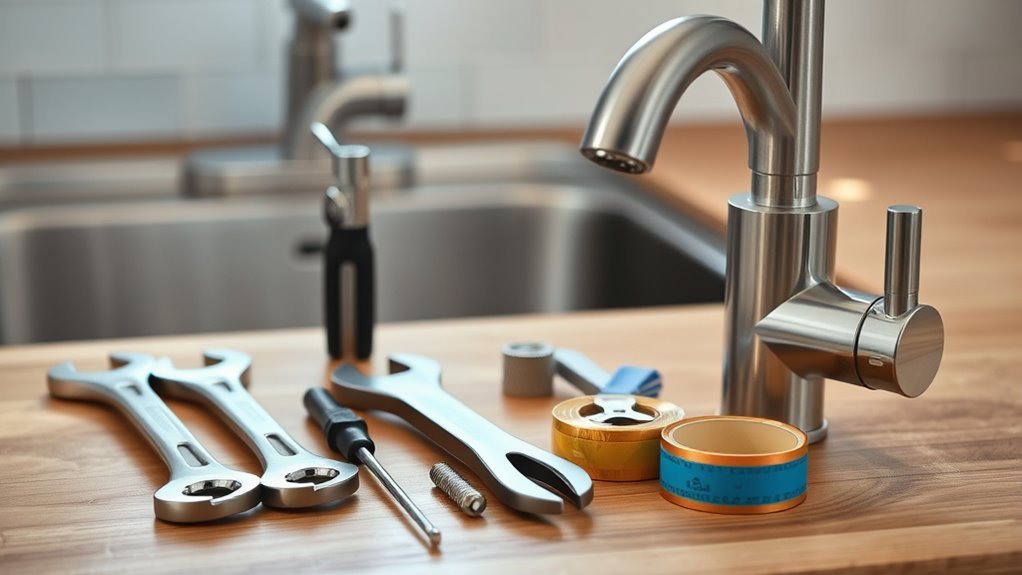
Before you start changing your kitchen faucet, gather all the tools and materials you’ll need. First, identify your faucet type—single-handle, double-handle, or pull-out sprayer—as each may need different tools.
Common tools include an adjustable wrench, basin wrench, plumber’s tape, screwdrivers, and a bucket to catch water drips. Also, have replacement parts like new mounting nuts or gaskets ready, especially if they aren’t included with your faucet.
Keep installation tips in mind. Carefully read the manufacturer’s instructions for your specific faucet since mounting hardware and connections can vary. Being prepared helps prevent interruptions and frustration.
Don’t forget to have a towel or rag ready to clean any water spills. Once your tools and materials are set, you’ll be ready to confidently move forward with the replacement.
Turn Off Your Kitchen Water Supply
First, take a look under your sink and find those shutoff valves. Give them a turn clockwise, and that will stop the water from flowing. It’s a quick step, but super important.
Then, go ahead and turn on your faucet. Let the water run until you’re sure it’s completely off. Doing this helps prevent any surprises or leaks while you’re working on your sink.
Locate Water Shutoff Valves
Two small valves beneath your kitchen sink control the water supply to your faucet.
These shutoff valves are usually located on the pipes coming out of the wall or floor.
One valve controls the hot water, and the other controls the cold.
Before you start, check these valves to make sure you can easily access them; clear away any clutter or items blocking your view or reach.
Turning these valves off will stop the water flow and reduce water pressure to the faucet, helping prevent leaks during replacement.
If you find the valves stiff or hard to turn, use a wrench carefully but avoid forcing them to prevent damage.
Knowing where these shutoff valves are and their condition makes your task smoother and safer.
Verify Water Is Off
Once you’ve located and cleared access to the shutoff valves, go ahead and turn them clockwise to stop the water flow to your kitchen faucet. This step is essential to prevent water pressure from causing leaks or damage as you work.
After turning off the valves, test the faucet by turning it on. No water should flow out. Different faucet types may react differently, so this check guarantees your water supply is fully cut off.
| Step | Action |
|---|---|
| 1 | Locate shutoff valves |
| 2 | Clear access |
| 3 | Turn valves clockwise |
| 4 | Test faucet water flow |
| 5 | Confirm water pressure is off |
This guarantees a safe and clean faucet replacement process.
Remove the Old Faucet Safely
Begin by turning off the water supply valves beneath your sink to prevent leaks or water damage. Next, open the faucet to drain any remaining water in the lines.
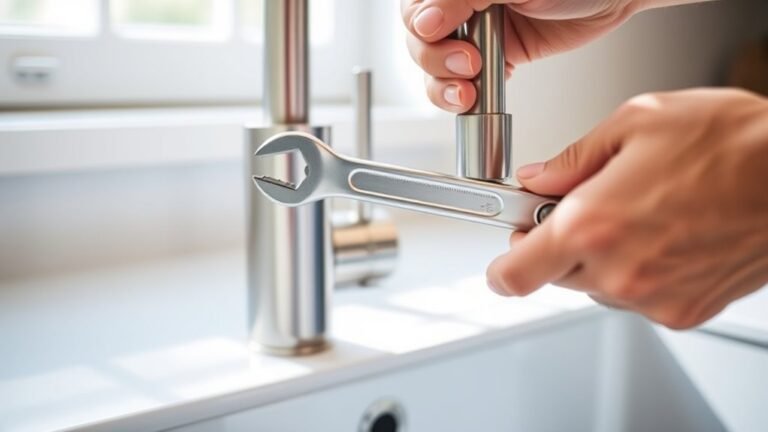
Depending on your faucet type—single-handle, double-handle, or pull-out—identify the mounting nuts securing the faucet to the sink. Use an adjustable wrench or basin wrench to loosen these nuts carefully, as space can be tight.
Identify and carefully loosen the mounting nuts of your faucet using an adjustable or basin wrench.
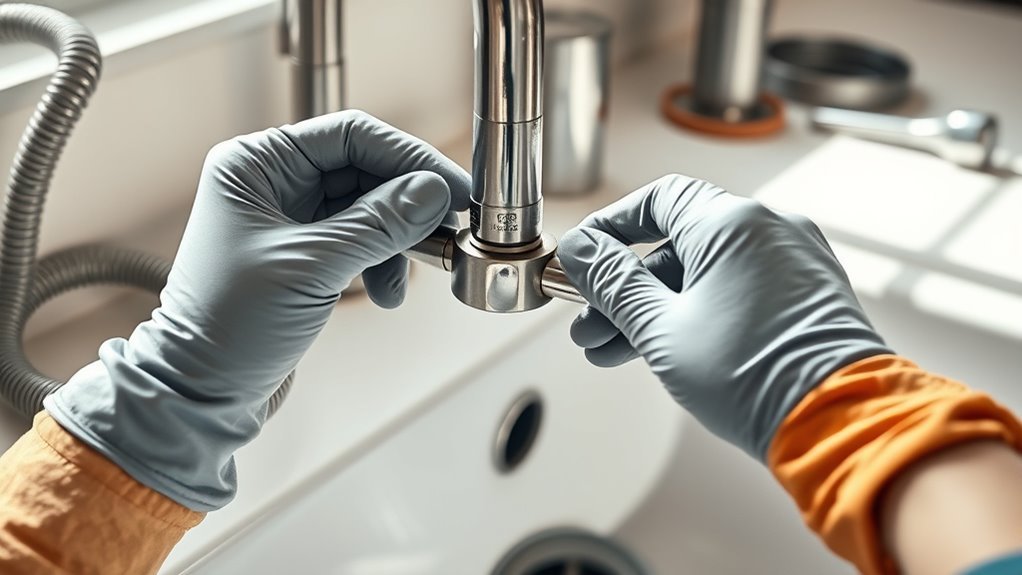
Installation tips suggest working in a well-lit area and having a bucket handy to catch drips. Disconnect the water supply lines by unscrewing the connectors using pliers or a wrench.
Be gentle to avoid damaging the lines, especially if you plan to reuse them. Once loose, lift the old faucet away from the sink.
If there’s any old plumber’s putty or gasket residue, leave it for now. It’ll be addressed in the next step.
Removing the old faucet safely guarantees you avoid damage and sets you up for a smooth installation.
Clean and Prep Sink for Installation
Before you start installing your brand-new faucet, it’s a good idea to clear out the sink area. Make sure to remove any old fixtures or debris that’s left behind. It’s a small step, but it really helps set the stage for a smooth installation.
Next, give the sink surface a thorough cleaning. Wiping it down ensures there’s no dust, grime, or leftover residue that could cause issues later on. Taking this time now will help you avoid leaks and make sure everything fits securely.
Clear Sink Area
Start by removing everything from around your sink to create a clear workspace. This step is essential for effective sink organization and guarantees you don’t accidentally damage your new faucet’s look during installation. Clear the area thoroughly so you have room to work comfortably.
Here’s what you should do:
- Remove dish racks, soap dispensers, and sponges
- Clear off any cleaning supplies or appliances nearby
- Wipe down the sink surface to remove grime and debris
- Check under the sink for leaks or water damage
- Organize hoses and plumbing connections for easy access
A clean, uncluttered sink area not only helps you install your new faucet efficiently but also protects your investment in improving your kitchen’s look and function.
Remove Old Fixtures
Loosen and disconnect the water supply lines under your sink to remove your old faucet safely. Once the water is off, use an adjustable wrench to carefully unscrew the nuts holding the fixture in place.
Different faucet types and fixture styles may have unique mounting hardware, so take note of how yours is attached. After loosening all connections, lift the faucet out from the sink.
Remove any remaining mounting plates or gaskets to clear the surface for your new fixture. Be sure to check for rust or corrosion on the sink’s mounting area, as this can affect installation.
Taking these steps guarantees your sink is properly prepped for the next phase when you install your new kitchen faucet.
Clean Surface Thoroughly
Three key steps will guarantee your sink surface is clean and ready for the new faucet installation. First, remove any old sealant or debris left from previous faucet types. Then, use appropriate cleaning products to sanitize the area thoroughly. Finally, dry the surface completely to guarantee a secure fit for the new faucet.
Focus on these important tasks:
- Gently scrape off old caulk or plumber’s putty
- Wipe down with a non-abrasive cleaning product
- Pay attention to crevices around mounting holes
- Rinse thoroughly to remove chemical residues
- Dry the surface with a lint-free cloth
Following these steps preps your sink perfectly, helping your new faucet sit flush and leak-free.
Install and Secure the New Kitchen Faucet
Position the new faucet carefully into the sink’s mounting holes, making sure the gasket or putty is properly aligned to create a watertight seal. Depending on your faucet type—single-hole, center-set, or widespread—ensure it fits snugly without gaps.
Next, secure the faucet underneath the sink using the mounting nuts or brackets provided. Tighten them evenly to avoid misalignment or leaks. If your faucet has additional components like a side sprayer or soap dispenser, install those now according to the manufacturer’s instructions.
Secure the faucet with mounting nuts evenly and install any extra components per instructions to prevent leaks.
Use tips like hand-tightening first, then finishing with a wrench—avoiding overtightening to prevent damage. Double-check that the faucet sits flush against the sink and doesn’t wobble.
Taking your time here guarantees your new faucet stays stable and leak-free. Once it’s firmly installed, you’re ready to connect the water supply lines.
Connect Water Supply Lines to Your New Kitchen Faucet
Start by attaching the water supply lines to the hot and cold water valves under your sink. Make sure the connections are secure to prevent leaks.
Use these faucet connection tips for an easy setup: Choose durable, flexible materials like braided stainless steel for your water lines. Hand-tighten the connections first, then give them a quarter turn with a wrench—be careful not to overtighten.
Ensure the hot water line connects to the hot valve and the cold line to the cold valve. If you notice any worn washers or gaskets, replace them to make sure the seal is watertight. Finally, position the supply lines without kinks to keep the water flowing smoothly.
Test Your New Faucet for Leaks and Flow
Turn on both the hot and cold water valves slowly to check your new faucet for any leaks or irregular flow. Start with leak detection by carefully inspecting all connections under the sink and around the faucet base. Look for drips or moisture that could indicate loose fittings or worn-out washers.
If you see any leaks, tighten the connections gently but firmly. Next, do a flow test by running both water streams at the same time. Watch the water pressure and consistency to make sure there’s no sputtering or uneven flow.
This helps verify that your faucet’s internal parts are installed correctly and working well. Also, check the aerator to ensure proper water distribution. If everything looks good, you’re almost done.
If you notice any persistent leaks or flow issues, turn off the water and go back over the installation steps to fix them before moving on. This careful testing makes sure your new faucet will work reliably for years to come.
Adjust Faucet Spray, Temperature, and Flow Settings
Once you’ve confirmed there are no leaks and the water flows smoothly, you can fine-tune your faucet’s spray patterns, temperature control, and flow rate. Making these adjustments ensures your new kitchen faucet works exactly how you want it.
Start by testing the different spray patterns to match your kitchen tasks. Next, adjust the temperature control slowly to find a comfortable and safe setting. Then, optimize the flow rate so water pressure is strong but not wasteful.
Here’s how to do it:
- Use the faucet handle to switch between spray modes.
- Adjust the temperature by moving the handle slowly to avoid sudden hot or cold bursts.
- Check the aerator to control flow rate and reduce splashing.
- Tighten or loosen any flow restrictors if you want more or less water pressure.
- Make sure all settings feel comfortable and efficient for daily use.
Following these steps helps you enjoy perfect water flow tailored to your kitchen needs.
Troubleshoot Leaks, Low Pressure, and Installation Issues
If you notice leaks, low water pressure, or other installation problems, addressing them promptly will save you time and prevent further damage. Start with leak detection by checking all connections, especially under the sink. Tighten loose fittings or replace worn-out washers to stop drips.
Promptly fixing leaks and low water pressure prevents damage and saves time—start by checking all connections carefully.
For pressure issues, remove and clean the aerator; mineral buildup often restricts flow. Also, inspect the supply valves to make sure they’re fully open. Follow installation tips like verifying that all parts fit snugly and that the mounting hardware is secure.
Don’t overtighten, as this can cause damage or new leaks. Use plumber’s tape on threaded connections for a watertight seal. If you’re still having trouble, double-check that the water lines aren’t kinked or clogged.
These simple maintenance tricks can solve most faucet problems without extra expense or calling a pro. Taking these steps guarantees your new faucet works flawlessly from the start.
Maintain Your Kitchen Faucet for Longevity
To keep your kitchen faucet working smoothly for years, regular maintenance is key. Doing simple things now can help you avoid common problems like leaks, clogs, and corrosion that can shorten its lifespan. Staying proactive will save you time and money on costly repairs or replacements.
Here are some easy faucet maintenance tips to keep in mind:
- Clean the aerator once a month to prevent buildup and keep water flowing freely.
- Check around handles and spouts for leaks and tighten any loose parts right away.
- Lubricate moving parts once a year so handles turn smoothly without resistance.
- Inspect and replace worn washers or O-rings to stop drips before they become bigger issues.
- Use mild soap and water for cleaning—avoid harsh chemicals that can damage finishes.
Following these simple steps will help your faucet stay in great shape and prevent common problems that lead to early failure. Regular care keeps your kitchen faucet reliable and working efficiently.
Frequently Asked Questions
What Types of Kitchen Faucets Are Best for Hard Water Areas?
You’ll want kitchen faucets made from durable materials like stainless steel or brass if you live in a hard water area. These materials resist mineral buildup much better than cheaper options.
Also, look for models with ceramic disc valves. They tend to operate smoothly even when hard water causes mineral deposits. Using a water softener alongside your faucet can also help prevent scale buildup and extend its lifespan.
Can I Install a Kitchen Faucet Without Professional Plumbing Experience?
You can absolutely tackle faucet installation without professional plumbing experience, but it’s like maneuvering through a maze blindfolded if you skip the right faucet installation tips.
Start by turning off water supplies and double-checking connections to avoid leaks. Watch out for common mistakes like overtightening or mismatching parts, which can cause damage.
With patience and attention to detail, you’ll have your new faucet running smoothly in no time, feeling proud of your handiwork.
How Do I Choose a Faucet Finish That Matches My Kitchen Decor?
You should pick a faucet color that complements your kitchen’s overall style, whether it’s modern, rustic, or traditional.
Consider finish durability too. Brushed nickel or stainless steel resist fingerprints and corrosion better than chrome, making maintenance easier.
If your kitchen has warm tones, bronze or brass finishes add warmth. Cooler tones pair well with chrome or matte black.
Balancing faucet color with durability guarantees your kitchen looks great and stays functional.
Are There Eco-Friendly Faucets That Save Water and Energy?
Imagine your faucet as a guardian of life’s most precious resource—water.
Yes, you can find eco-friendly faucets that save water and energy!
Look for models with water-saving features like aerators and flow restrictors.
Many also use eco-friendly materials, reducing environmental impact.
Choosing one means you’re not just updating your kitchen—
you’re protecting the planet every time you turn the tap.
It’s a simple step with powerful symbolism.
What Warranty Options Are Typically Available for Kitchen Faucets?
You’ll typically find kitchen faucet warranty coverage ranging from one year to a lifetime. Most manufacturers offer limited lifetime warranties that cover defects in materials and workmanship, helping guarantee faucet longevity.
Some warranties exclude normal wear and tear, so you’ll want to read the fine print carefully. Choosing a faucet with solid warranty coverage means you can trust it’ll last longer and you’re protected if something goes wrong.
Conclusion
Changing your kitchen faucet might seem challenging, but with the right steps, it’s a breeze. As you tighten each connection and watch water flow smoothly, remember: every drip you stop is a small victory against waste.
With patience and care, you’ll transform your kitchen’s heart into a space that’s both functional and stylish. So, roll up your sleeves—your new faucet isn’t just an upgrade, it’s a promise of efficiency and style that lasts.