How to Install a Kitchen Sink: A Step-by-Step Guide
Many homeowners find installing a kitchen sink to be a daunting task, and you’re not alone in feeling overwhelmed by the process. If you’re eager to upgrade your kitchen but unsure where to start, don’t worry—installing a kitchen sink can be straightforward with a little guidance.
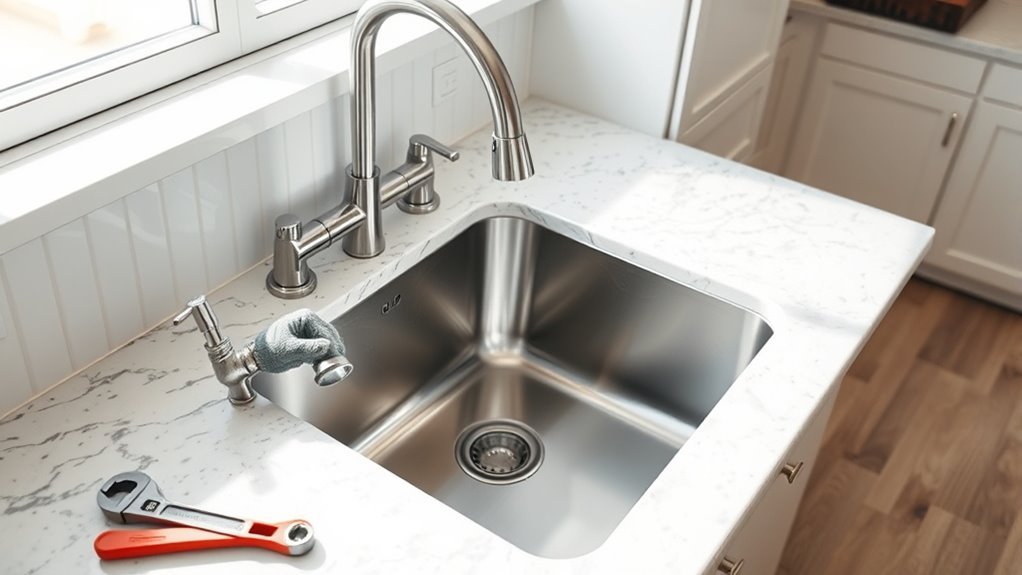
To install a kitchen sink, start by turning off the water and removing the old sink carefully. Prepare the countertop by checking cutout dimensions and protecting surfaces.
Position the new basin into place using mounting clips to secure it firmly. Then apply plumber’s putty or silicone caulk around the edges for a tight seal. Connect the faucet and supply lines, attach the drain assembly, and check for leaks.
Following these steps sets you up for a smooth installation and reliable kitchen setup. Keep going for detailed tips and tricks.
Key Takeaways
- Turn off the water supply and disconnect the old sink plumbing before removal to avoid leaks and water damage.
- Position the new sink in the countertop opening, making sure it fits snugly and is level. Then secure it with the mounting clips.
- Apply plumber’s putty or silicone caulk around the sink edge to create a watertight seal. Wipe off any excess immediately.
- Attach and secure the faucet with the mounting hardware, then connect the water supply lines tightly to prevent leaks.
- Connect the drain assembly, including the drain flange, tailpiece, and P-trap. Afterward, test for leaks and proper drainage once everything is installed.
Essential Tools and Materials for Kitchen Sink Installation
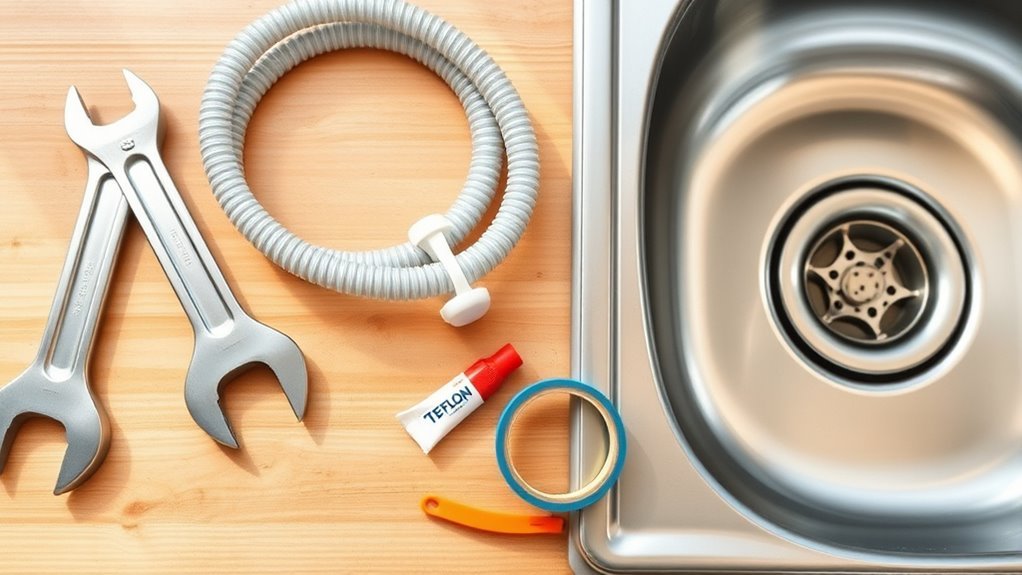
Before you start installing your kitchen sink, gather all the essential tools and materials to make the process smooth. You’ll need a wrench, plumber’s putty, a screwdriver, a utility knife, and a bucket to catch water.
Don’t forget Teflon tape and silicone caulk for sealing connections. Depending on your sink type—whether stainless steel, composite granite, or farmhouse—you might need specific mounting clips or brackets.
Knowing the sink types helps you pick compatible tools and materials, which can impact costs. For example, undermount sinks often require extra mounting hardware, slightly increasing expenses.
Preparing these items in advance prevents delays and surprises. You’ll also want a new drain assembly and supply lines if your old ones are worn out.
Gathering all necessary parts beforehand avoids unexpected delays and ensures a smooth installation process.
Organizing everything beforehand will save time and help you avoid mistakes, keeping your installation costs reasonable and the process efficient.
Preparing the Countertop for Installation
Once you have all your tools and materials ready, you’ll need to prepare the countertop to ensure a proper sink fit. The prep work depends a lot on your countertop material, since some require extra care during the sink cutout.
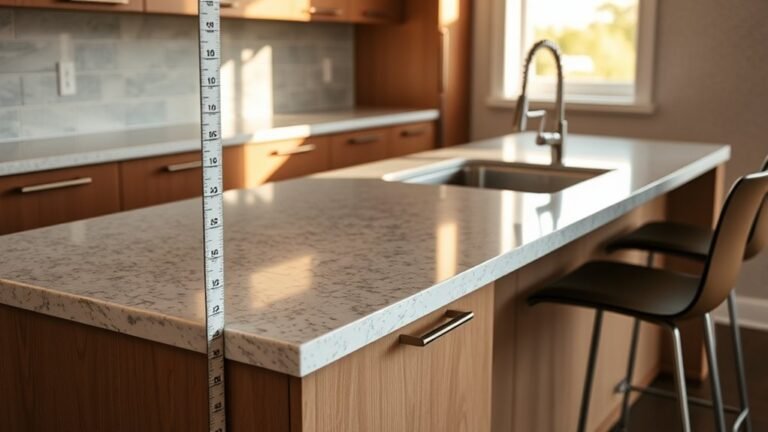
Start by checking the sink cutout dimensions against your sink’s template to make sure they match. Then, mark the cutout area on the countertop precisely with a pencil or masking tape.
Next, protect the surrounding surface by covering it with painter’s tape or a drop cloth to prevent any damage. Finally, cut the sink opening carefully using the right blade for your countertop, whether it’s laminate, granite, or solid surface.
How to Remove Your Old Kitchen Sink Safely
Before you start removing your old kitchen sink, it’s really important to turn off the water supply first. That way, you won’t have any surprises or leaks while you’re working. Once the water’s off, go ahead and carefully disconnect all the plumbing fixtures. Take your time with this part so you don’t accidentally damage anything.
After all the plumbing is disconnected, the last step is to remove the sink mounting clips. This will free the sink from the countertop, making it easier to lift out. Just be gentle and make sure everything is loosened up before you try to take the sink out completely.
Turn Off Water Supply
Two main water valves control the supply to your kitchen sink, and you’ll want to shut both off to avoid leaks or flooding. Making sure you turn off the water supply is essential for plumbing safety before removing your old sink.
Here’s how to do it right: Locate the hot and cold water shutoff valves under the sink or near the main water line. Turn both valves clockwise until they’re fully closed to stop the water flow.
Next, open the faucet to drain any remaining water in the lines. Double-check there’s no water coming out to confirm the supply is off.
Following these steps helps you work safely and prevents water damage during your sink removal.
Disconnect Plumbing Fixtures
Start by carefully disconnecting the plumbing fixtures attached to your kitchen sink. Use the right tools, like a wrench or pliers, to loosen the nuts on the water supply lines and drainpipe.
Be prepared for some residual water to spill, so keep a bucket handy. Take your time to avoid damaging pipes or fittings, which can cause drainage problems later.
If you encounter stubborn connections, apply penetrating oil and wait a few minutes before trying again. Once the supply lines and drainpipe are detached, inspect all parts for wear or damage.
Disconnecting these fixtures properly ensures a smooth transition to installing your new sink without unexpected leaks or drainage issues.
Remove Sink Mounting Clips
Loosen the sink mounting clips that hold your old kitchen sink securely in place. Different sink clip types and mounting techniques require specific tools, so identify yours first. Typically, clips are found underneath the sink, attached to the countertop. Use a screwdriver or wrench to release them carefully. Here’s how to proceed:
- Locate all mounting clips around the sink perimeter.
- Use the appropriate tool based on your sink clip types.
- Turn or unscrew each clip to disengage it from the countertop.
- Keep the clips for reuse or replacement later.
Removing these clips frees the sink from its mounting, allowing you to lift it out safely without damaging the countertop or plumbing below. Always work slowly to avoid slips or scratches.
Installing the New Kitchen Sink Basin
Now that you’ve removed your old sink, it’s time to get the new one in place. Carefully position the basin into the opening in your countertop, making sure it fits snugly and sits level. It’s a good idea to double-check the alignment before you proceed.
Once you’re happy with how it sits, use the mounting clips or screws to attach the sink securely. This will help prevent any movement and ensure everything stays in place as you finish up your installation.
Positioning The Sink Basin
Before setting the new kitchen sink basin into place, carefully align it with the countertop cutout to ensure a perfect fit. Proper placement makes sure your sink looks good and works well.
Pay close attention to the basin height so it’s comfortable to use and you avoid awkward bends. Here’s how to position your sink basin correctly:
- Place the basin into the cutout, checking for even edges all around.
- Adjust the basin height so it sits flush with or slightly below the countertop surface.
- Make sure the front edge lines up with the countertop edge for a balanced look.
- Check there’s enough clearance underneath for plumbing connections.
Securing The Sink Fixture
Secure the sink firmly to prevent any movement or leaks once it’s in place. Depending on the sink types—whether undermount, drop-in, or farmhouse—your approach will vary.
For drop-in sinks, use the mounting clips provided, tightening them evenly around the rim to hold the sink securely against the countertop. With undermount sinks, apply a generous bead of silicone sealant along the edge before fastening the mounting brackets underneath the countertop.
Farmhouse sinks often require mounting styles that include support brackets or a ledger board for extra stability. Make sure to check the manufacturer’s instructions for specific mounting hardware and techniques.
After securing everything, wipe away excess sealant and double-check that the sink sits level and flush. This will help avoid future issues and ensure a tight, secure fit.
Sealing Your Kitchen Sink to Stop Leaks
A tight seal is essential to prevent water from leaking around your kitchen sink. Without it, moisture can damage your countertop and cabinets, leading to costly repairs.
To guarantee a proper seal, follow these sink maintenance tips and leak prevention strategies:
- Apply a continuous bead of plumber’s putty or silicone caulk around the sink’s edge before setting it in place.
- Press the sink firmly onto the countertop to create an even seal.
- Wipe away any excess sealant immediately to avoid mess and ensure a clean finish.
- Allow the sealant to cure fully based on the manufacturer’s instructions before using the sink.
Installing the Faucet and Attaching Accessories
Now that your sink is nicely sealed, it’s time to get the faucet ready for installation. First, you’ll want to secure the faucet tightly to the sink, making sure it’s nice and steady. Once that’s in place, you can start attaching the water supply lines. Just take your time with these steps, and you’ll be all set for a leak-free and fully working faucet.
Preparing Faucet Components
Before you start installing the faucet, make sure all the components are within reach and in good shape. Different faucet types need specific prep work, so identify yours and check for any damage.
Check the faucet body and handles for scratches or defects. Also, verify that all mounting hardware, washers, and gaskets are included.
Attach any decorative trim or escutcheon plates according to your faucet type. Connect supply lines loosely to prevent cross-threading later.
Doing these steps first helps ensure a smooth installation and avoids issues down the line.
Securing Faucet to Sink
Tighten the faucet securely onto the sink by aligning it with the mounting holes and fastening the nuts underneath. Make sure the faucet types you choose—single-handle, double-handle, or pull-out—fit your sink’s configuration.
Check that the faucet finishes match your kitchen’s style for a cohesive look. Attach any accessories like soap dispensers or sprayers now, securing them in a like manner.
| Faucet Types | Faucet Finishes |
|---|---|
| Single-handle | Chrome |
| Double-handle | Brushed Nickel |
| Pull-out | Oil-rubbed Bronze |
Ensure no wobbling occurs by tightening evenly. Avoid overtightening to prevent damage. Your faucet is now firmly secured and ready for connection to water lines.
Connecting Water Supply Lines
Once your faucet is securely mounted and all accessories are in place, you can connect the water supply lines to bring your kitchen sink to life. Start by choosing quality line materials like braided stainless steel for durability and resistance to corrosion.
Next, make sure the water pressure is off before attaching the lines to prevent leaks or bursts. Follow these steps carefully:
- Attach the supply lines to the faucet’s threaded connectors.
- Tighten the connections by hand, then use a wrench for a snug fit—don’t overtighten.
- Connect the other end to the shutoff valves under the sink.
- Turn on the water pressure slowly and check for leaks.
Proper connections ensure steady water flow and protect your kitchen from potential damage.
Connecting the Kitchen Sink Drain and Plumbing Pipes
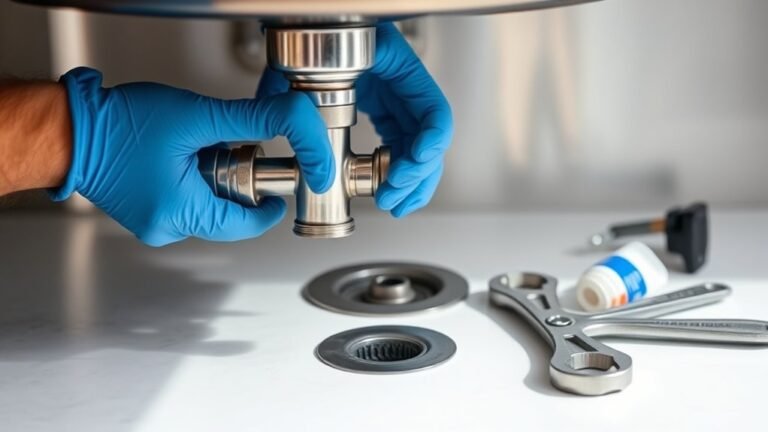
Three main components make up the kitchen sink drain assembly: the drain flange, the tailpiece, and the trap. Start by attaching the drain flange to the sink’s drain hole, securing it with plumber’s putty to prevent leaks.
Next, connect the tailpiece directly to the drain flange. This straight pipe guides water downward. Then, attach the trap, usually a P-trap, to the tailpiece. The trap’s curved shape helps prevent sewer gases from entering your home.
Connect the tailpiece to the drain flange, then attach the P-trap to block sewer gases effectively.
Use the appropriate pipe fittings to connect these parts firmly. Compression nuts and slip joint washers ensure a tight seal without overtightening. Align the trap arm with the wall drain and secure it with the correct fittings.
Make sure all pipe fittings are snug but avoid forcing connections, which could cause damage. By carefully assembling the drain and pipe fittings, you’ll create a reliable drainage path for your kitchen sink.
Testing for Leaks and Proper Drainage
After assembling your kitchen sink drain, it’s important to check for leaks and make sure everything drains properly. This step helps confirm your install is watertight and works smoothly.
Start by filling the sink with water and letting it sit for a few minutes. Watch all the connections for drips or moisture. Then, run the faucet continuously and keep an eye underneath to spot any leaks or slow drainage.
Inspect the P-trap and joints carefully. Tighten any loose fittings to prevent leaks. Check how quickly the water drains; it should be fast and without pooling. Slow drainage might mean a clog or misalignment.
Troubleshooting Common Kitchen Sink Installation Issues
If you notice persistent leaks or drainage problems after testing your kitchen sink, it’s time to troubleshoot common installation issues. First, check all connections for tightness—loose fittings often cause leaks.
Reapply plumber’s putty or silicone sealant around the sink rim if water seeps underneath. This is essential for leak prevention. Next, inspect the drain assembly and P-trap for blockages or misalignment, which can hinder proper drainage.
Use your installation tips to guarantee the sink sits level. An uneven sink can cause water pooling or slow drainage. Also, verify that supply lines aren’t kinked or damaged, as this impacts water flow and can cause leaks.
If leaks persist, replace worn washers or damaged parts.
Choosing the Right Kitchen Sink for Your Space
Choosing the right kitchen sink can really change how your space looks and works. When picking a sink, think about styles that match your kitchen’s design and your daily routines. You want a sink that’s both stylish and practical for your needs.
Here are four key factors to help you decide:
- Sink Styles – Pick from drop-in, undermount, farmhouse, or integrated sinks based on your countertop and your style preferences.
- Material Options – Consider stainless steel, cast iron, composite granite, or fireclay depending on how durable and easy to maintain you want your sink to be.
- Size and Depth – Make sure the sink fits your cabinet and has enough space for washing larger pots and pans comfortably.
- Number of Basins – Decide whether you want single, double, or triple basins to organize your washing and rinsing tasks more efficiently.
Frequently Asked Questions
How Do I Maintain My Kitchen Sink to Prevent Stains and Scratches?
To keep your kitchen sink looking great, try to clean it daily with mild soap and water. This helps prevent buildup and keeps it shiny.
Avoid harsh chemicals and wipe up spills promptly, especially from acidic foods, to prevent stains from setting in.
Use a soft cloth or sponge when cleaning to prevent scratches. If your sink material allows, consider applying a protective coating for extra protection.
Regularly check for mineral buildup and remove it with vinegar to maintain its shine and durability.
What Are the Best Cleaning Products for Different Sink Materials?
Did you know 85% of homeowners struggle with sink stains? For stainless steel sinks, try mild dish soap or baking soda with a soft cloth. Just avoid abrasive cleaners that can scratch the surface.
Granite sinks do best with pH-balanced cleaners to keep the stone protected. For porcelain sinks, gentle non-abrasive cleaners are your best bet.
Always match your cleaning products and techniques to the sink material. Stick to these recommendations, and you’ll keep your sink looking spotless while avoiding damage and stains over time.
Can I Install a Kitchen Sink Without Professional Plumbing Experience?
Yes, you can install a kitchen sink without professional plumbing experience if you follow sink installation tips carefully. Start by turning off the water supply and gathering all necessary tools.
Use DIY plumbing advice like checking for leaks and ensuring proper sealant around the edges. Take your time, watch tutorial videos, and double-check connections.
With patience and attention to detail, you’ll complete a secure, leak-free installation successfully.
How Do I Dispose of an Old Kitchen Sink Responsibly?
You can dispose of your old kitchen sink responsibly by taking it to a local recycling center that accepts metal or porcelain fixtures. Many centers offer sink recycling programs, making sure materials are reused instead of ending up in landfills.
Check with your municipality for eco-friendly disposal options or special collection days. If your sink is still in good shape, consider donating it to a Habitat for Humanity or resale shop to give it a new life and cut down on waste.
What Are the Most Popular Kitchen Sink Styles and Finishes?
When choosing a kitchen sink, you’re stepping into a world of charming possibilities. Popular sink styles include farmhouse aprons for a cozy feel, sleek undermounts for a modern look, and classic drop-ins that offer versatility.
Finishes like stainless steel are known for their durability, while matte black or brushed gold add a bold touch of elegance. Comparing materials, granite composite resists scratches, and fireclay offers timeless beauty.
You’ll find your perfect match by weighing style against function, making sure your choice fits both your aesthetic and daily needs.
Conclusion
Now that you’ve mastered installing your kitchen sink, you’re all set to enjoy a smoother, more efficient kitchen experience. With your new setup, washing up becomes less of a chore and more of a breeze.
Remember, a well-installed sink isn’t just about function. It’s also about creating a welcoming space where everyday moments flow effortlessly.
So, take pride in your handiwork and savor the comfort your refreshed kitchen brings. Installing your kitchen sink makes your kitchen more practical and enjoyable.