How to Pack a Kitchen for Moving: A Step-by-Step Guide
Moving your kitchen can feel overwhelming, especially with so many dishes, appliances, and gadgets to pack. If you’re worried about breaking fragile items or just unsure where to start, you’re not alone. Many people struggle with organizing their kitchen efficiently during a move, but with a little planning, it can be much easier.
To pack your kitchen for moving, start by gathering sturdy boxes, packing tape, and bubble wrap. Declutter expired pantry items and donate duplicates or worn cookware.
Empty and clean cabinets and appliances thoroughly. Wrap fragile dishes individually and pack them vertically using dividers. Secure small appliances with bubble wrap and remove detachable parts.
Label boxes clearly and pack essential items separately for easy access. Organizing this way makes unpacking smoother, and with a few more tips, you’ll make your kitchen move even easier.
Key Takeaways
- Gather sturdy boxes in various sizes, packing tape, bubble wrap, and markers to keep everything organized and secure.
- Take some time to declutter by tossing out expired items, donating duplicates, and getting rid of worn-out kitchenware before you start packing.
- Make sure to clean all cabinets and appliances thoroughly, including defrosting and sanitizing refrigerators and freezers.
- Wrap fragile items individually and pack them vertically using dividers. Protect appliances with bubble wrap or blankets to prevent damage.
- Pack essential kitchen items separately so you can access them easily. Unpack daily necessities first to keep your kitchen functional during the move.
Gather the Right Packing Supplies for Your Kitchen
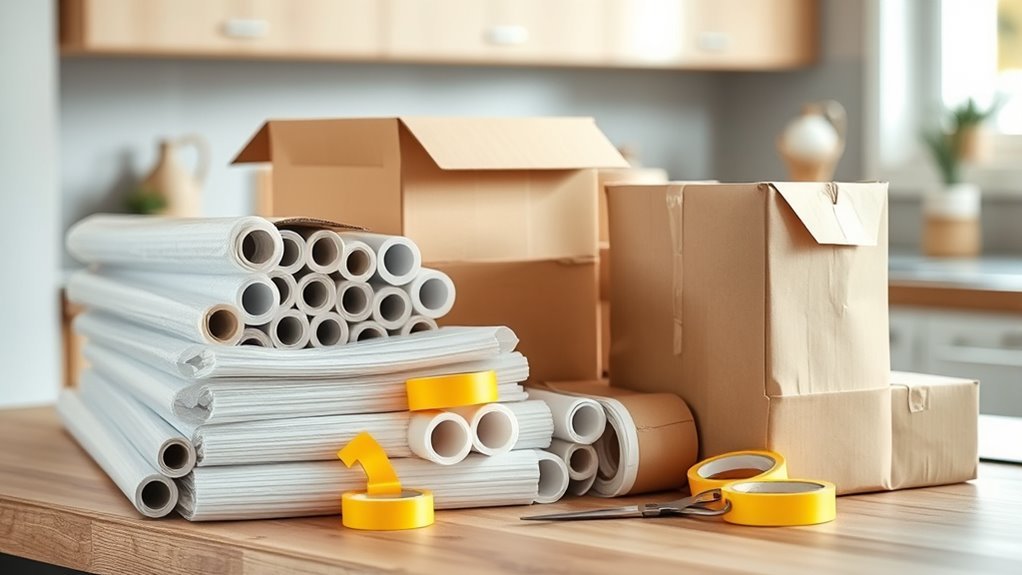
Anyone preparing to pack a kitchen should start by gathering the right supplies. This step sets the foundation for a smooth move, so don’t skip it. Begin with sturdy boxes in various sizes—small ones for heavy items like utensils and large ones for lightweight appliances or pots.
Grab packing tape, bubble wrap, and packing paper to protect fragile dishes and glassware. Don’t forget permanent markers for labeling. Creating a packing checklist is one of the best kitchen organization tips you can use.
It helps you track what supplies you need and guarantees you don’t overlook anything essential. Include items like dish towels or newspapers for extra cushioning, and consider specialty boxes for wine glasses or plates to avoid breakage.
Declutter and Decide What to Keep or Donate
Before you start packing, take some time to declutter your kitchen and decide what to keep or donate. Creating a clear inventory helps you see what you rarely use or no longer need. This step makes packing lighter and unpacking easier.
Declutter your kitchen first to lighten packing and simplify unpacking by keeping only what you truly need.
Focus on these key areas when sorting through your kitchen:
- Expired or unused pantry items
- Duplicate utensils and gadgets
- Worn-out pots, pans, and dishes
When you decide to donate, remember to choose clean, gently used items. Check your local guidelines for what’s accepted. Donating gives your kitchenware a second chance and helps those in need.
Empty and Clean Your Cabinets and Appliances
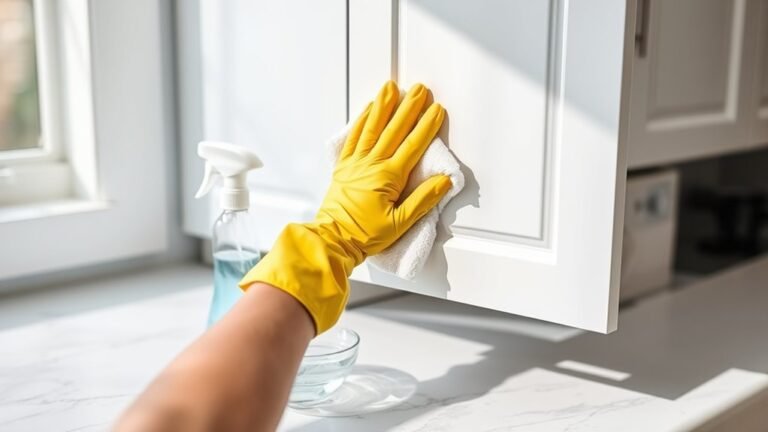
Start by emptying all your cabinets and appliances completely to make cleaning easier and more effective. Remove every item, then wipe down shelves, drawers, and interior surfaces with a mild cleaner or a vinegar-water solution.
This step not only refreshes your kitchen but also helps maintain good cabinet organization when you repack. Next, focus on your appliances. Unplug them and clean both inside and out.
For refrigerators and freezers, defrost if necessary, then sanitize all surfaces to prevent odors during your move. Ovens and microwaves also need thorough cleaning to avoid residues that could cause damage or smells.
Proper appliance maintenance before moving guarantees they stay in good condition and function well afterward.
Wrap Fragile Kitchen Items Like Glasses and Dishes Safely
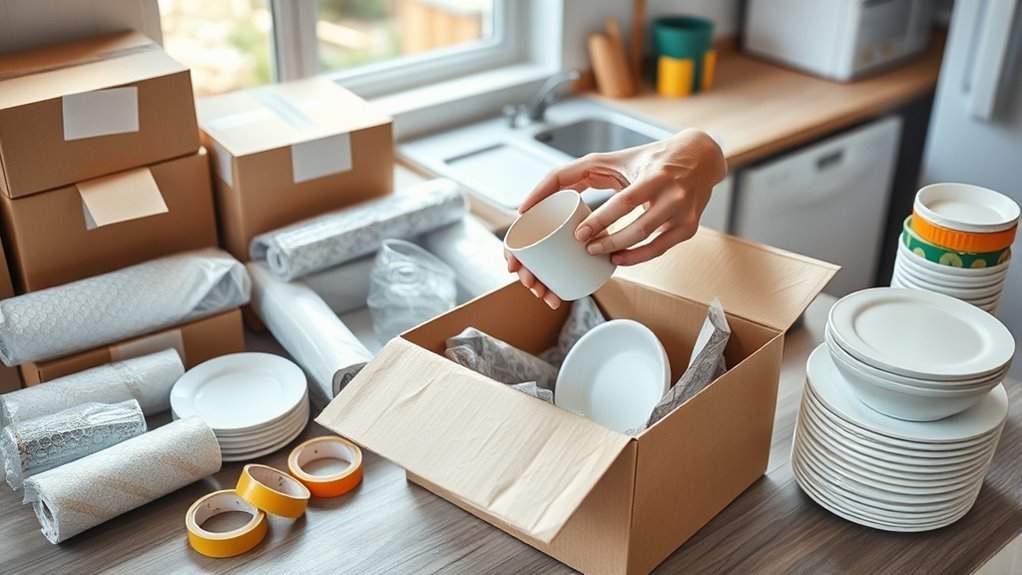
When you’re packing up your fragile kitchen items like glasses and dishes, it’s all about choosing the right materials. Think bubble wrap, packing paper, or even dish towels—they’re great for giving your items an extra layer of protection.
Now, when wrapping each glass or dish, take your time and do it carefully. Make sure to secure everything tightly, but be gentle so you don’t accidentally cause any damage. Using the proper techniques will help keep your items safe and prevent any breakage while you’re moving.
Choosing Proper Wrapping Materials
When packing fragile kitchen items like glasses and dishes, choosing the right wrapping materials helps protect them from cracks and chips during the move. You want materials that cushion and separate each item effectively.
Consider these essentials: Bubble wrap and foam inserts provide excellent shock absorption. Packing paper, newspaper layers, or biodegradable materials offer eco-friendly padding.
Dish towels, plastic containers, and cardboard dividers help secure and separate your dishes. Avoid using plain newspaper directly on delicate surfaces to prevent ink transfer. Wrap items first with packing paper or dish towels for a soft barrier.
Plastic containers are great for small, fragile items, while cardboard dividers keep glasses from touching each other. Choosing the right materials guarantees your kitchenware arrives intact and ready to use.
Techniques for Secure Packing
Handle fragile kitchen items carefully by wrapping each piece individually to prevent damage during the move. Use packing techniques like wrapping glasses and dishes in bubble wrap, packing paper, or soft cloths to cushion them effectively. Start with the most delicate items, securing them tightly but not too tightly to avoid breakage.
Place wrapped items vertically in sturdy boxes with dividers or layers of padding between each piece for added protection. Keep your kitchen organized by labeling boxes clearly and grouping similar items together. Fill any gaps with crumpled paper or packing peanuts to prevent shifting during transit.
Pack Pots, Pans, and Small Appliances Securely
Before packing your pots, pans, and small appliances, give them a good clean and make sure they’re completely dry. It’s just easier to pack them safely when they’re nice and clean!
Next, use some padding like bubble wrap or towels to protect them from getting scratched or dented during the move. For your appliances, it’s best to pack each one separately to prevent any damage. And don’t forget to keep the cords neat and organized—that way, you’ll find everything easily when you unpack.
Clean And Dry Items
Before packing your pots, pans, and small appliances, make sure each item is thoroughly cleaned and completely dry. This helps prevent mold, odors, and damage during the move.
Use effective kitchen organization tips and cleaning supplies to make this step easier. For example, you might use a mild dish soap and warm water to remove grease and food residue.
Dry each item with a clean, absorbent towel or let it air dry completely to avoid moisture buildup. Wipe down small appliances inside and out, making sure no crumbs or liquids are left behind.
Taking these precautions keeps your kitchen gear safe and fresh. A clean, dry start also makes unpacking easier, helping your move go smoother and less stressful.
Use Proper Padding
While packing your kitchen, you’ll want to wrap pots, pans, and small appliances carefully to prevent scratches and dents. Using proper padding is essential for effective organization and ensures your items arrive intact. Bubble wrap, packing paper, and dish towels are your best friends here. Wrap each item individually, paying close attention to corners and edges.
Use packing techniques like layering and cushioning inside boxes to absorb shocks. For example, nest smaller pans inside larger ones, and secure fragile parts of small appliances separately. Proper padding keeps everything organized and protected during the move.
Here’s a quick guide:
| Item Type | Recommended Padding | Packing Tips |
|---|---|---|
| Pots & Pans | Dish towels, bubble wrap | Nest smaller pans inside larger ones |
| Small Appliances | Bubble wrap, packing paper | Secure fragile parts separately |
| Utensils | Packing paper | Bundle with rubber bands |
| Glassware | Bubble wrap, dish towels | Place upright, avoid stacking |
| Cutting Boards | Bubble wrap | Pack flat to avoid warping |
Pack Appliances Separately
Separate your appliances to avoid damage and make unpacking easier. Packing pots, pans, and small appliances separately helps keep them safe and lets you find what you need faster. Use sturdy boxes or containers with padding to protect fragile parts.
For small appliances, remove detachable cords and wrap them separately to prevent tangling or damage. Wrap pots and pans individually with bubble wrap or packing paper to avoid scratches. Use appliance-specific boxes or sturdy containers with dividers for small appliances.
Place heavier items at the bottom and lighter ones on top to prevent crushing. This simple approach keeps your appliances safe and makes unpacking smoother.
Choose Proper Boxes for Kitchen Items
Since kitchen items vary greatly in size and fragility, you’ll need different types of boxes to pack them securely. Start by gathering a variety of box types, including small, medium, and large boxes.
Small boxes are perfect for heavy items like canned goods and glassware, while medium boxes work well for plates and bowls. Large boxes are best for lightweight, bulky items such as pots and pans.
Small boxes hold heavy items, medium boxes fit plates, and large boxes are ideal for bulky kitchenware.
Size considerations are essential. Don’t overload large boxes with heavy items, as this makes them difficult to carry and increases the risk of damage.
Consider using specialty boxes like dish packs with dividers for fragile dishes and glassware to add extra protection. You can also reinforce boxes with packing tape for added durability.
Choosing the right box types based on your kitchen items’ size and weight will make packing safer and moving easier. This careful selection helps prevent breakage and keeps your kitchen essentials organized during the move.
Label Boxes Clearly to Stay Organized During the Move
When you’re packing up, don’t forget to label each box clearly with what’s inside and which room it goes to. It might seem like a small thing, but it makes a big difference later on.
Using color-coded markers or stickers can really help you spot what you need in a flash. It’s such a simple trick that keeps things organized and makes unpacking your kitchen much less stressful.
Color-Coding for Easy Identification
When you label your boxes with clear, color-coded stickers or markers, you’ll save yourself time and frustration during unpacking. Using color coding taps into color psychology to create a visual organization system that reduces stress and boosts efficiency.
By applying a color hierarchy, you can prioritize which boxes to unpack first, ensuring a smooth move.
Try this thematic grouping for quick identification:
- Red for fragile items to handle with care
- Blue for cookware and utensils you need immediately
- Green for pantry staples and non-essentials
This approach helps you spot what you need at a glance, speeding up the unpacking process. Plus, color coding keeps your move orderly, letting you focus on settling in without the chaos.
Include Contents and Room
Although color-coding helps you quickly identify boxes, including detailed contents and the designated room on each label guarantees you won’t waste time guessing where things belong.
As you pack, create a kitchen inventory listing each item and its box number. Write the main contents and room location on every box, like “Pots and Pans Kitchen” or “Glassware Dining Room.”
This clear labeling keeps your move organized and speeds up unpacking. When movers arrive, they’ll know exactly where to place each box based on the room label.
Plus, having a detailed kitchen inventory makes it easy to track everything and spot missing items fast.
Taking these simple steps ensures your kitchen setup flows smoothly in your new home without unnecessary confusion.
Pack Essential Kitchen Items Separately for Quick Access
Essential kitchen items are the ones you’ll need right away when you arrive, so pack them separately to save time and reduce stress. By keeping these essentials in a clearly labeled box or bag, you can get quick access without digging through multiple boxes. This way, your kitchen becomes functional right away, making meal prep easier during the busy move-in days.
Pack essential kitchen items separately for quick access and a stress-free, functional kitchen on move-in day.
Focus on packing these essential items separately:
- A few plates, cups, and utensils
- Basic cooking tools like a spatula and can opener
- Coffee maker or kettle and coffee supplies
Having these essentials handy means you won’t have to search through everything to find what you need. This strategy saves time and helps prevent frustration on moving day. Keep this box accessible in your moving vehicle or set it aside in your new kitchen for immediate use.
Secure Kitchen Appliances and Electronics for Transport
Since kitchen appliances and electronics are often bulky and fragile, you’ll want to secure them carefully to prevent damage during the move. Start by unplugging all devices and giving them a thorough cleaning.
Wrap appliances in bubble wrap or moving blankets to protect them and cushion against shocks. Use sturdy boxes labeled “Fragile” for electronics, and fill empty spaces with packing peanuts or crumpled paper to prevent shifting.
Here’s a quick reference to help with protecting electronics and keeping appliances safe:
| Appliance/Electronic | Packing Material | Special Tips |
|---|---|---|
| Blender | Bubble wrap + box | Remove blades and pack separately |
| Microwave | Moving blanket | Secure the door to prevent opening |
| Coffee Maker | Bubble wrap + box | Empty the water reservoir |
| Toaster | Original box if possible | Remove crumb tray |
Following these steps will help your kitchen appliances and electronics arrive safely, reducing the risk of damage and making your move less stressful.
Unpack Your Kitchen Efficiently in Your New Home
Once your appliances and electronics are safely transported, you can start unpacking your kitchen. Focus on the essentials first so you can make your space functional quickly.
Use organization tips to place items logically—group similar tools and cookware together. This will help streamline meal prep and keep your kitchen tidy.
Here’s how to unpack efficiently:
- Unpack daily essentials first, like plates, utensils, and frequently used cookware.
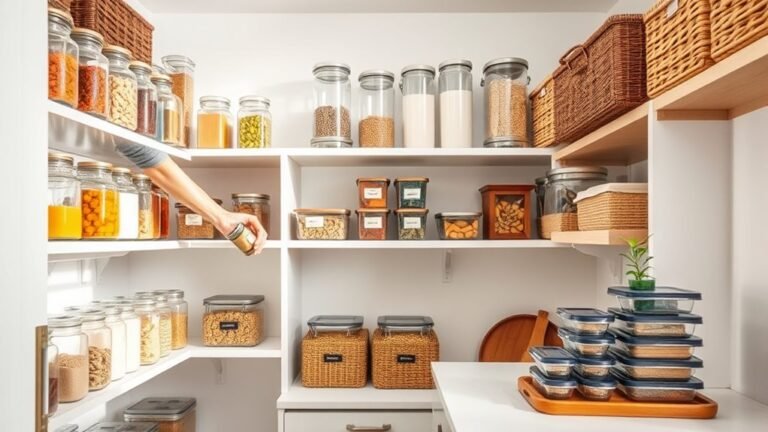
- Arrange pantry items by category to make meal prep easier.
- Set up your cooking zone with appliances and tools you use most often.
Frequently Asked Questions
How Far in Advance Should I Start Packing My Kitchen?
You should start your packing timeline about 3-4 weeks before moving. Begin by packing non-essential kitchen items first, like extra dishes and appliances you rarely use.
Keep your kitchen essentials handy until the last week so you can cook and eat comfortably. As moving day gets closer, pack everyday items and finish with your essentials.
This way, you’ll stay organized and avoid last-minute stress while making sure you have what you need until the move.
Can I Pack Food Items That Are Not Perishable?
You can definitely pack non-perishable food items like canned goods before moving. Think of it like packing a suitcase for a trip—you want to bring only what won’t spoil.
Just like you wouldn’t pack frozen items days ahead since they need to stay cold, canned goods are sturdy and can be packed early. Keep frozen items for last to load, making sure they stay fresh until you move into your new kitchen.
What Should I Do With Opened Spices and Seasonings?
You should transfer opened spices and seasonings into airtight containers for better storage during your move. This helps prevent spills and keeps them fresh.
Label each container so you can easily find what you need once you unpack. Resealable bags are an option, but airtight jars do a better job of maintaining flavor.
Keep all your spices together in a sturdy box cushioned with packing paper. This way, they won’t break or make a mess during transit.
How Do I Handle Packing Knives and Sharp Kitchen Tools?
Imagine your knives are like soldiers preparing for battle; knife safety is your armor. Wrap each blade in thick cardboard or a blade guard to prevent accidents.
Use a box with dividers or a knife roll to keep things organized and stop sharp edges from clashing.
This way, you’ll protect yourself and your tools during the move, avoiding cuts or damage that can make moving your kitchen painful.
Is It Better to Pack Kitchen Items Myself or Hire Professionals?
You can save money by packing kitchen items yourself, but hiring professionals boosts time efficiency and reduces stress. When doing a cost comparison, think about your schedule and packing skills.
If you’re short on time or want to avoid damage, professionals are worth the extra expense. But if you’re careful and have some extra time, packing yourself keeps costs down.
Just weigh your priorities to decide what works best for you.
Conclusion
Moving kitchens can be challenging, but with the right steps, you’ll breeze through it. Did you know that 60% of broken household items during moves are kitchen-related? Taking the time to pack carefully protects your valuables and keeps your new kitchen running smoothly from day one.
Follow these tips, stay organized, and you’ll settle in faster than you think. You’ll be ready to cook up a storm in your new home in no time. Properly packing your kitchen is key to a successful move.