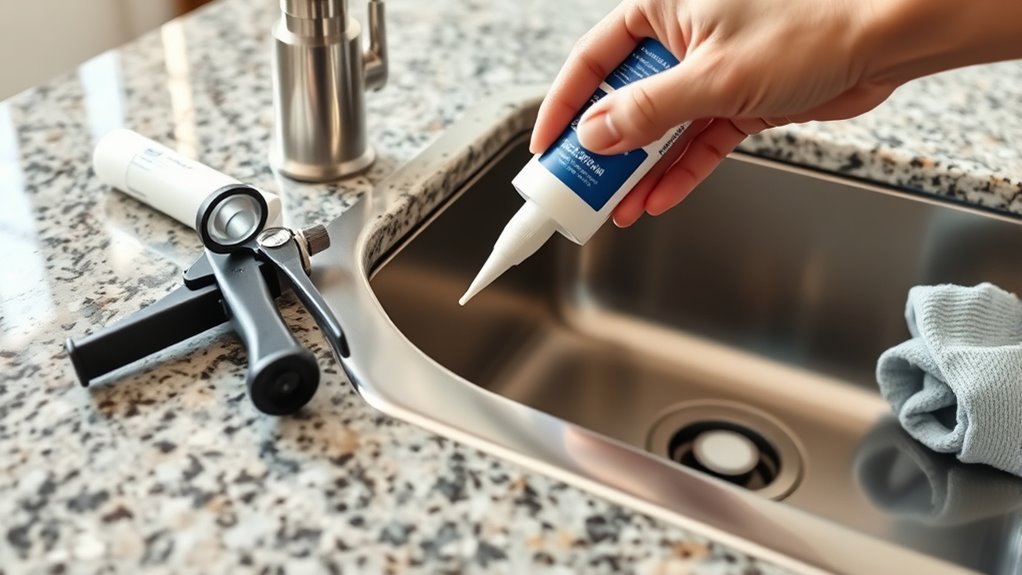
How to Seal Kitchen Sink to Countertop: A Step-by-Step Guide
Dealing with a leaky or poorly sealed kitchen sink can be frustrating, especially when it leads to water damage or mold. Many people struggle with achieving a neat, waterproof seal that lasts. If you’re tired of dealing with these issues, sealing your sink to the countertop is a simple fix you can do yourself.
To seal your kitchen sink to the countertop, start by thoroughly cleaning and drying the sink edges and countertop. Remove old caulk and use rubbing alcohol to eliminate residues.
Choose a silicone-based sealant for strong, flexible, and waterproof protection.
Apply the sealant evenly with a caulking gun at a 45-degree angle, then smooth it with soapy water. After it dries, check for leaks by running water and inspecting under the sink.
Keep following for tips on maintaining a durable, water-tight seal.
Key Takeaways
- Clean and dry the sink edges and countertop thoroughly, removing old caulk and debris before sealing.
- Choose a waterproof, mold-resistant sealant compatible with your sink and countertop materials, like silicone or epoxy.
- Apply sealant evenly along the seam with a caulking gun at a 45-degree angle, smoothing immediately with soapy water.
- Check the sealed edges for gaps or leaks by running water and inspecting underneath the sink for moisture or drips.
- Reseal once a year or whenever you notice water pooling or odors. Make sure surfaces are clean and dry before applying new sealant.
Why It’s Important to Seal Your Kitchen Sink
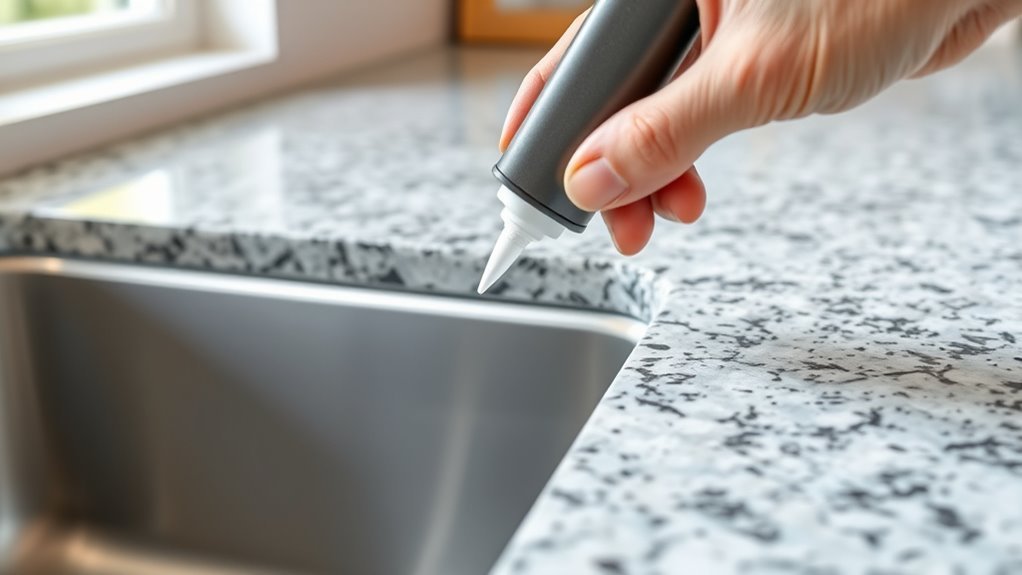
Although it might seem like a small detail, sealing your kitchen sink is really important to prevent water damage and mold growth. When you properly seal the gap between your sink and countertop, you stop water from seeping into areas where it can cause serious problems.
Over time, even small leaks can lead to rotting wood, warped countertops, and expensive repairs. So, taking a few minutes to seal your sink can save you a lot of hassle down the road.
Small leaks may cause wood rot, warped counters, and costly repairs—sealing your sink saves hassle later.
Sealing your sink also helps keep your kitchen hygienic. Moisture in unsealed gaps creates the perfect environment for mold and mildew, which can affect your health and cause bad odors.
By sealing your sink, you keep these harmful elements away and ensure your kitchen stays clean and safe.
In short, sealing your kitchen sink prevents water damage and helps maintain a healthy cooking space. It’s a simple step that protects your home and your health.
How to Choose the Best Sealant for Your Kitchen Sink?
Choosing the right sealant for your kitchen sink isn’t as complicated as it might seem. It really comes down to a few key things like the type of sealant, how durable it is, and how well it keeps water out.
You’ll also want to think about how easy it is to apply and clean up after. If it’s a hassle to work with or leaves a mess, it might not be the best choice. By keeping these points in mind, you’ll be able to pick a sealant that gives you a long-lasting, watertight seal without any headaches.
Types of Sealants
Sealants play an essential role in protecting your kitchen sink and countertop from water damage and mold. When choosing the right type, consider silicone sealants, which offer flexibility and strong adhesion, making them ideal for most countertop materials.
Epoxy adhesives provide a rigid, durable bond but can be less forgiving during installation. Acrylic caulk is easy to apply and paintable, suitable for less demanding areas.
Polyurethane sealants combine elasticity with strong adhesion, working well on various surfaces but may require careful handling. Match the sealant to your kitchen sink and countertop materials to guarantee a secure, lasting seal.
Durability and Water Resistance
When choosing a sealant for your kitchen sink, durability and water resistance should be your main focus to ensure it lasts long and keeps water out.
Pick a sealant made specifically for kitchen use, with strong waterproof features to prevent leaks and water damage over time. Silicone-based sealants are often the best because they resist mold and mildew and stay flexible with temperature changes.
Thinking about durability means you won’t need to reseal often, saving you time and hassle. To keep your sealant in good shape, check for cracks or gaps regularly and clean the area gently with mild cleaners.
Prioritizing these factors will help your kitchen sink stay sealed tight, protecting your countertop and cabinets from moisture damage.
Application Ease and Cleanup
Although durability and water resistance are key, you’ll also want a sealant that’s easy to apply and clean up. Choosing one with a smooth consistency makes it easier to get clean edges without frustration.
Look for products labeled as user-friendly or designed for kitchen use. These often come with clear instructions that make the process straightforward.
When applying, use a caulking gun with steady pressure and a damp finger or smoothing tool to shape the sealant neatly. For cleanup, pick sealants that are water-based or silicone, as they usually allow easier removal of excess before curing.
Keep cleanup tips handy: wipe spills immediately with a damp cloth. Use mineral spirits only if the sealant is solvent-based. This helps ensure a neat finish and hassle-free cleanup.
What Materials You Need to Seal Your Kitchen Sink
To seal your kitchen sink properly, you’ll want to gather a few basic materials first. The main stuff you’ll need is silicone sealant and a caulking gun to apply it smoothly.
It’s also helpful to have some tools nearby, like a putty knife to smooth out the sealant and painter’s tape to keep everything neat. Don’t forget to have some cleaning supplies on hand too, so you can prep the area before sealing. Getting everything ready beforehand will make the whole process much easier and ensure a good, clean seal.
Essential Sealing Materials
Three essential materials you’ll need to seal your kitchen sink properly include silicone caulk, a caulking gun, and painter’s tape. Silicone caulk is great because it’s waterproof, flexible, and durable, making it the top choice among sealants.
Using a caulking gun helps you apply the sealant evenly, ensuring a tight, clean seal. Painter’s tape is vital for creating crisp edges and preventing messes during application.
To get the best results, familiarize yourself with proper techniques like smoothing the bead of caulk with a wet finger or tool. Be sure to remove painter’s tape before the caulk dries.
These materials and methods will help you achieve a professional, long-lasting seal between your kitchen sink and countertop.
Tools Needed for Sealing
Sealing your kitchen sink effectively requires a few key tools that make the job easier and ensure a clean, durable finish. First, you’ll need a caulking gun to apply the sealant evenly, whether you’re using silicone or latex—two common types.
A utility knife helps trim excess sealant for a neat edge. Use painter’s tape to mask off areas and keep your lines straight and clean. A putty knife or plastic scraper helps smooth out the sealant bead.
A rag and rubbing alcohol are useful for cleaning the surface before sealing. Understanding techniques like applying consistent pressure and smoothing the bead properly will help you achieve a watertight seal.
Having these tools ready will make the sealing process quicker and more professional-looking.
How to Prepare Your Countertop and Kitchen Sink for Sealing
Start by thoroughly cleaning both the countertop and the sink edges to remove any grease, dirt, or old caulk. Proper countertop prep is key to making sure the sealant sticks well and lasts longer. Use a mild detergent and a scrub brush or sponge to clean the surfaces, then rinse and dry completely.
For the sink, pay special attention to the rim where it meets the countertop. Remove any buildup that could interfere with sealing. Next, scrape away any remaining old caulk or sealant with a utility knife or putty knife, being careful not to damage the surface.
Wipe the area with rubbing alcohol or a specialized cleaner to eliminate oils and residues. Finally, let everything dry thoroughly before moving on. These steps set a solid foundation for a strong, watertight seal.
Step-by-Step: Applying Sealant to Your Kitchen Sink
Grab your sealant and a caulking gun to start sealing your kitchen sink. Begin by cutting the sealant tube tip at a 45-degree angle for better control. Hold the gun steadily and apply an even bead along the seam where the sink meets the countertop.
Use steady pressure to make sure your line is continuous and smooth. Keep the bead consistent and avoid gaps or breaks. Here are some quick tips for applying sealant and sealing your sink effectively:
| Step | Tip |
|---|---|
| Cut the sealant tip | Choose a small opening for precise control |
| Apply the sealant | Move steadily, avoid stopping mid-line |
| Sealant smoothing | Wait before smoothing to prevent smears |
Focus on applying the sealant carefully to ensure waterproofing and durability. Don’t overdo it to keep things tidy and reduce waste. After applying, let the sealant cure as recommended before using the sink.
How to Get a Smooth, Even Sealant Bead on Your Kitchen Sink
Achieving a smooth, even sealant bead around your kitchen sink takes a steady hand and the right technique. Start by applying consistent pressure on the sealant tube’s trigger, moving slowly along the sink’s edge. This helps keep the bead even and prevents gaps.
Hold the tube at a 45-degree angle to control flow and direction. Once you lay down the bead, don’t wait—smooth application is key. Dip your finger or a smoothing tool in soapy water, then gently run it along the bead to flatten and shape it.
This removes excess sealant and creates a clean, professional finish. Keep your movements steady and continuous to avoid breaks or uneven spots. With patience and practice, these techniques will help you get a flawless seal that looks great and provides lasting protection against water damage.
How to Check for Leaks After Sealing Your Kitchen Sink
Once you’ve sealed your kitchen sink, it’s a good idea to give it a thorough inspection. Take a close look at the edges and seams to see if there are any visible gaps or cracks.
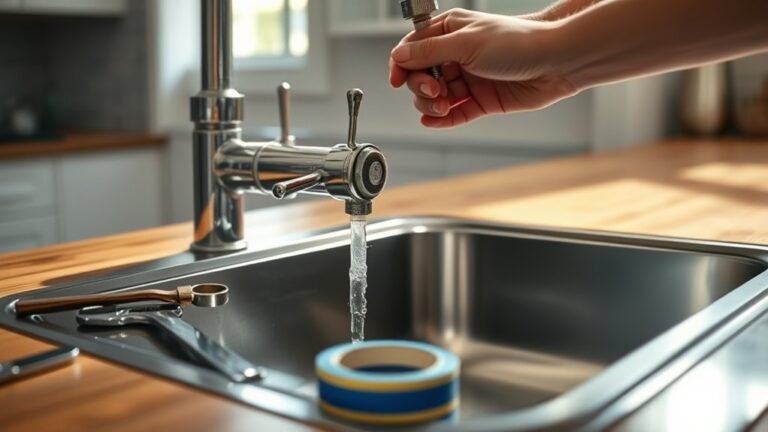
Then, turn on the water and let it run for a bit. Keep an eye out for any drips or leaks around the seal—you want to make sure everything’s snug and tight.
And don’t forget to peek underneath the sink too. Sometimes leaks hide underneath, so check for any signs of moisture or water spots that could mean a slow leak sneaking in.
Visual Inspection Techniques
Although sealing your kitchen sink properly is essential, it’s just as important to verify that no leaks remain. Start with a thorough visual inspection around the sink’s edges and the sealed joint where it meets the countertop.
Look closely for any gaps, cracks, or uneven caulking. These are common issues that can cause leaks. Check underneath the sink as well, especially around pipes and connections, for any signs of moisture or water stains.
Use a flashlight to spot small drips or wet spots you might miss in normal lighting. By performing a careful visual inspection, you can catch potential problems early and ensure your seal is watertight. This helps prevent costly water damage and keeps your kitchen in good shape.
Water Flow Testing
Anyone can perform water flow testing to verify your kitchen sink seal is leak-proof.
Start by turning on the faucet to a moderate water pressure, simulating everyday use.
Watch closely along the sealed edges for any signs of dripping or moisture.
Don’t forget to check underneath the sink as well, since leaks can be subtle.
If you spot any water escaping, you’ll want to address it immediately to preserve sealant longevity.
Next, increase the water pressure briefly to stress-test the seal—this helps reveal leaks that only appear under higher pressure.
Once you confirm the seal holds steady without leaks, dry the area thoroughly.
Performing this simple test verifies your sink seal will last longer and prevent water damage.
Detecting Hidden Moisture
Once you’ve tested water flow and confirmed there are no obvious leaks, it’s important to check for hidden moisture that might not be immediately visible. Detecting moisture early helps prevent damage to your countertop and cabinets.
Start by running your hand along the sealed area to feel for dampness. Use a flashlight to closely inspect seams for any dark spots or discoloration that could indicate water.
You can also place a dry paper towel under the sink and check it after a few hours for any signs of moisture. For a more thorough check, consider using a moisture meter, which detects water beneath surfaces.
Regularly monitoring for hidden leaks ensures your sealing job holds up and keeps your kitchen dry.
Troubleshooting Common Kitchen Sink Sealing Problems
When you notice water pooling around your kitchen sink or lingering odors, it usually means the seal between the sink and countertop needs attention. Common issues include cracked or missing caulk, gaps caused by uneven surfaces, and improper drying times. These sealing mistakes can let water seep underneath, leading to mold or damage.
If you spot these problems, start by inspecting the seal closely for cracks or peeling. Make sure the surface is clean and dry before applying any sealant next time, as moisture traps can weaken adhesion. Avoid applying too much or too little caulk as both can cause failures. Also, check that you used the right type of sealant, preferably one designed for kitchen sinks.
When and How to Reseal Your Kitchen Sink to Avoid Damage
Something as simple as resealing your kitchen sink can prevent costly water damage and mold growth. You should check the seal around your sink at least once a year or whenever you notice water pooling or a musty smell. Proper sink maintenance helps you avoid common mistakes like using the wrong sealant or applying too much caulk.
Resealing your kitchen sink annually prevents water damage and mold, ensuring a fresh, leak-free space.
Here’s when and how to reseal your kitchen sink to avoid damage:
- Regularly look for cracks, gaps, or peeling sealant.
- Clean the area thoroughly before applying new sealant.
- Use a high-quality, waterproof silicone sealant.
- Apply a smooth, even bead of sealant without overdoing it.
- Let the sealant cure fully before exposing it to water.
How Proper Sealing Extends Your Kitchen’s Lifespan
Keeping your kitchen sink properly sealed does more than prevent immediate water damage. It helps protect your entire kitchen over time. When you seal the gap between your sink and countertop correctly, you stop water from seeping into cabinets and flooring.
This can prevent mold, rot, and structural damage. Sealing is a simple step that’s essential for kitchen maintenance and pays off by extending your kitchen’s overall lifespan.
Proper sealing also keeps stains and mineral buildup at bay, helping your sink area look good longer. By avoiding frequent repairs caused by water damage, you save money and keep your kitchen running smoothly.
These benefits mean less hassle and more enjoyment in your kitchen space. Make sealing a regular part of your upkeep, and you’ll help preserve your kitchen’s durability and value for years to come.
Frequently Asked Questions
Can I Use Silicone Sealant on All Types of Kitchen Sinks?
Yes, you can use silicone sealant on most sink types, including stainless steel, porcelain, and composite sinks. Silicone offers great durability and resists water and mold well.
However, for certain materials like natural stone countertops, it’s a good idea to check if silicone is compatible to avoid staining. Always clean the surfaces thoroughly before applying silicone to ensure a strong, lasting seal.
This will help keep your sink securely sealed and prevent leaks.
How Long Does Sealant Take to Fully Cure Before Using the Sink?
Think of sealant cure time as a slow dance—you can’t rush the rhythm.
Typically, most silicone and acrylic sealants need 24 to 48 hours to fully cure before you use your sink.
Some specialty sealant types might cure faster, but always check the manufacturer’s instructions.
Using the sink too soon can break the seal, causing leaks.
Is Sealing Necessary for Undermount Sinks Only or All Sink Types?
Sealing isn’t just essential for undermount sinks; you should seal all sink types to prevent water damage.
However, undermount sinks have advantages like a seamless look and easier countertop wiping, making proper sealing vital.
Using effective sealing techniques guarantees water won’t seep between the sink and countertop, protecting your cabinetry.
Can Sealing Prevent Mold Growth Under the Sink?
Yes, sealing can prevent mold growth under the sink by helping control moisture. When you properly seal the area between your sink and countertop, you block water from seeping into gaps where mold can grow.
This step is important because trapped moisture creates the perfect environment for mold spores to thrive. By keeping that space dry with a tight seal, you reduce the chances of mold damaging your kitchen.
How Often Should I Inspect the Sealant Around My Kitchen Sink?
You should check the sealant around your kitchen sink at least every six months to stay on top of maintenance.
Regular inspections help you spot any cracks, gaps, or signs of wear early on before water damage or mold can develop.
If you notice any issues or leaks, check more often and reseal as needed.
Being proactive keeps your sink watertight and your countertop in good shape.
Conclusion
Sealing your kitchen sink properly can prevent up to 60% of water damage issues in your home, saving you time and money. By following these steps and choosing the right sealant, you’re protecting your countertop and avoiding costly repairs.
Remember, a well-sealed sink not only keeps your kitchen looking great but also extends its lifespan. Taking the time to seal it right will pay off in the long run.
So, make sure to seal your kitchen sink properly to keep your space safe and looking its best. Proper sealing with the right materials is key to a durable, water-resistant seal.